Three years ago, my college girlfriends started an annual Christmas tradition: a couples’ gingerbread house decorating contest. Each couple gets a freshly baked gingerbread house and a variety of toppings to work with. This event is kept to a strict time limit, and like any healthy competition, there tends to be some trash-talking amongst rival couples and bribery of the judges… all in good fun of course.
When Steve and I begin strategizing our decorating plan, we tend to a lot grief from our opponents. Things like, “This is not fair at all! This is what you two do for a living!”
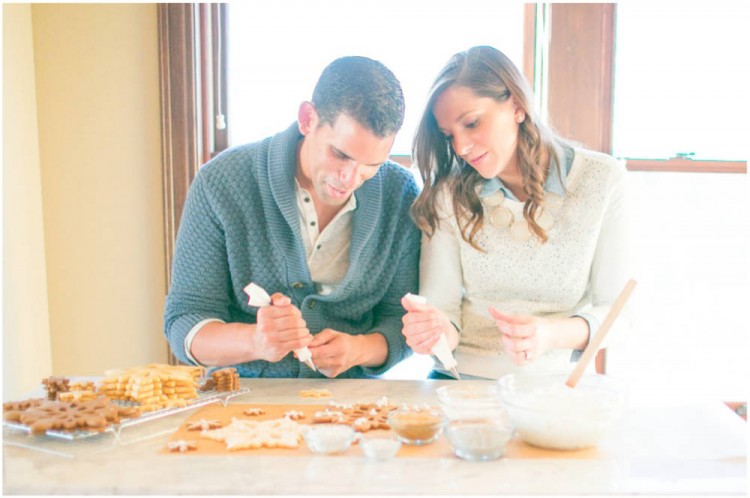
Although neither of us had ever decorated a gingerbread house for a client’s wedding before, there is some fact behind those statements. Steve is obviously my not-so-secret weapon at the contest and I’d be lost without his icing skills. At times like these, it pays off to be married to someone who knows how to create beautiful work with a pastry bag.
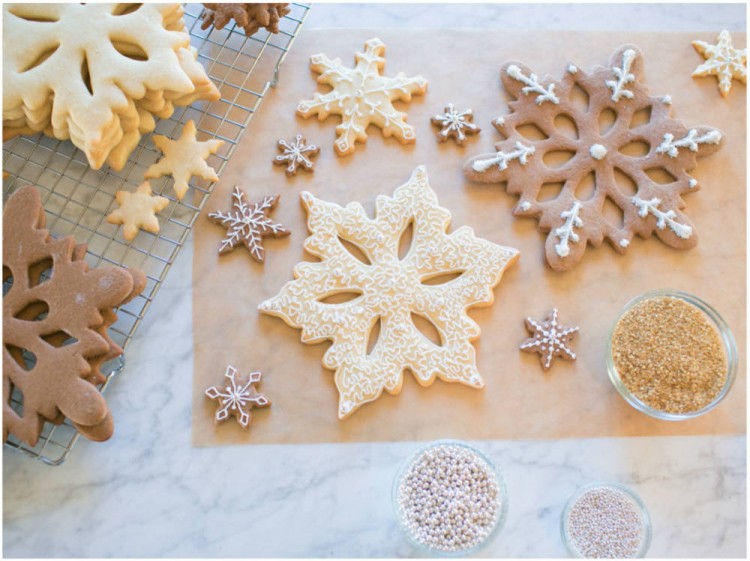
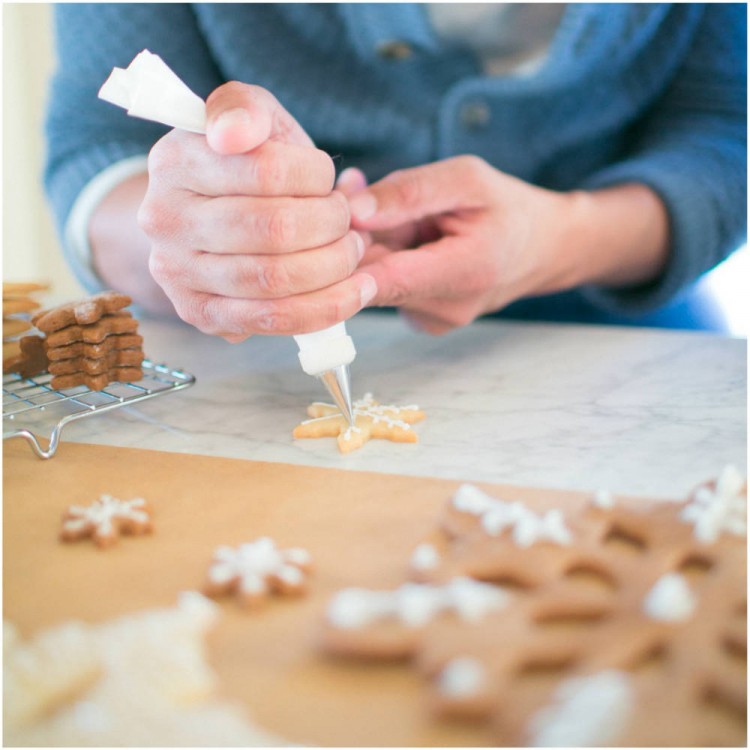
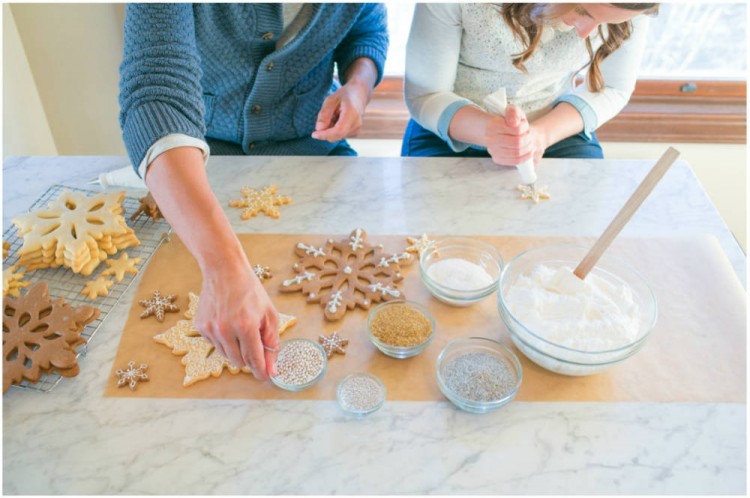
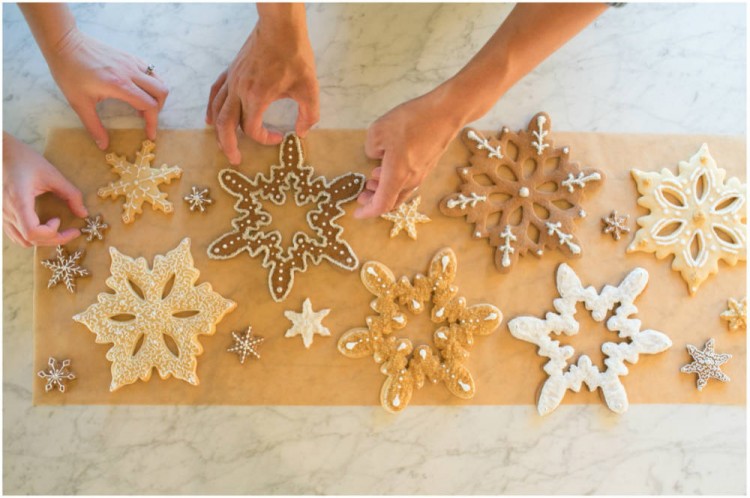
When he and I set out to make snowflake cookies, I envisioned myself piping out lovely, tiny intricate details. This daydream came to a halt when Steve told me he spent one entire summer just practicing piping. He’d spend hours upon hours creating designs on parchment paper just to practice his technique. All that practice paid off, and man, he sure makes it look easy!
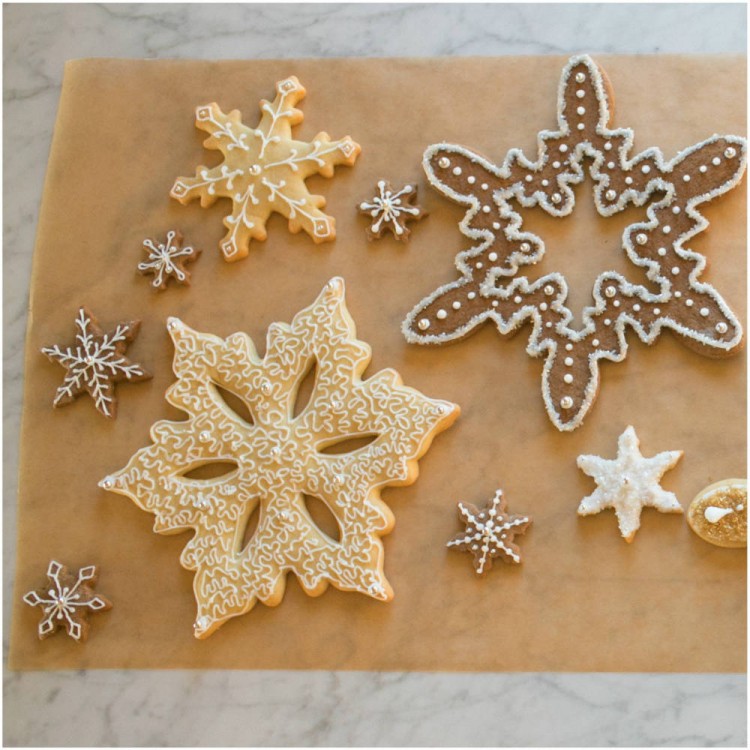
I started my first few cookies with the intention of delicately icing them around the edges with some dots mixed in. Simple. Let’s just say my cookies ended up fully frosted and covered in sprinkles. It takes a steady and stable hand that I’m not used to. It makes me feel like a kindergartner, awkwardly practicing letters when my hand can’t quite do what my brain is telling it to do. Although after some practice, I have gotten a little better and have some pointers to share for making a successful batch of decorated Christmas cookies.
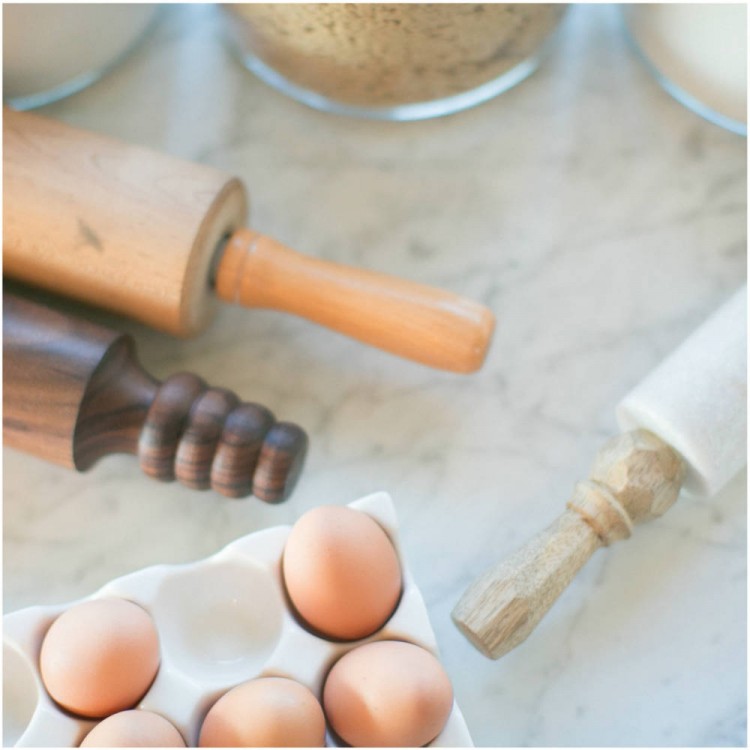
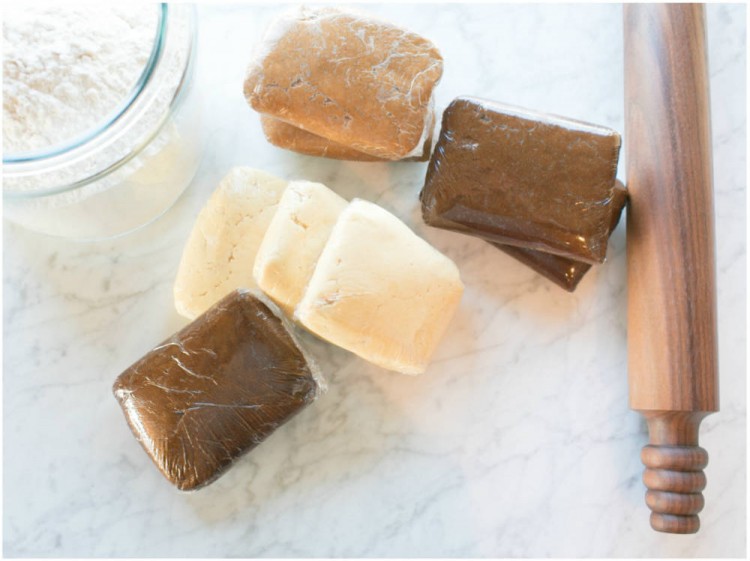
1. Make your dough the day before if you can. Both gingerbread and sugar cookie dough should chill for at least 4 hours, but it is best if the dough can rest overnight.
2. If you are making the classic gingerbread dough, purchase 2 bottles of molasses. We didn’t realize we would need this much, and I had to return to the store mid-recipe. Annoying.
4. Divide your dough into small disks and wrap with plastic wrap. Smaller disks will make rolling out the cookies more manageable.
5. Only remove one cookie dough disk at a time from the fridge so that the rest can stay chilled.
6. If you don’t have a granite or marble countertop, try rolling out the cookies on a table covered in a vinyl cloth. My mother-in-law uses this technique and prefers it over a countertop.
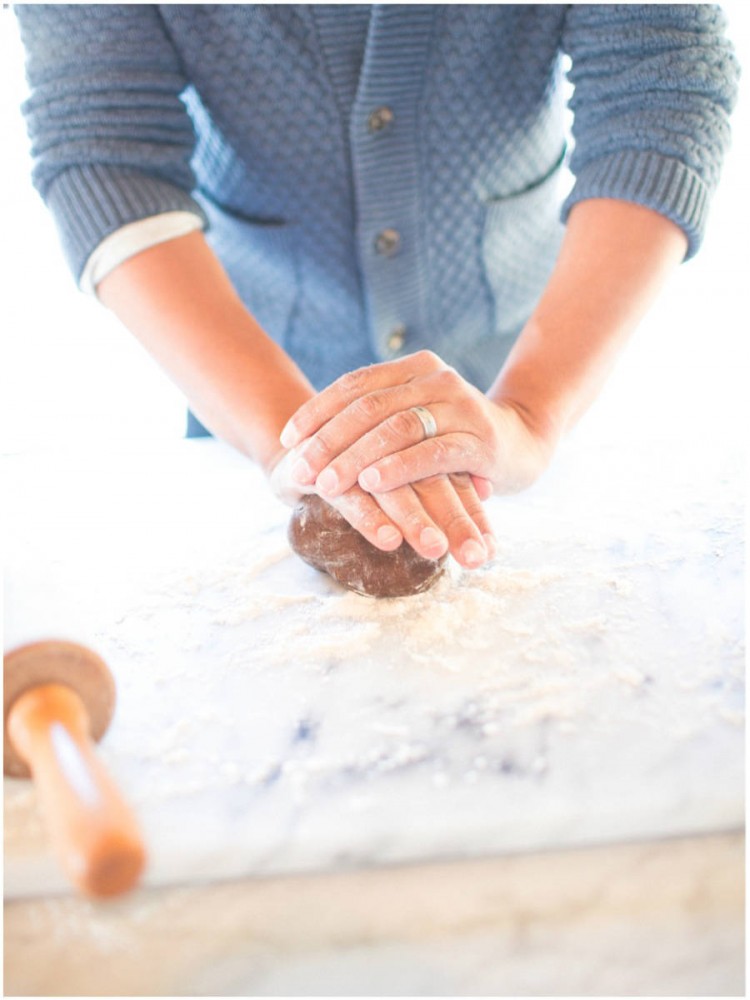
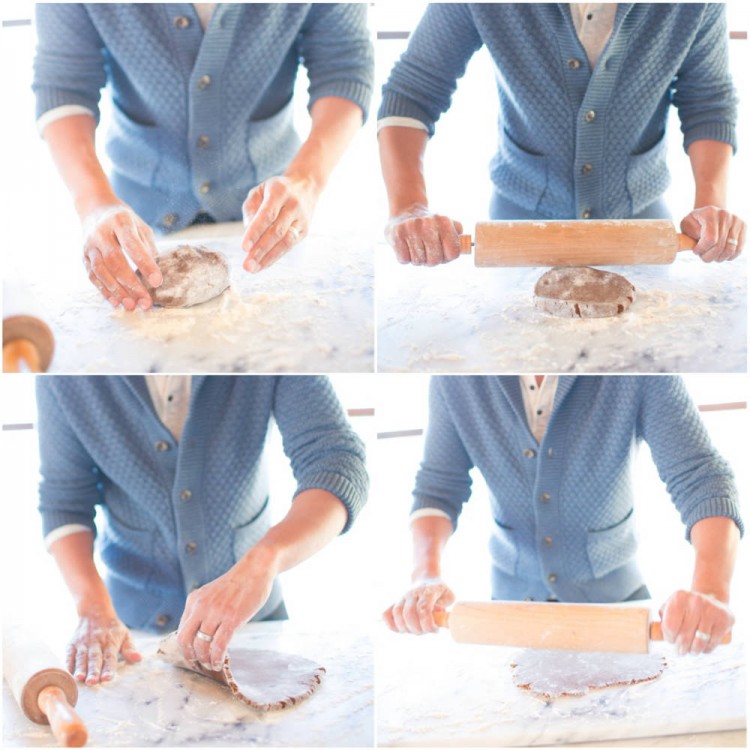
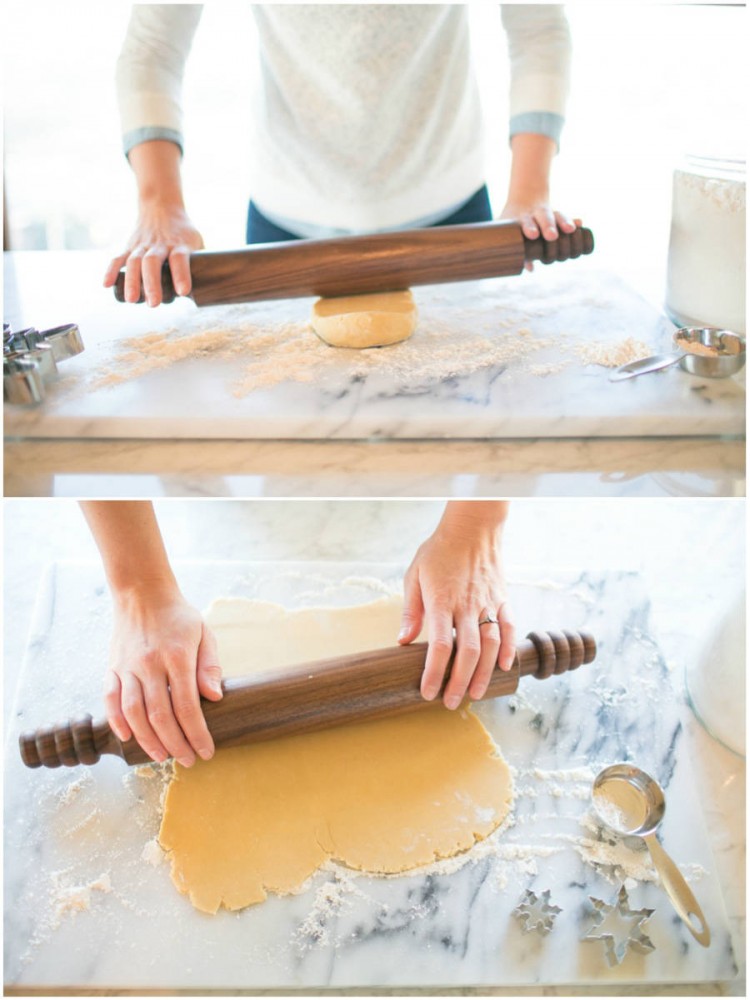
7. Shape your disk into a ball and sprinkle a bit of flour on top before starting to roll out your dough.
8. As you roll, carefully lift your dough and sprinkle flour underneath. You don’t want too much flour because it will make your cookies dry, just enough so it won’t stick to the surface.
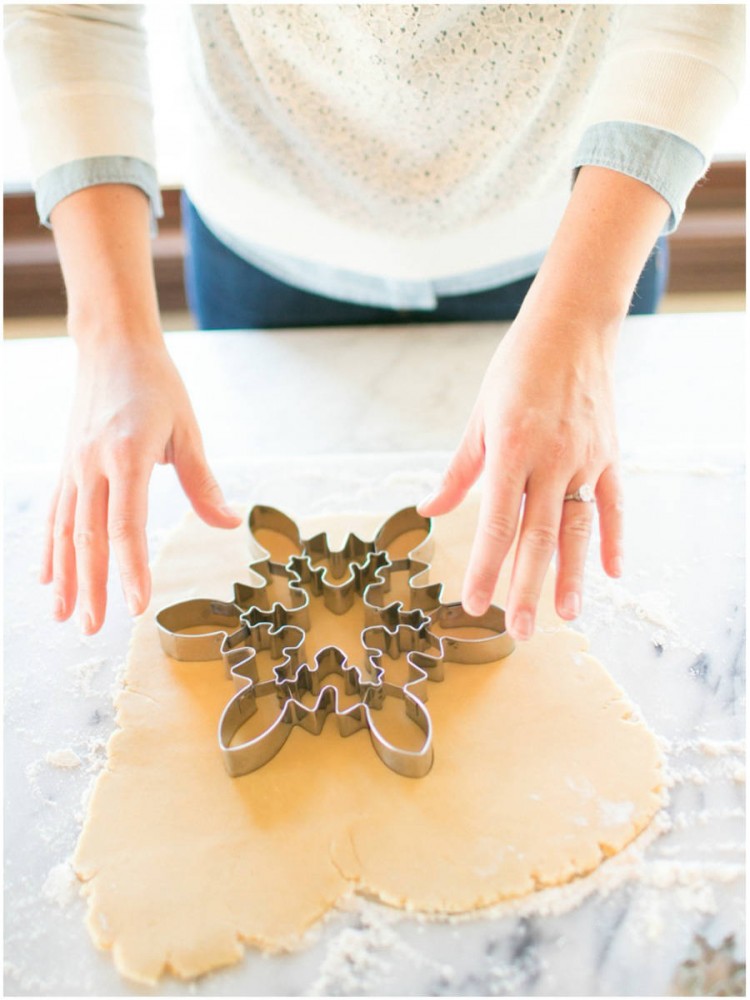
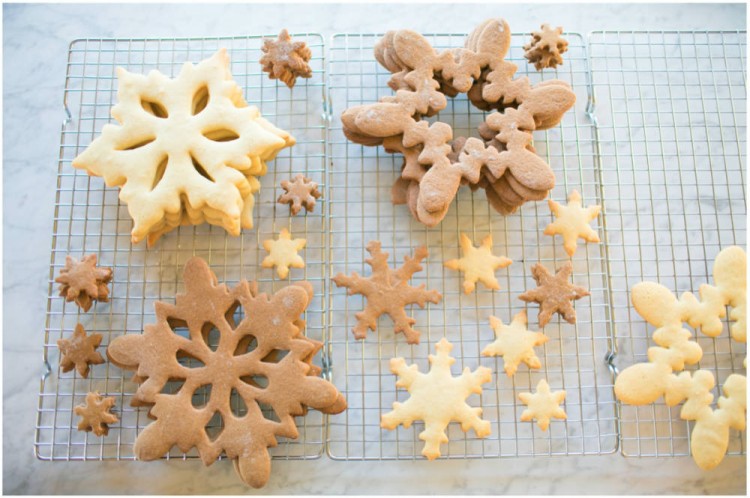
9. Roll out your dough so that it’s 1/4 of an inch thick. If the dough is much thicker, the cookies will lose their shape in the oven when they bake.
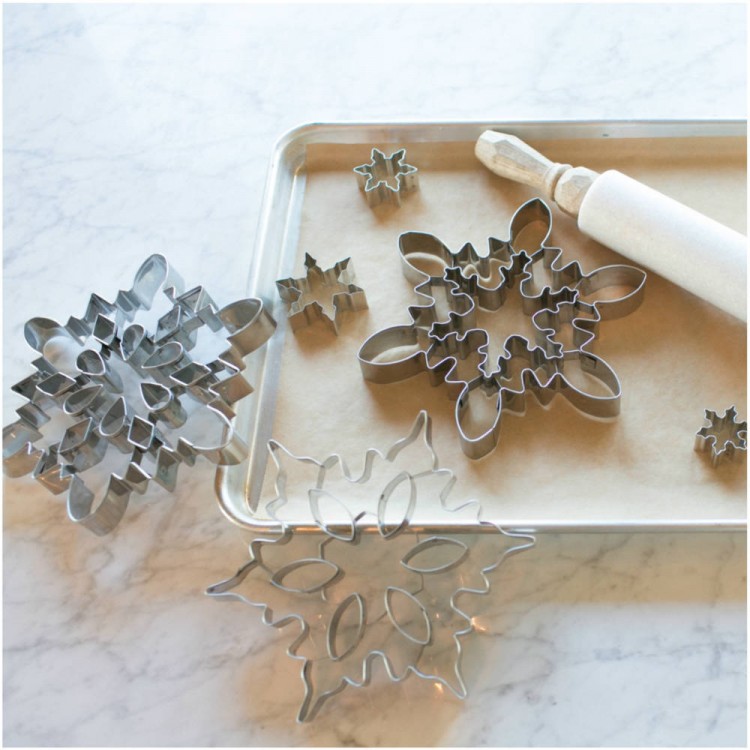
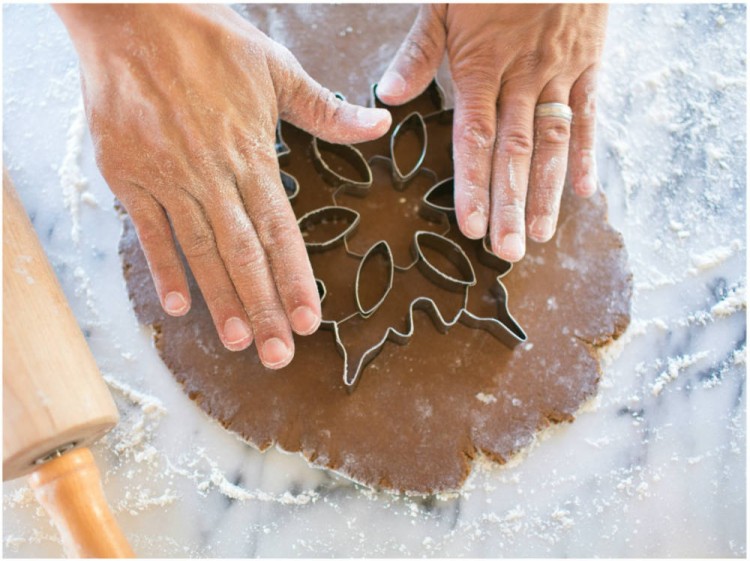
10. Be aggressive and press very firmly on your cookie cutter so that the entire shape is cut out from the dough.
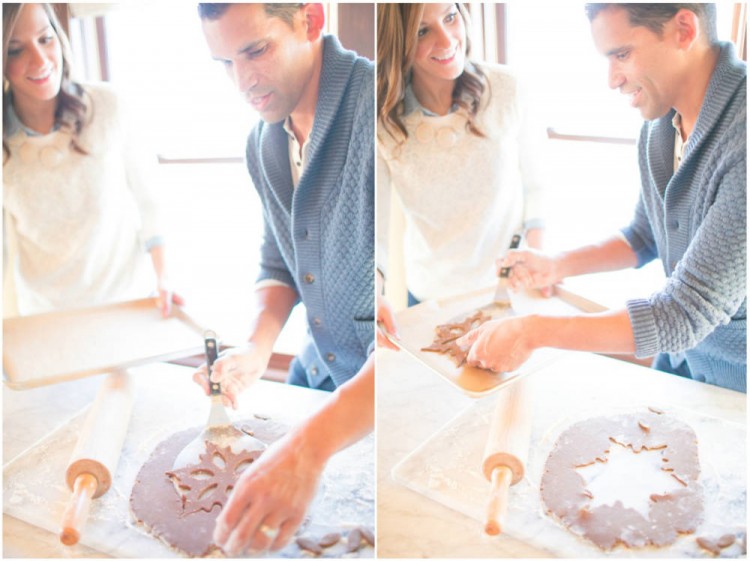
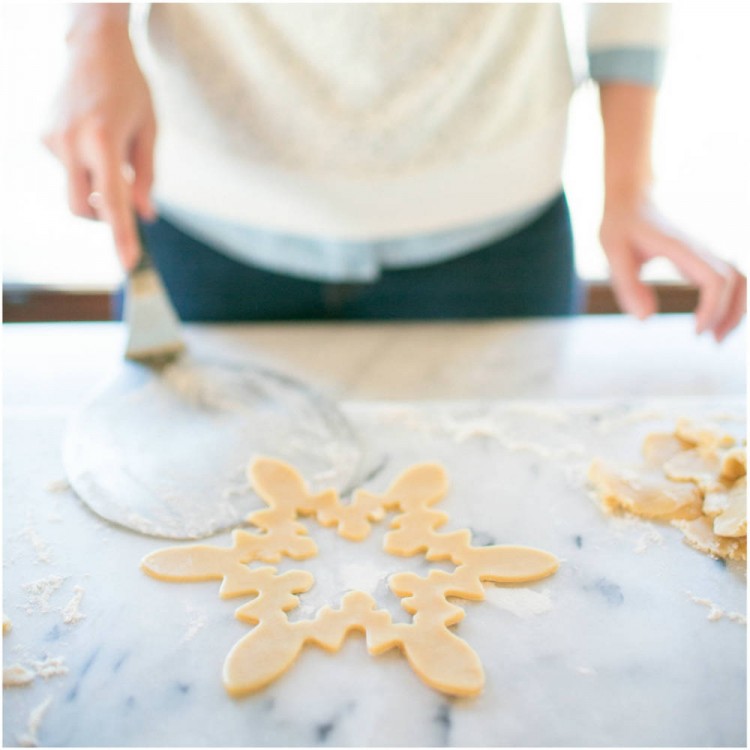
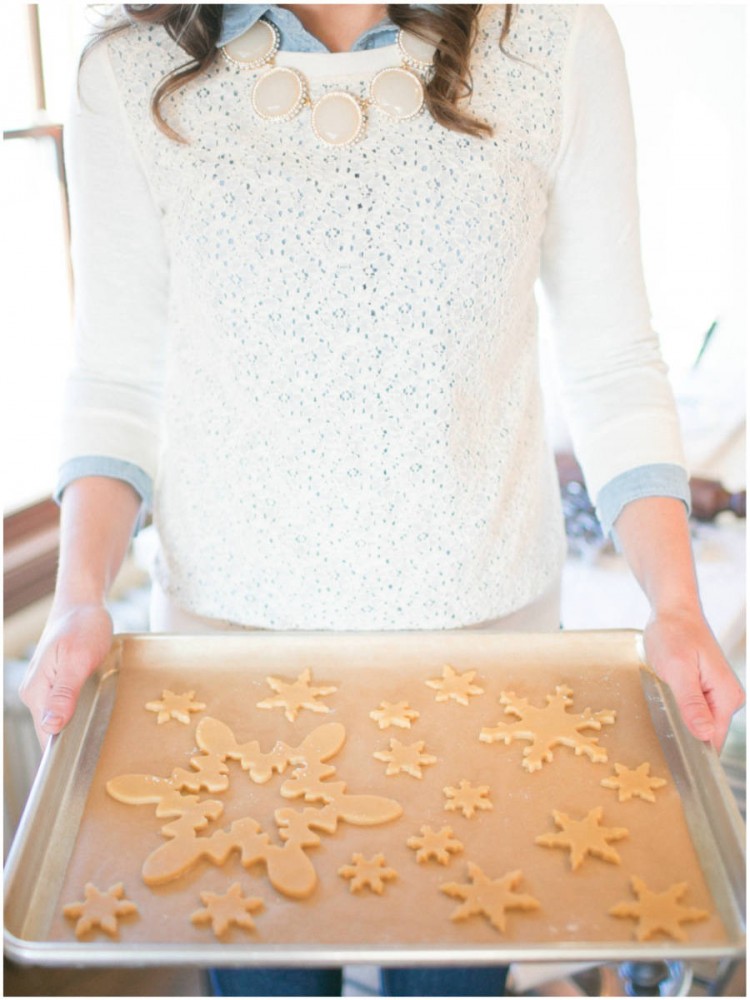
11. Small cookies are easy to transfer from the counter to the cookie sheet, but larger ones can be a challenge. Using a large spatula covered in flour is the best technique that we have found. Also, work quickly before your dough warms up. The colder the dough, the easier it is for the cookies to to be transferred to the baking sheet.
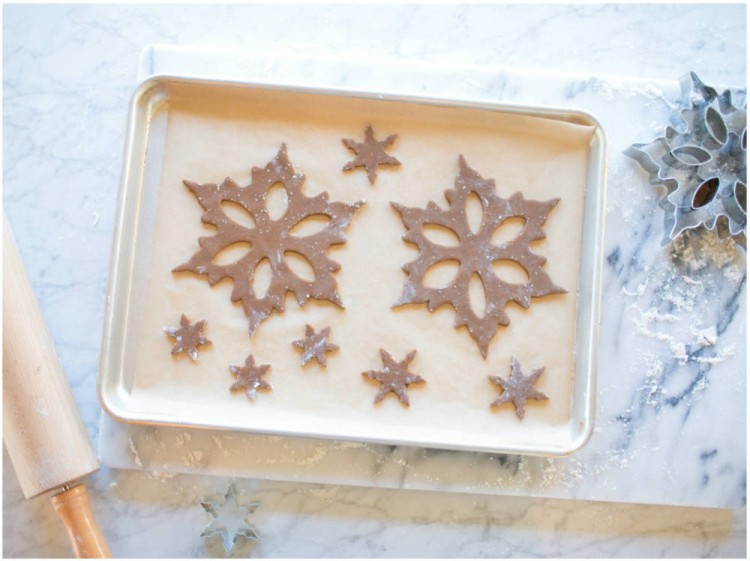
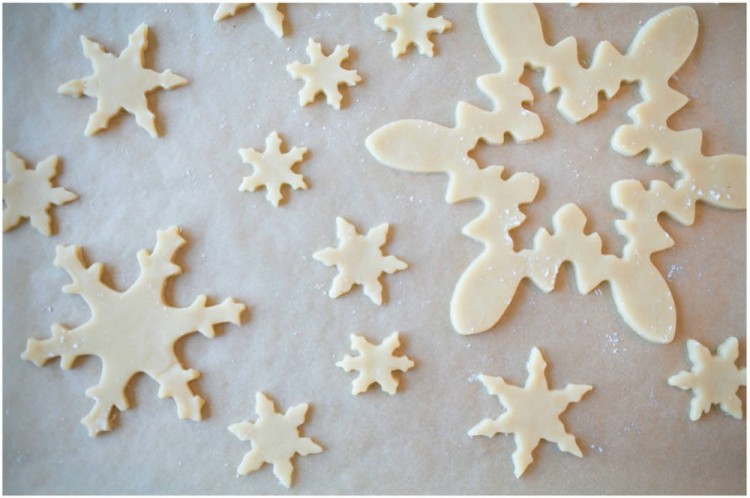
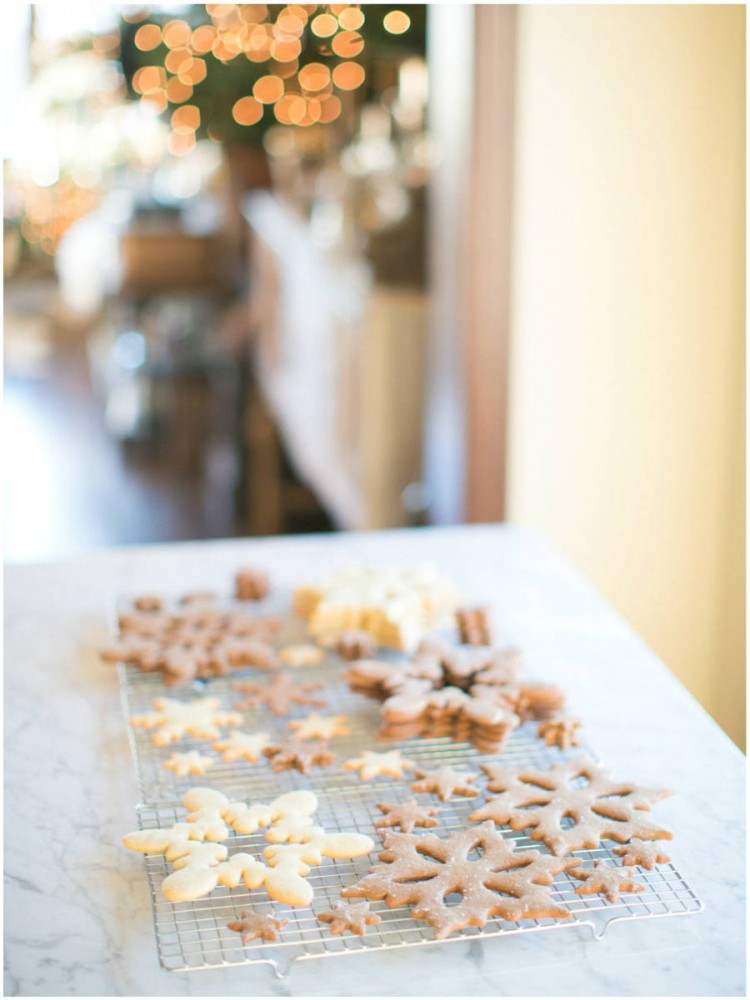
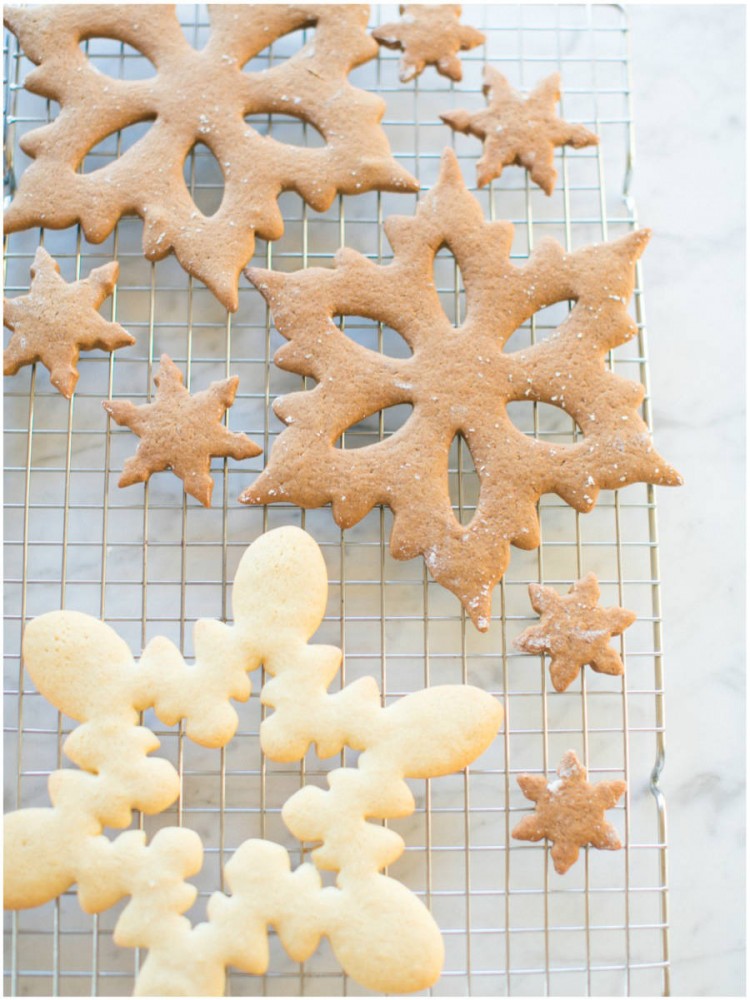
12. Keep an eye on your cookies while they’re baking. The longer they’re in the oven, the firmer and crispier they’ll be. Larger cookies, like our snowflakes, need to be fairly firm or they’ll crack when you try to decorate them.
13. Let your cookies cool for about 10 minutes before attempting to transfer them from the baking sheet to the wire cooling racks.
14. Let your cookies cool completely before you attempt to decorate them (otherwise it’ll be an oozy mess).
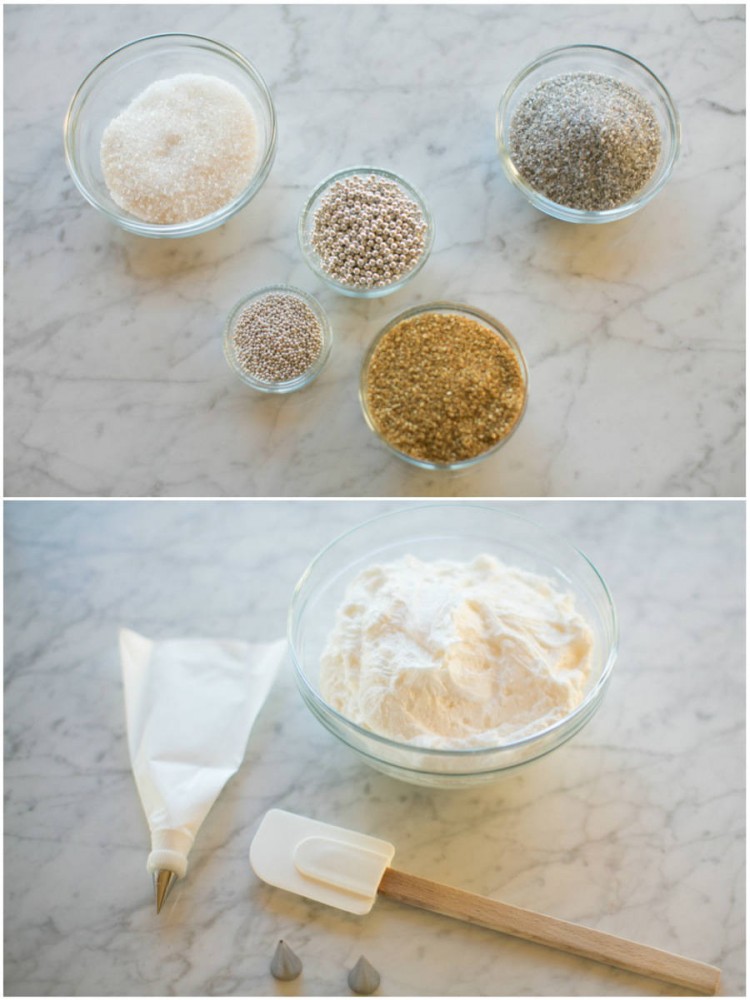
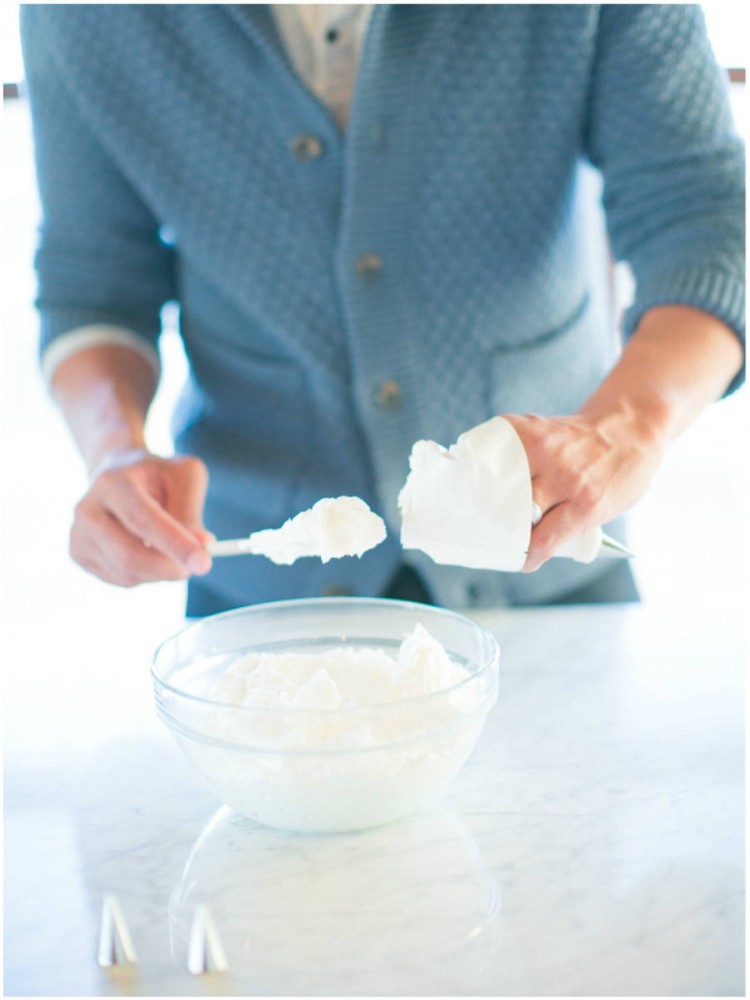
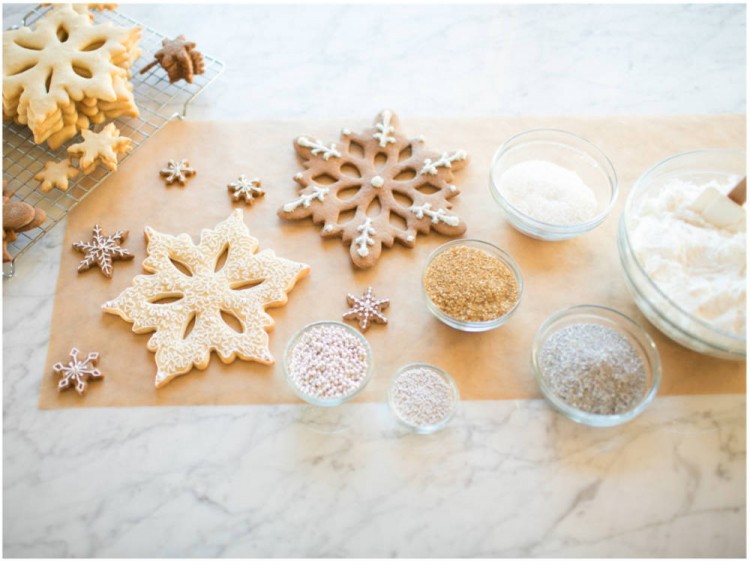
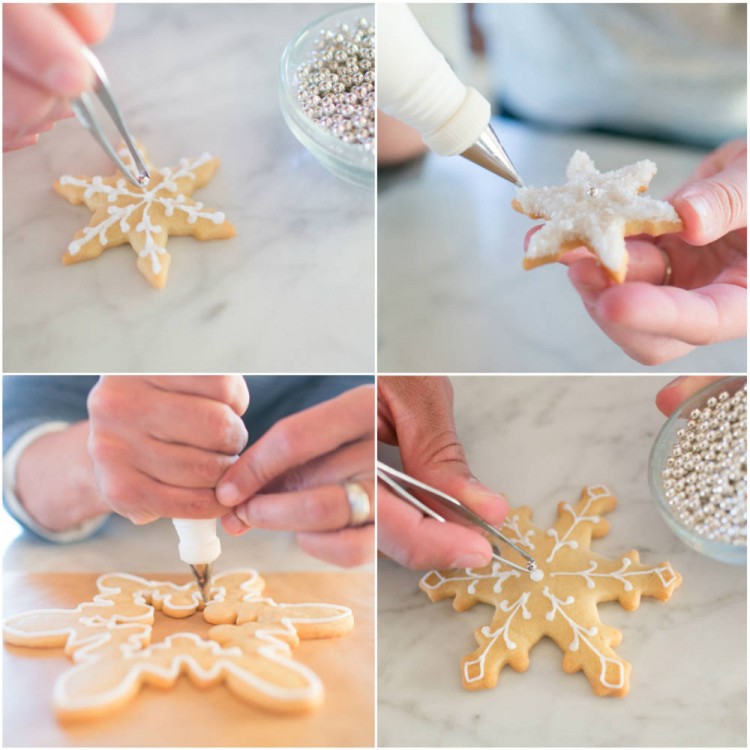
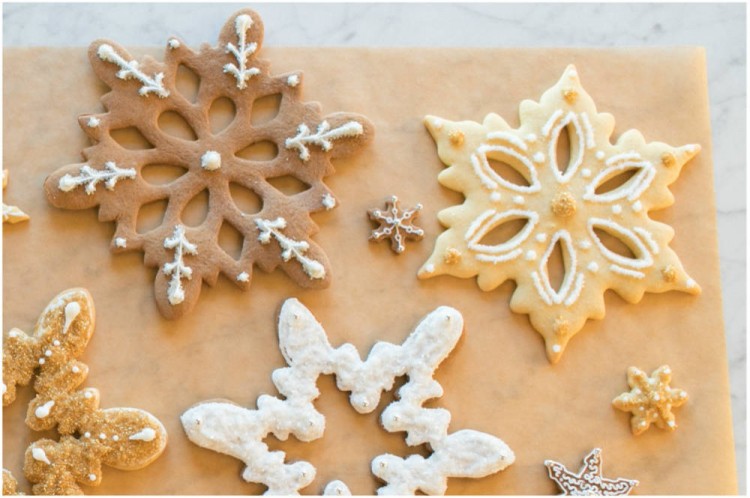
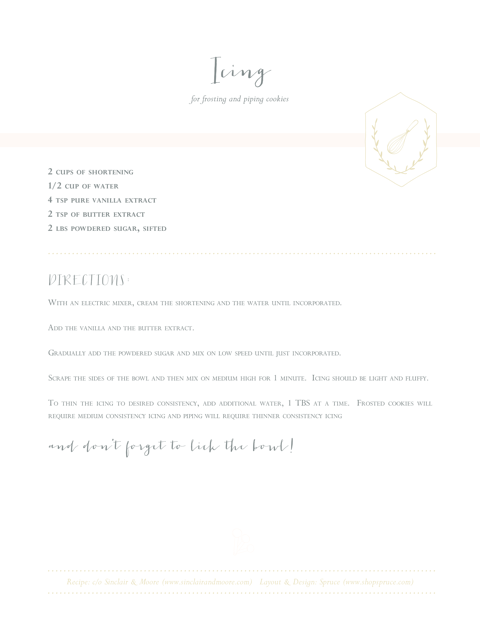
15. Ok – this is where we might lose some of you. Remember that decorating your cookies should be fun. Also remember that Steve has been using a piping bag since age 12 – he has had a ton of practice! You can use store bought icing or use the recipe we have below. Either way, have fun and experiment with special sugars, silver balls and sprinkles. If you want to try piping, check out this tutorial for a few techniques and tips.
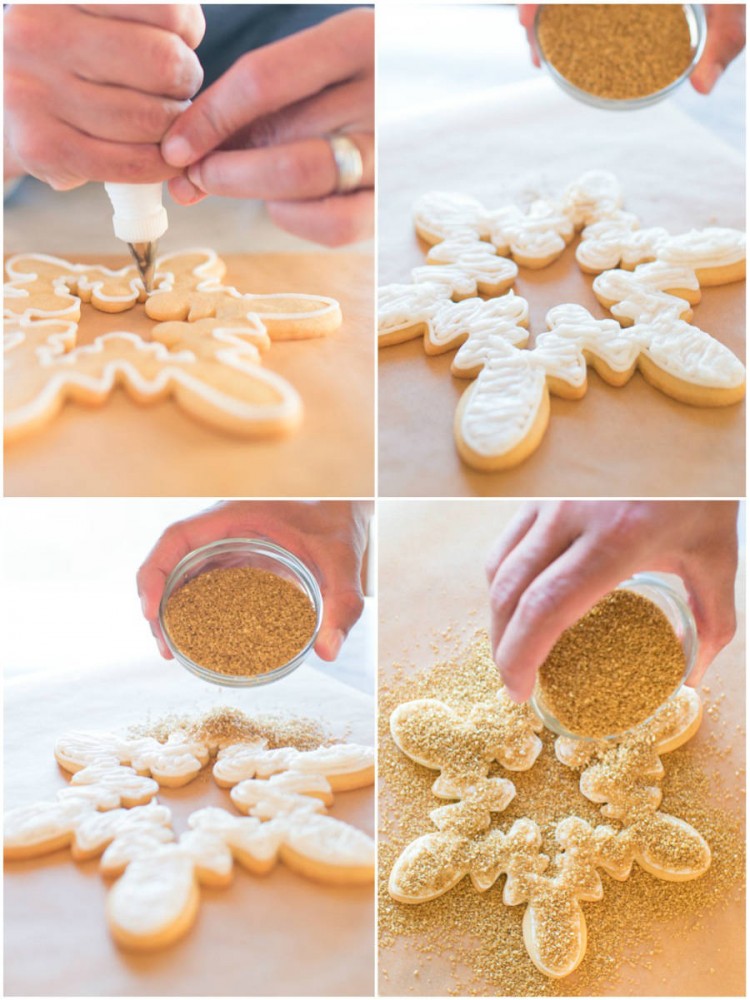
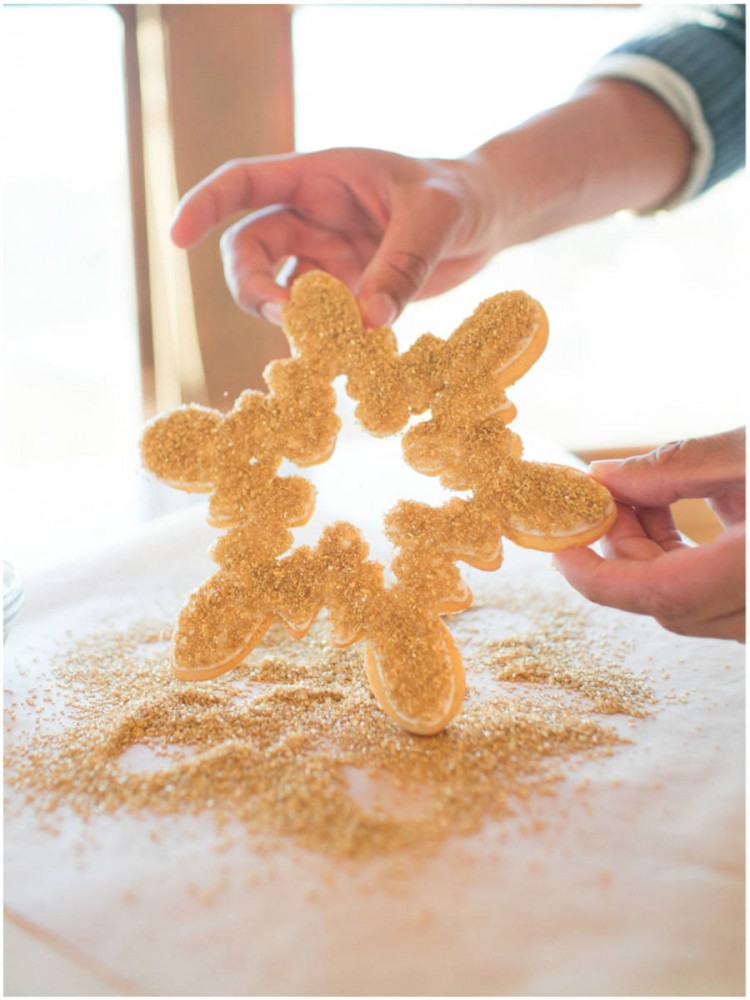
17. If you don’t like how your cookie is looking (like the majority of mine), this is when I suggest to completely cover your cookie with crystalized sugar. This is as easy as frosting the entire cookie (to cover the mess-ups), and pouring sugar on top. You can’t go wrong with this technique!
I think Steve and I have possibly started a new Christmas cookie tradition of our own – decorated snowflakes! I’m sure in a few years mine will look like the ones above – ha! What are your annual holiday baking traditions?
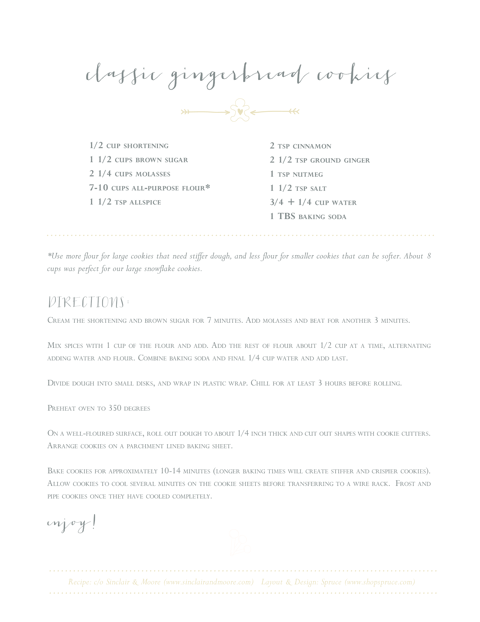
Download and print our recipes for Classic GingerBread Cookies and Icing
Photo Credit: Matthew Land Studios
Recipe Layout and Design: Spruce





add a comment
+ COMMENTS