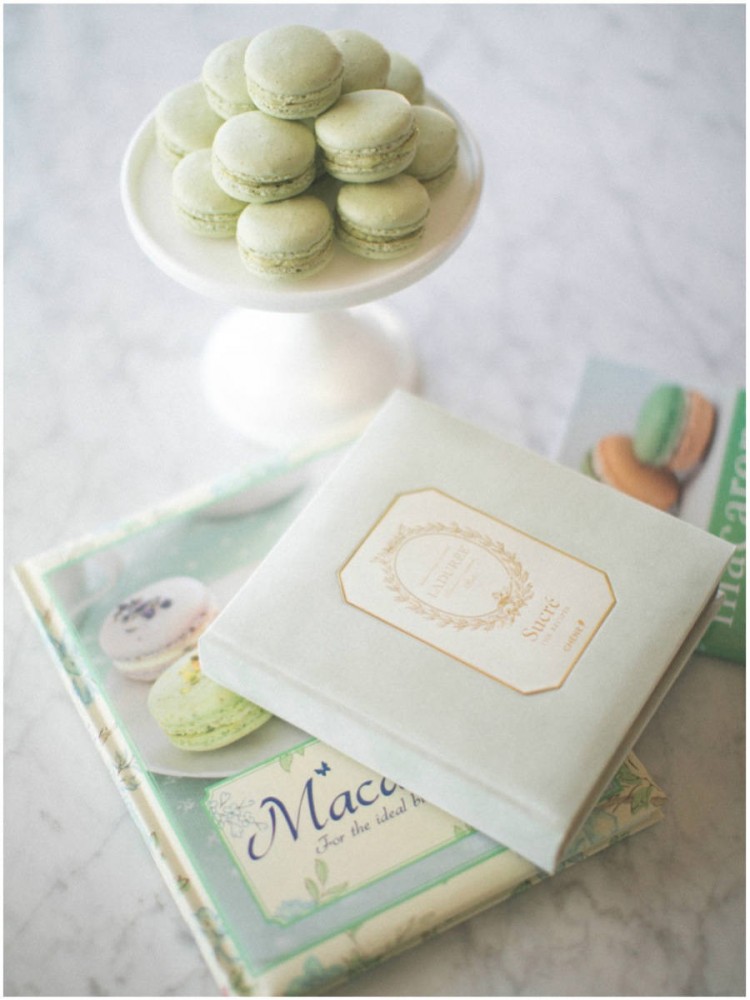
I remember the first time I made macarons. They were for Jamie’s birthday party the year we were engaged. I spent hours working on them, and I think I only ended up with about ten macarons that somewhat resembled the confections I had seen the month before in London’s Laduree. All of the other macaron shells I made did not turn out. I had envisioned stacks and stacks of beautiful macarons, so you can imagine how disappointed I was to have less than a dozen treats for her party. I set out to make them again and again. Sometimes they cracked in the oven, other times they became hollow shells that just fell apart. I have had them all flow together and lose their shape. Other times they just stuck to the pan. The whole thing made me want to scream. It felt like I was having more frustration with macaron baking than success, but I am also pretty stubborn and determined. I was determined to create a better and clearer recipe.
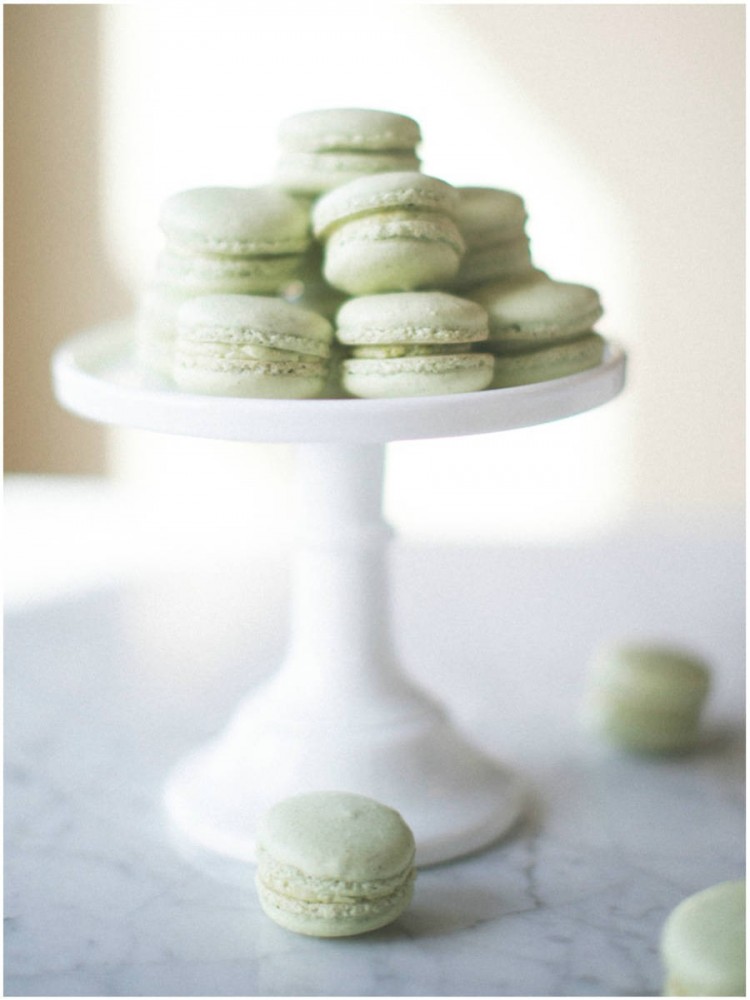
I started by reading just about every macaron cookbook, blog post and recipe that I could find. It seemed like one recipe just contradicted the next one. Some recipes call for large amounts of sugar, and others barely any sugar at all. Some recipes said to let them rest overnight before baking and other recipes said to let them rest for 10 minutes. Most recipes seemed to be very vague with the instructions as if everyone was supposed to already know what they were doing. It can all be so confusing. Through trial and error, I have combined a lot of techniques, suggestions and tricks and consolidated them below to make the recipe for what I think is the perfect macaron: delicately crusty on the outside but soft and chewy on the inside and perfectly filled with a flavored buttercream.
I’m not going to lie. This recipe is not quick and easy. The steps are all pretty simple, but I somehow still seem to dirty every dish in my kitchen. All I can say is that in the end it is so rewarding to have these little treats that you can say you made from scratch. Before you begin, read through this entire blog post and the entire recipe. Getting a firm grasp of the big picture will help you through the process.
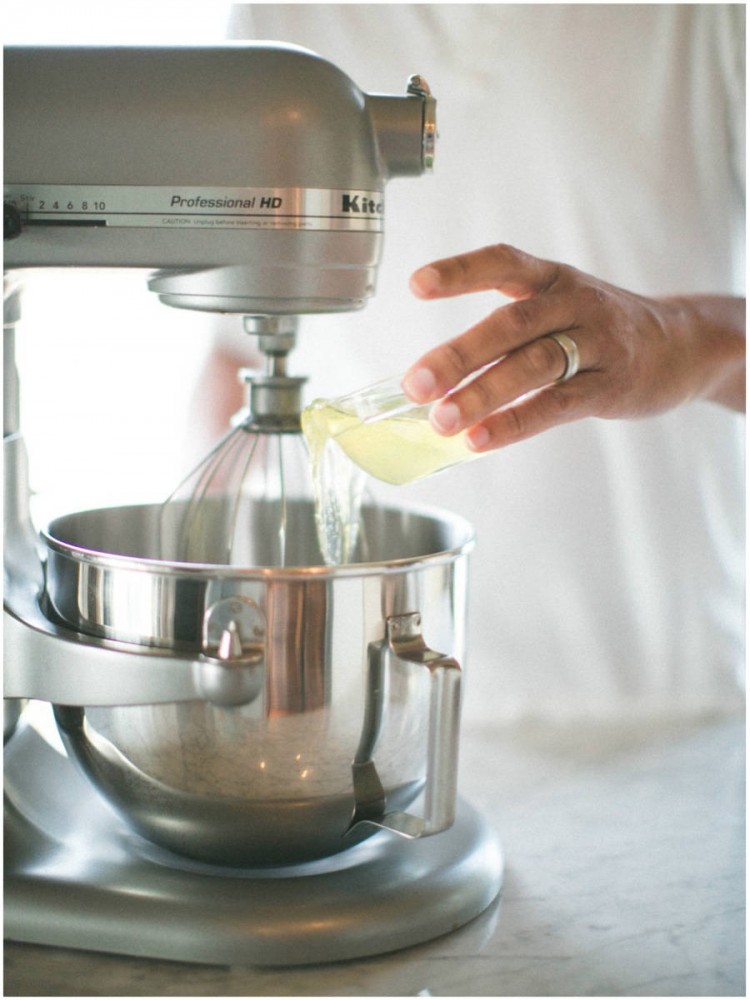
You may not find this in any other recipes, but you really should start your macaron process two or three days before you make them by separating your egg whites from the yolks and letting the whites rest at room temperature. Aging your egg whites will allow the moisture to evaporate from the egg. Less moisture means your macaron shells will be less likely to crack while baking. This is a very important step. Simply separate the whites into a bowl and cover them with plastic wrap and then let them sit on the counter at room temperature for the next couple of days. You will not get sick from this, but you will be more likely to have beautiful looking macarons. ( I was skeptical about this too… I didn’t think it would really matter so I ignored this concept. All of my macaron shells kept cracking during the baking process until I finally aged my egg whites. Don’t skip or ignore this step!)
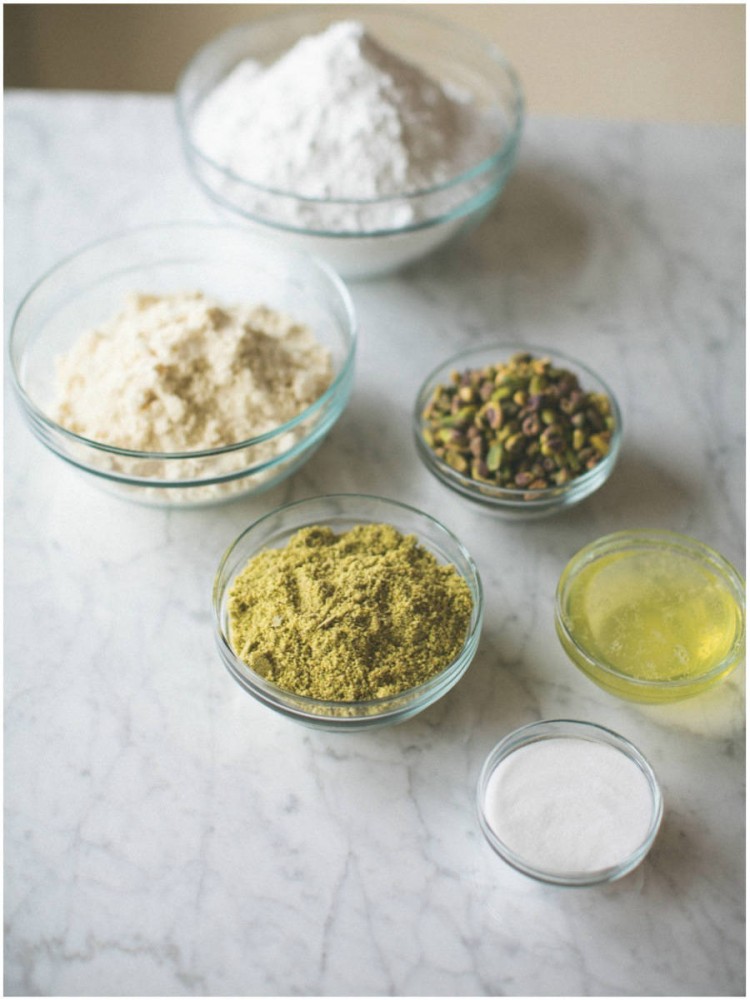
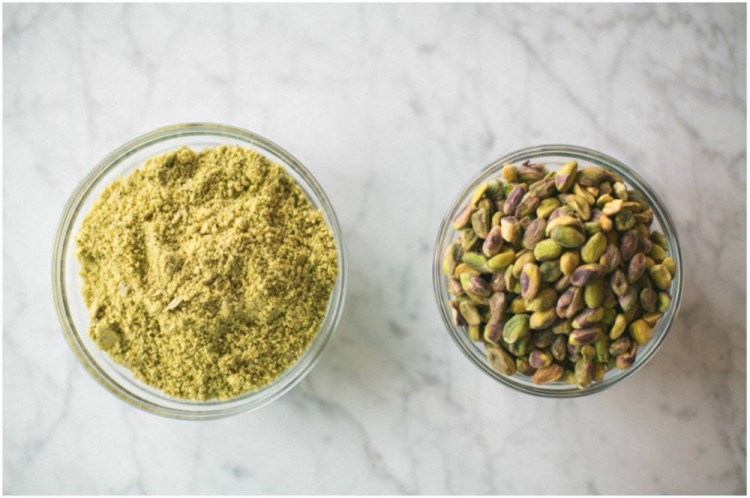
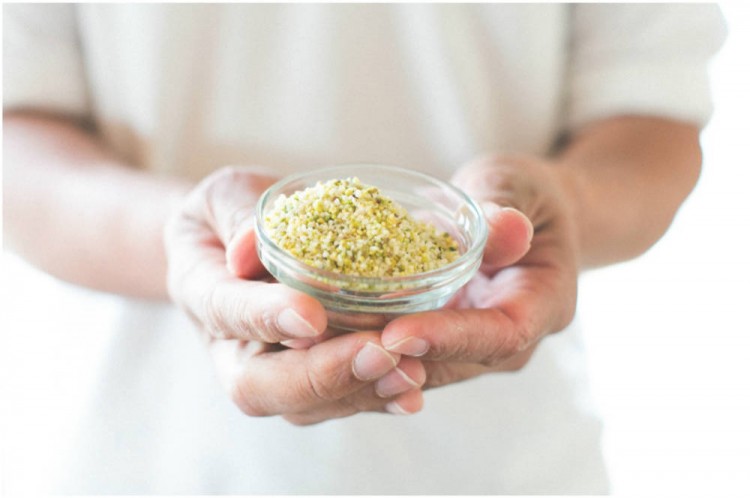
Use a food processor to grind your pistachios into a fine powder. The finer you grind them, the smoother your macaron shell will be. Make sure to grind a bit more than you will need, because you will use the extra when you make the pistachio buttercream filling.
The almond flour you select will make a big difference as well. I have not had success with the almond flour from Trader Joe’s. It is less expensive, but it is not very fine and my shells have always turned out kind of grainy looking. Macaron baking is an investment in time, so make the investment into good supplies so all of your effort is not in vain. I have found that Bob’s Red Mill Almond Flour is the best variety to use. I even prefer this to grinding my own almonds because it alleviates the moisture that freshly ground almond flour createsYou can find Bob’s Red Mill Almond Flour at most grocery store in the baking aisle near the specialty and gluten free flours.
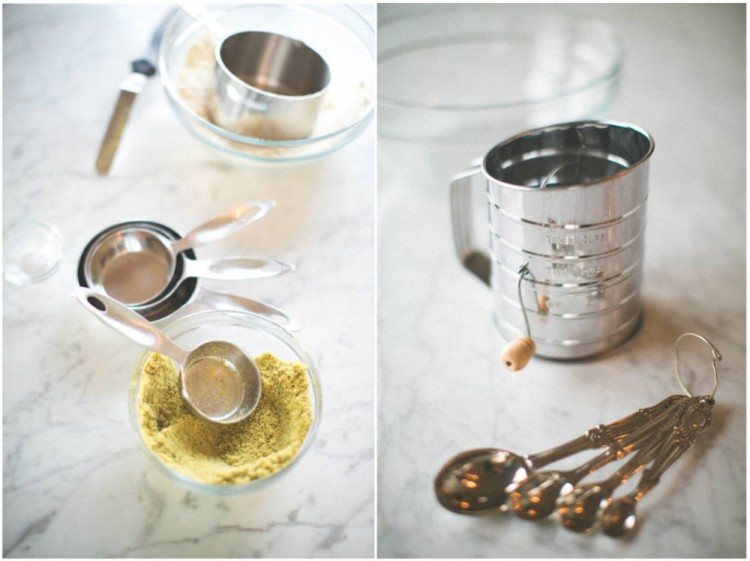
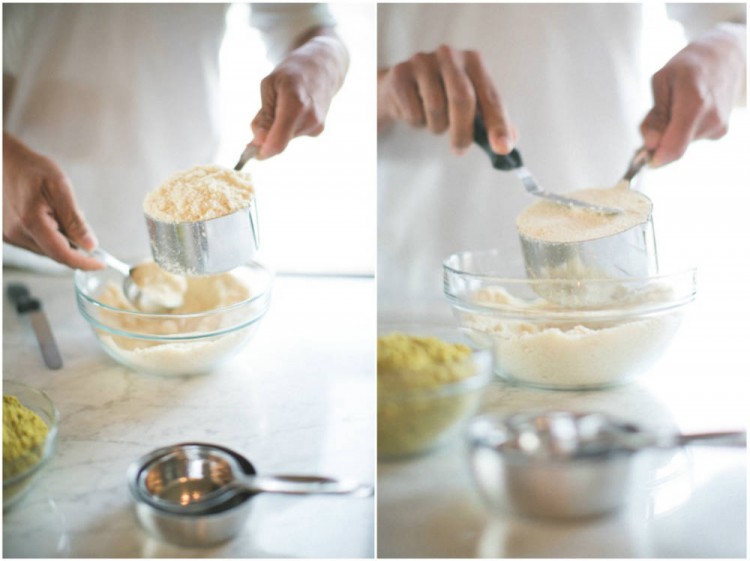
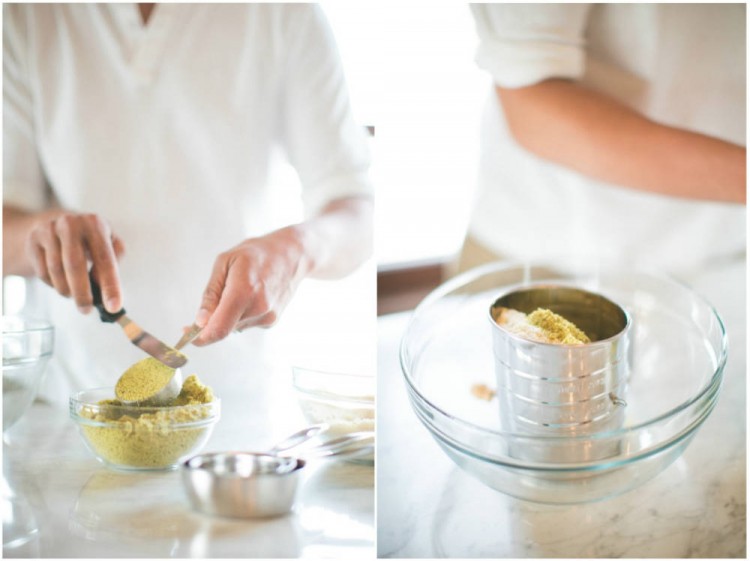
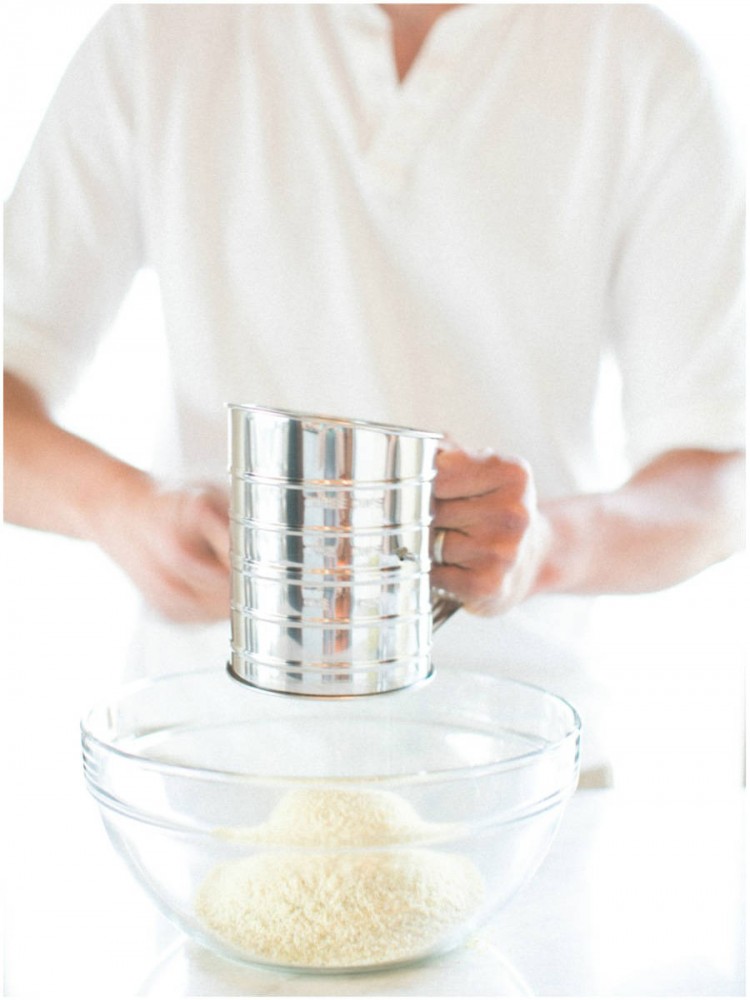
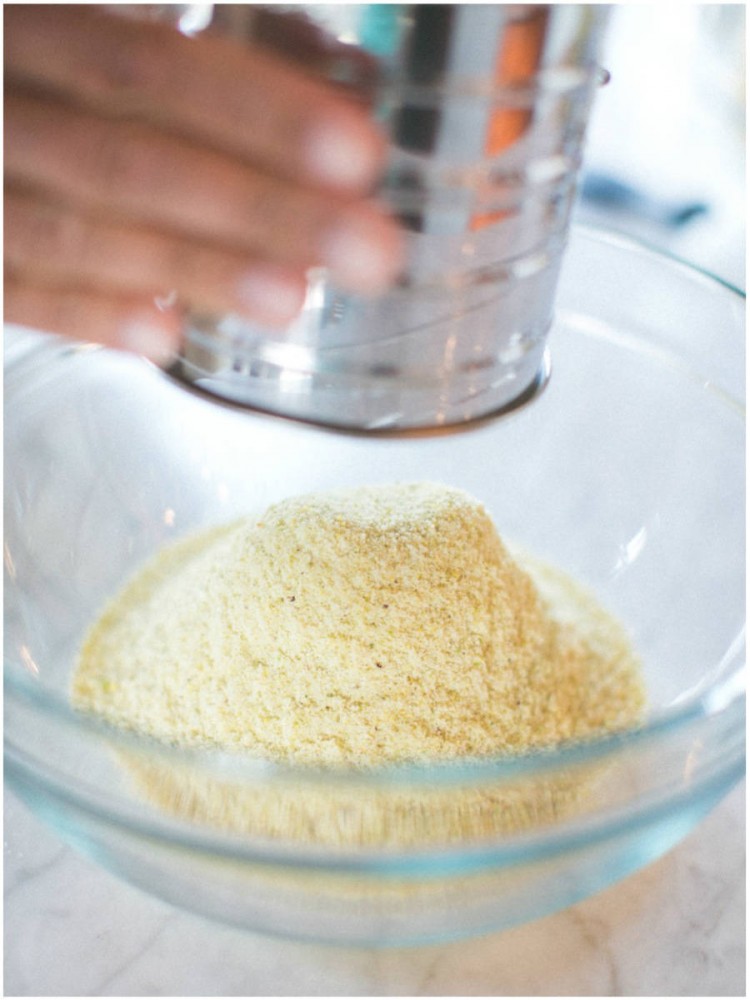
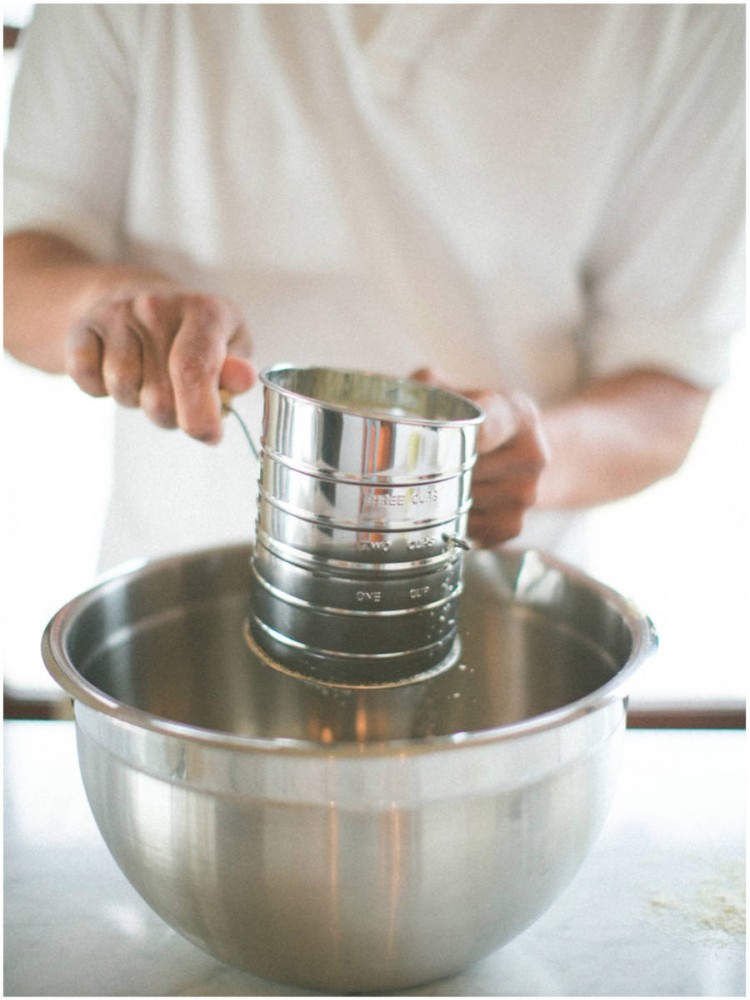
Sifting. I hate sifting. I learned the importance of sifting from my mother-in-law Gail. We made macarons together after she had returned from Paris where she had taken a macaron class. She had me sift the almond flour over and over. When I thought I was done, she told me to sift it again. Then again. Sifting feels like a chore. It can be time consuming, but it eliminates chunks from your almond flour and ground pistachios. It is an important step that leads to smoother macaron shells. The more you sift, the smoother your shells will be.
This next picture shows the chunks that I removed from the almond and pistachio mixture through sifting. If I had not sifted, these chunks of nuts would be incorporated into my shell batter. Like I said, sifting feels like a tedious chore, but it is so worth it to have a smooth shell in the end.
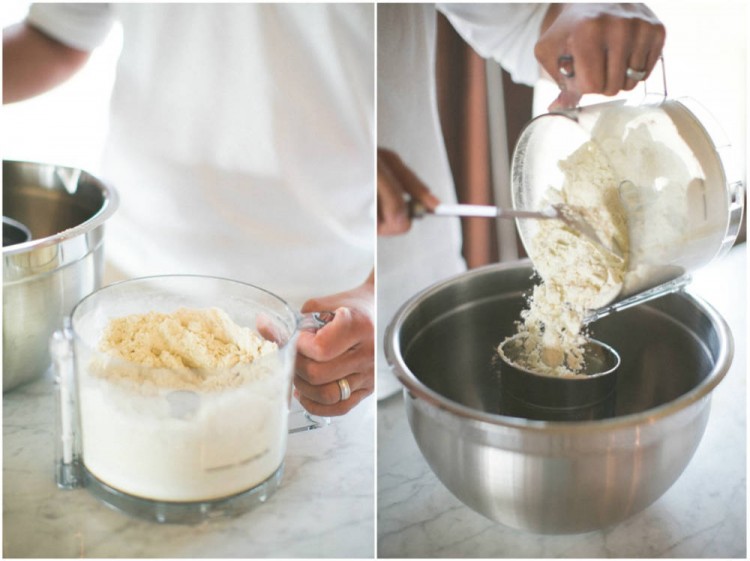
After you sift the pistachio and almond flour together, combine it with the powdered sugar in a food processor and process for about 30 seconds. This mixes the nut mixture and powdered sugar together, while simultaneously making it a finer powder.
But not fine enough that you don’t have to sift it again. It’s a chore, but sifting the powdered sugar and nut mixture one last time will be worth the effort and ensure a smooth macaron shell.
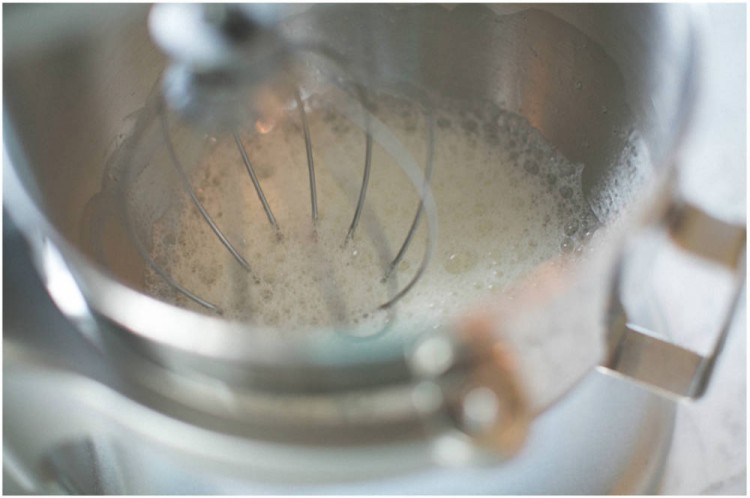
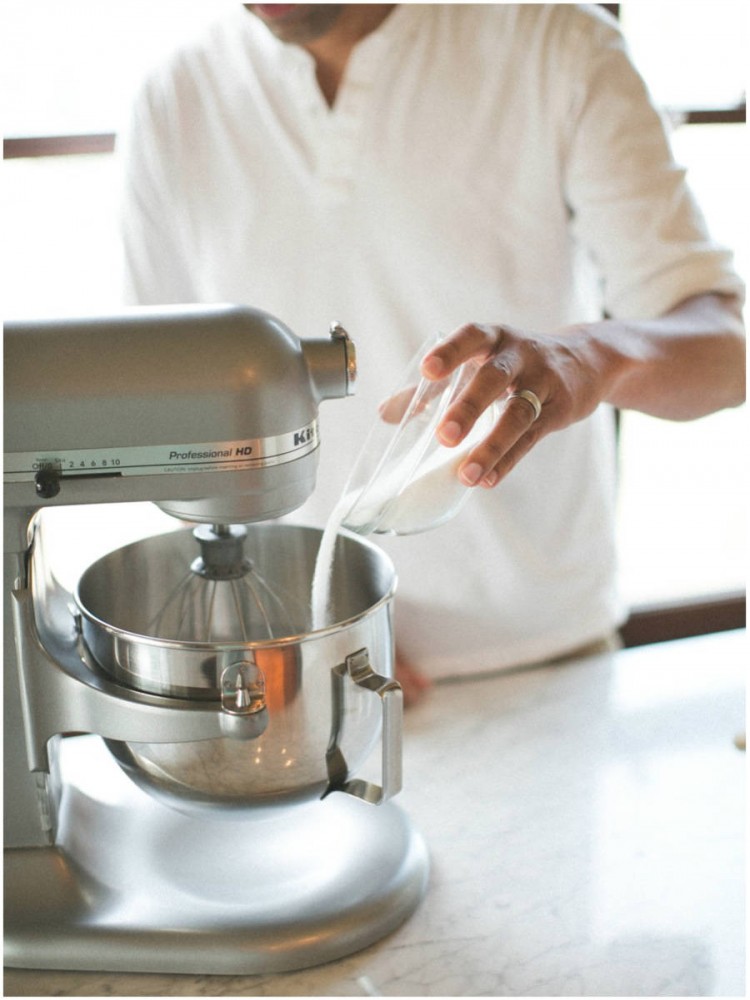
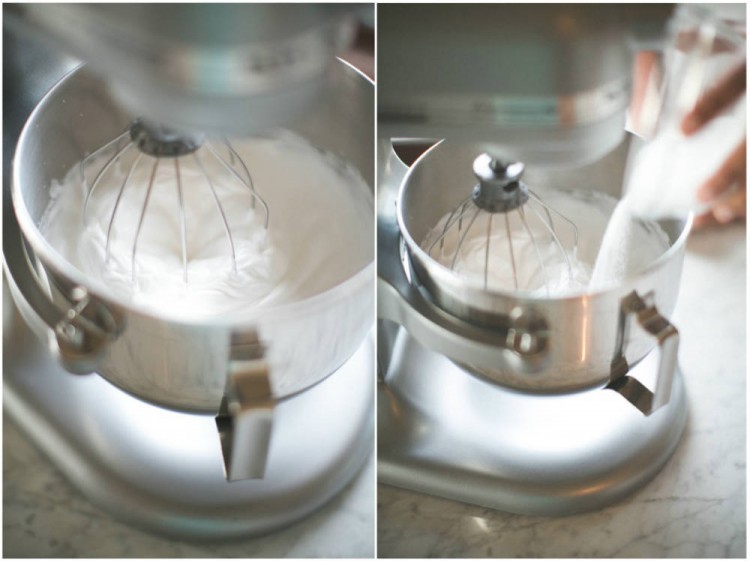
Follow the recipe carefully regarding whipping time for egg whites. You do not want to over-whip your whites. I have made this mistake far too many times, and my egg whites have become too stiff to use. You want your egg whites to be sturdy, yet still soft and fairly fluffy. They call this ‘medium peaks’. The whipping times I have included in the recipe will get you the right consistency of egg whites. Don’t be tempted to keep whipping.
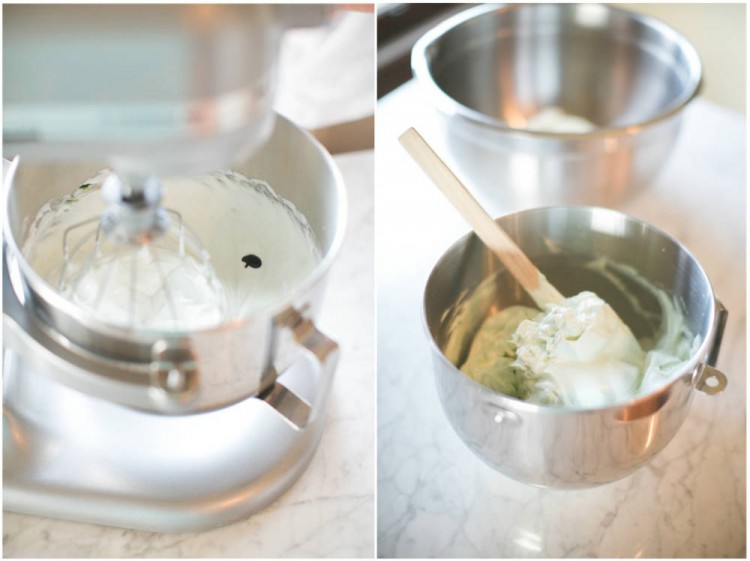
After you add the last amount of sugar to the egg whites, and before you start the final round of whipping, add a few drops of green food coloring to the mix. Many recipes will tell you to add this in a later step, but I have found that adding the color to the egg whites in this step helps to eliminate over-mixing of your shell batter at a later stage.
Only add a few drops of color to the egg whites. I prefer to use paste food coloring from Wilton. (I used a mixture of moss green and kelly green to achieve my color). I use paste food coloring rather than the liquid kind you find at grocery stores, because it does not add as much moisture and liquid back into your egg whites. Remember you have been aging your egg whites to eliminate the moisture that will help you avoid cracked shells. Don’t add the moisture back in with food coloring. You can find paste food coloring at most craft supply stores.
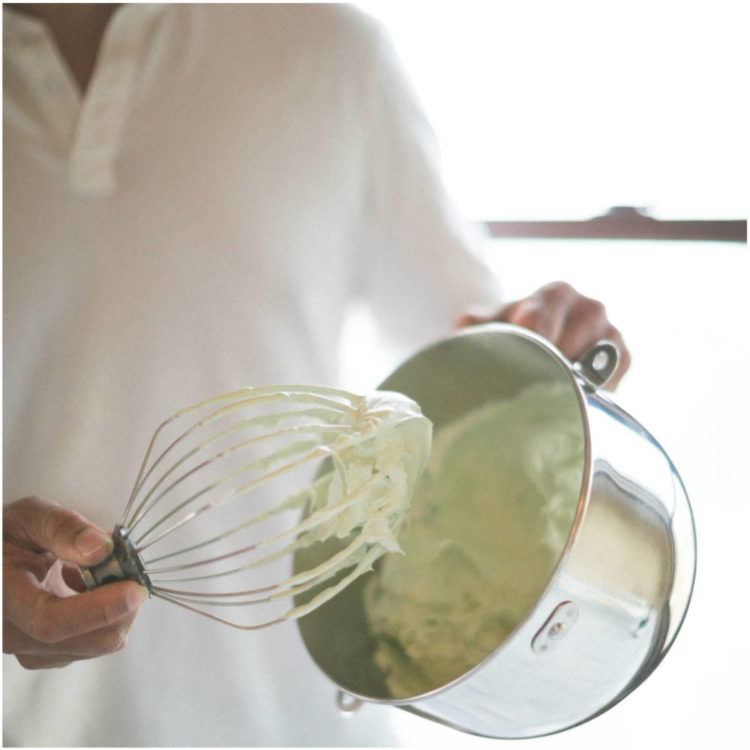
This shows the ‘medium peaks’ you are trying to achieve with your egg whites. Still soft and cloud like, but it can hold its shape nicely.
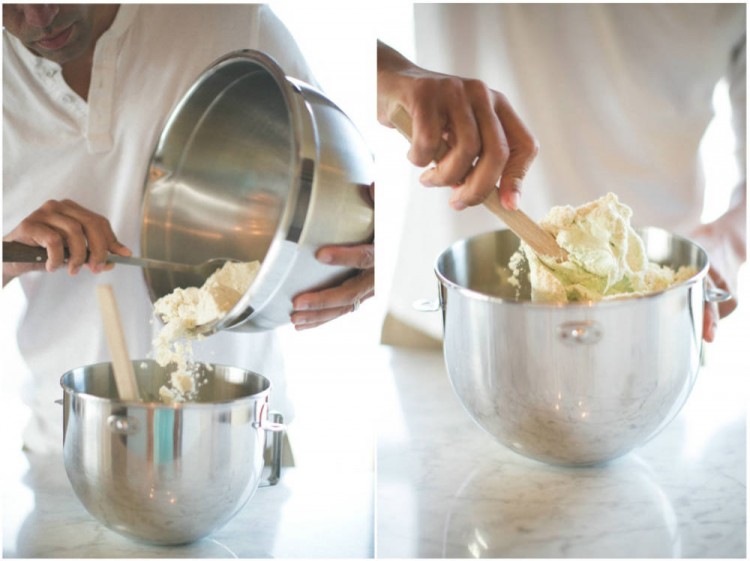
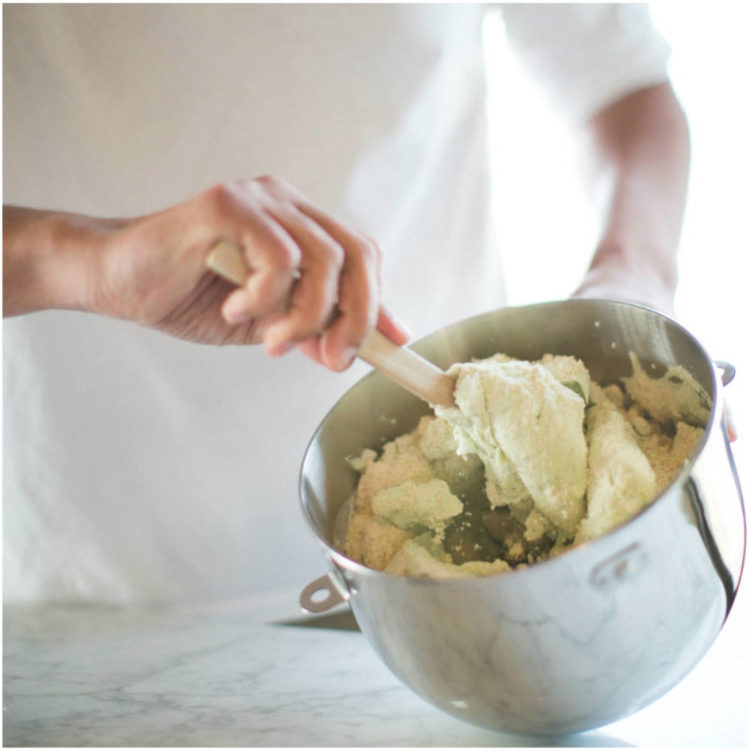
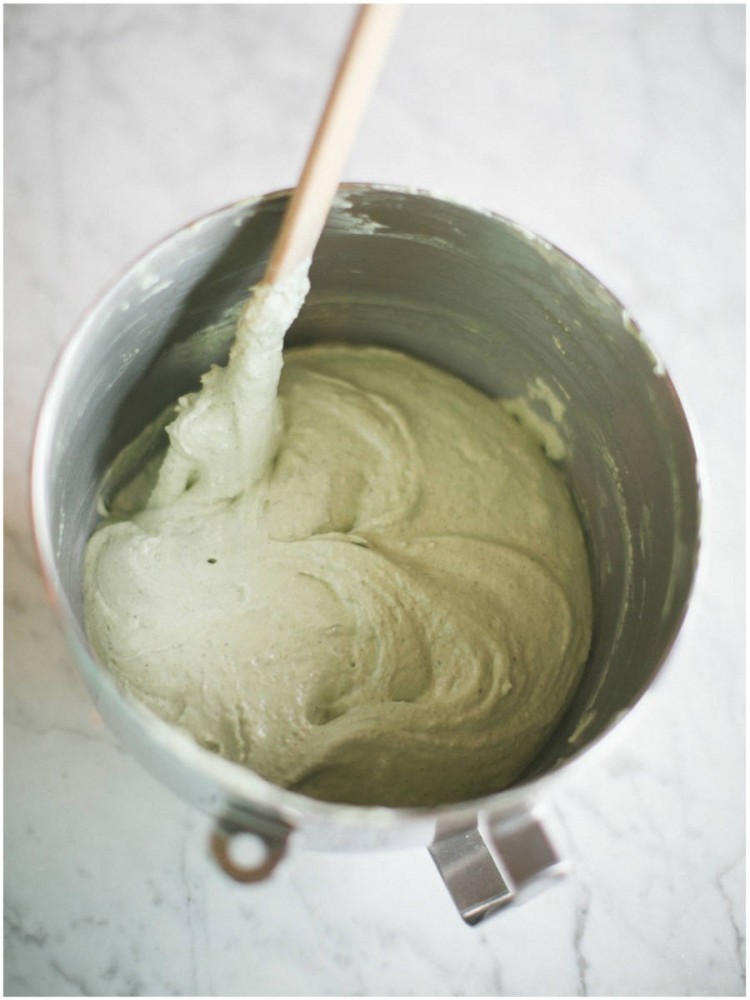
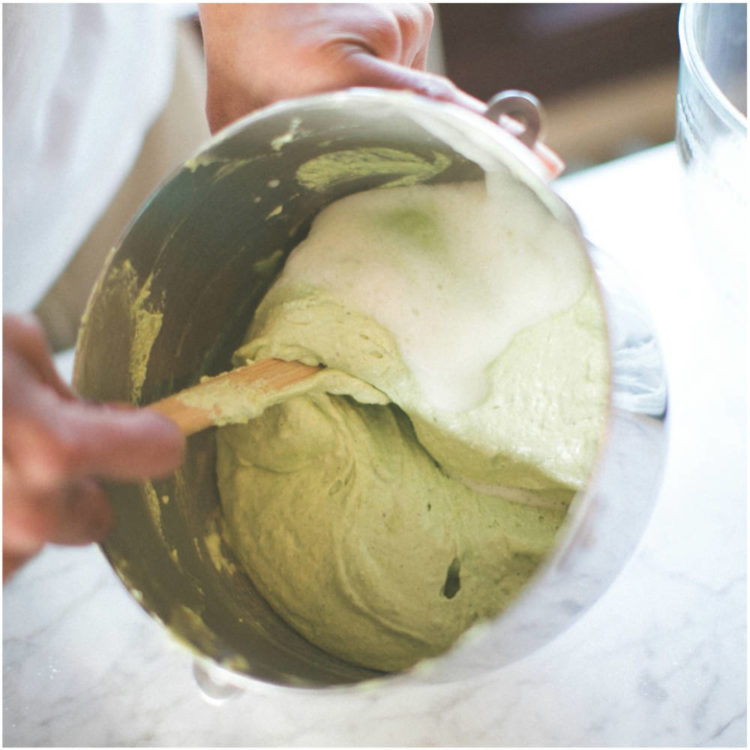
Combining the nut and powders sugar mixture to the egg whites can be a tricky step. Under-mixing results in a batter that is too firm and the macarons will have peaks. Over-mixing will result in a batter that is too thin and will not hold its shape when you pipe the shells. It is better to under-mix than to over-mix. The more you make these, the better feel you will get for the perfect consistency. You might not get it right the first time. I sure didn’t. I still have to be really careful, as I have a tendency to be over thorough and want to make sure everything is mixed really well. You definitely want your batter to be thoroughly mixed, but work quickly and stop when everything is just incorporated.
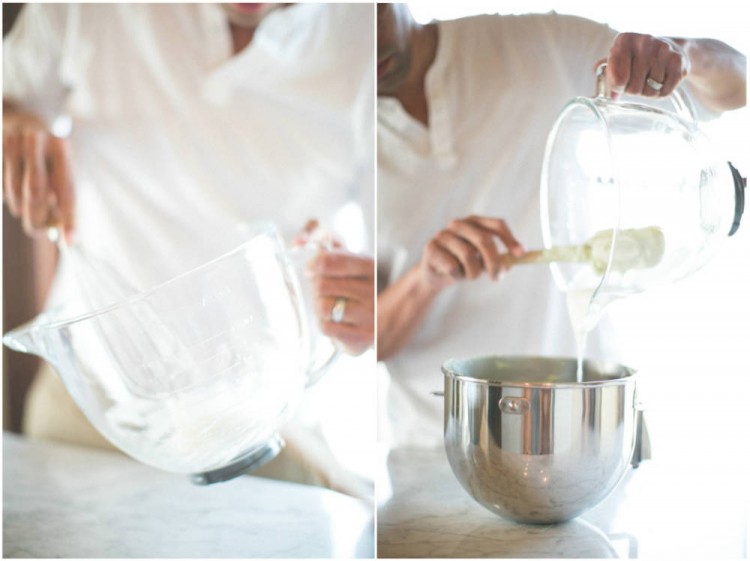
The recipe calls for an extra 1/2 of an egg white that was not included in the egg whites you whipped with your electric mixer. Whip this 1/2 of an egg white by hand just until frothy and then add it to the shell batter. This loosens the batter and is your final step before piping your shells.
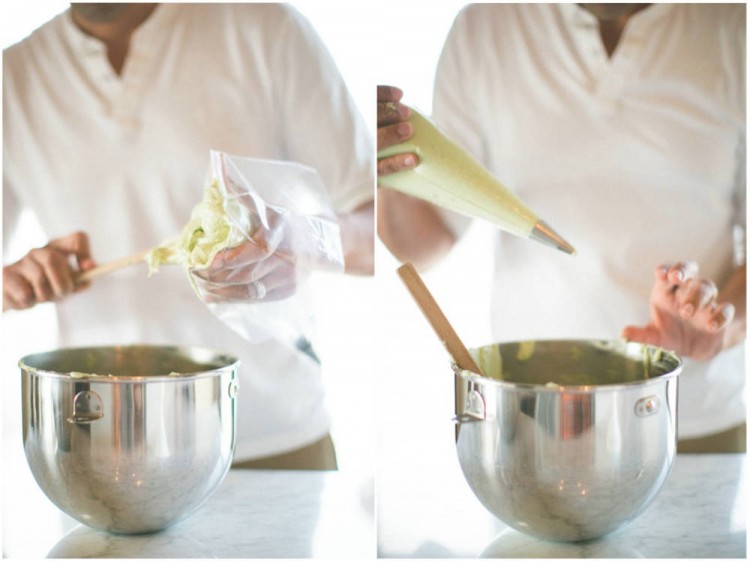
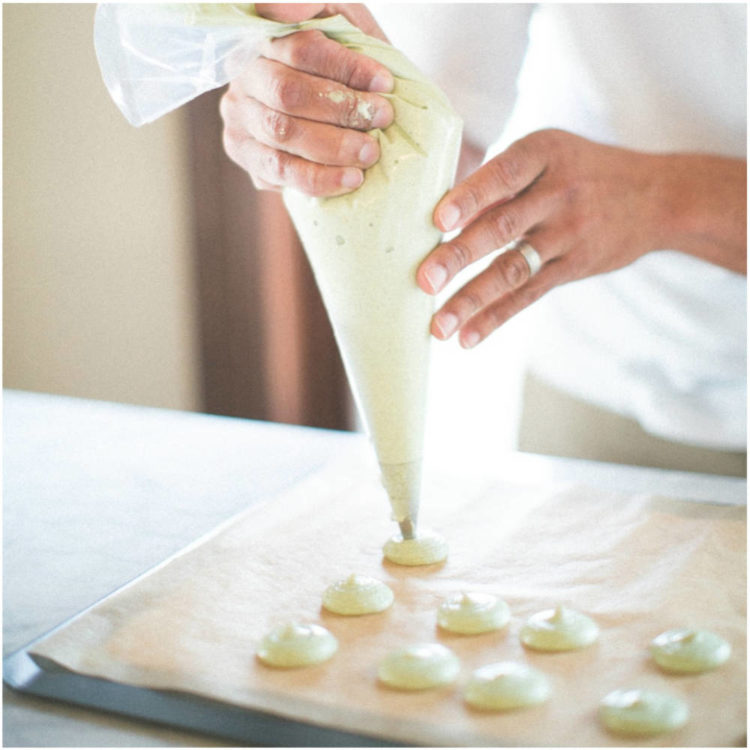
Filling your pastry bag can be a messy task. I have the advantage of growing up learning from my mother who was a cake decorator. If you haven’t used a pastry bag before, it can be tricky the first time, and you will likely make a mess. (I still make a mess. Messes are ok. They can be cleaned up.)
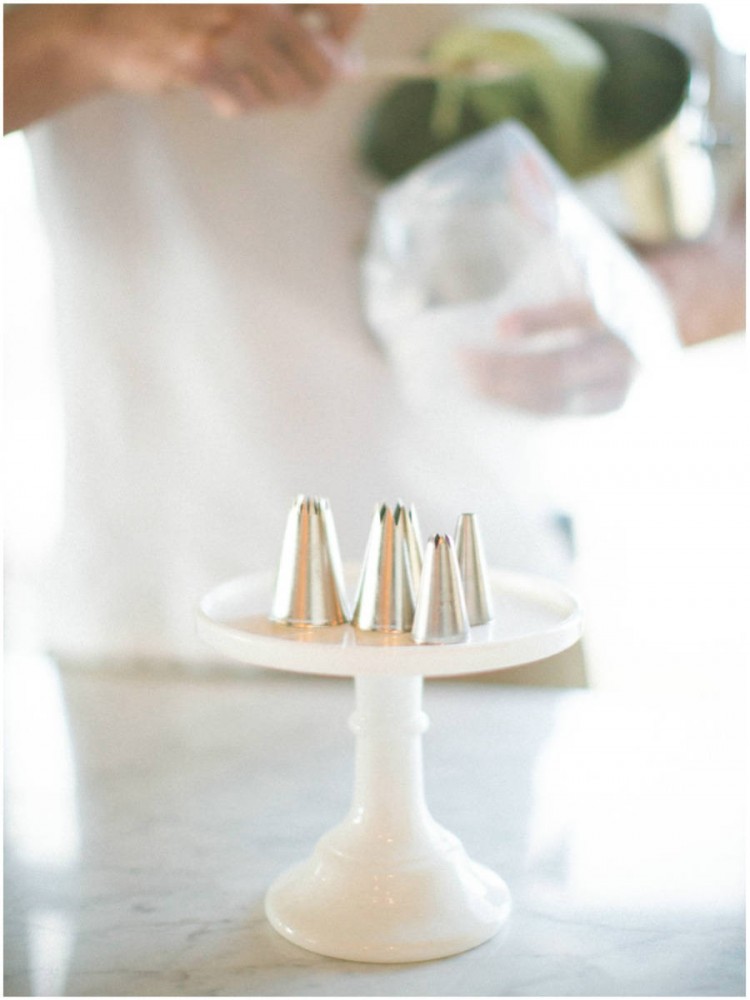
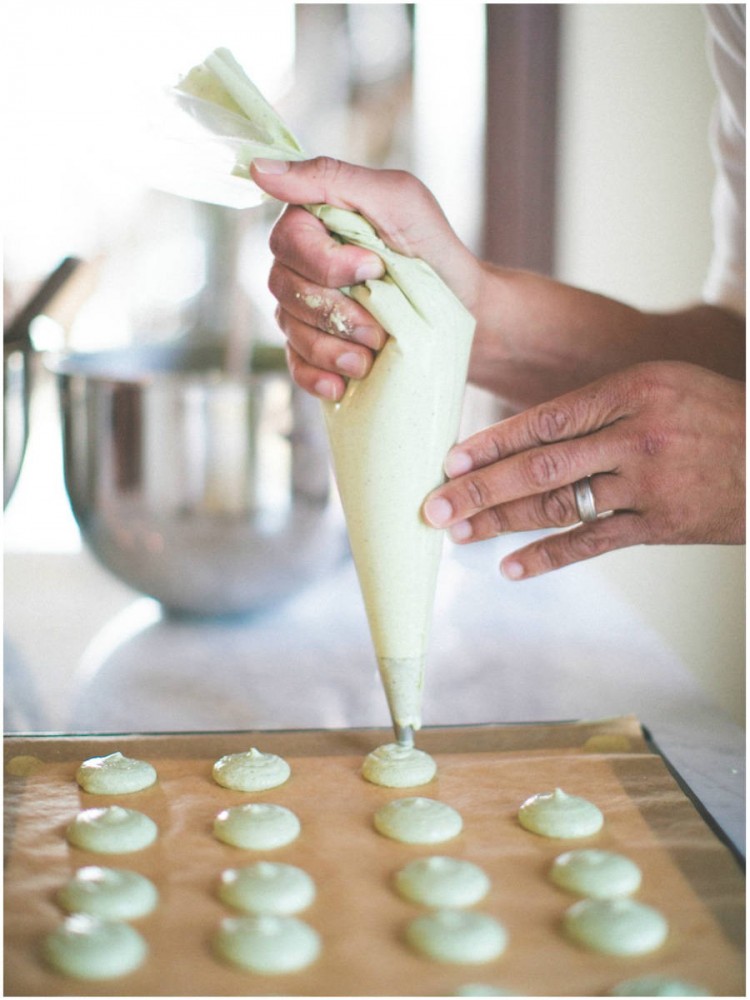
I would start by using a 16″ disposable decorating bag. I like disposable bags because I can throw them out and not have to wash them. Cut off just enough of the tip of the bag so that when you drop a round decorating tip (size 8 or 10) into the bag just the end of the tip sticks out of the bag. Fold the wide end of the bag over your hand, forming a cuff and then carefully scoop your macaron shell batter into the bag, twist the end to close up the bag and you are ready to start piping shells. (Pictures are worths a thousand words, so follow the images that correspond- they may be more helpful than my written description!)
Decorating bags and tips can also be found at most craft stores.
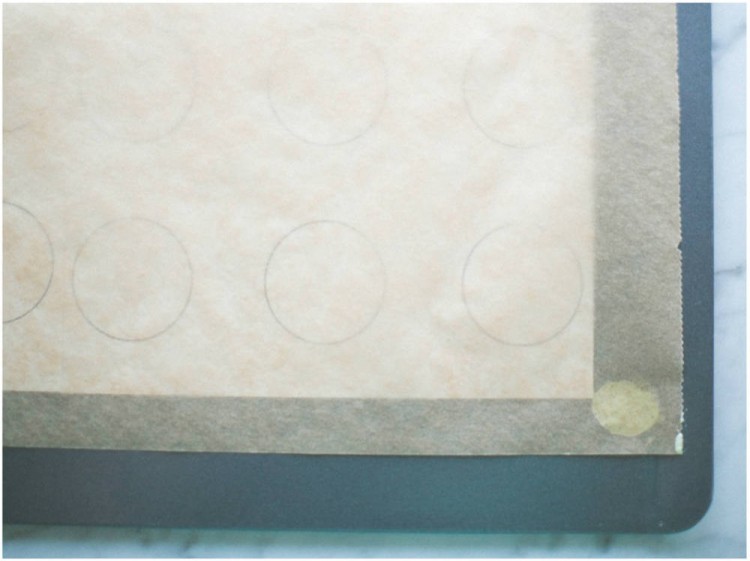
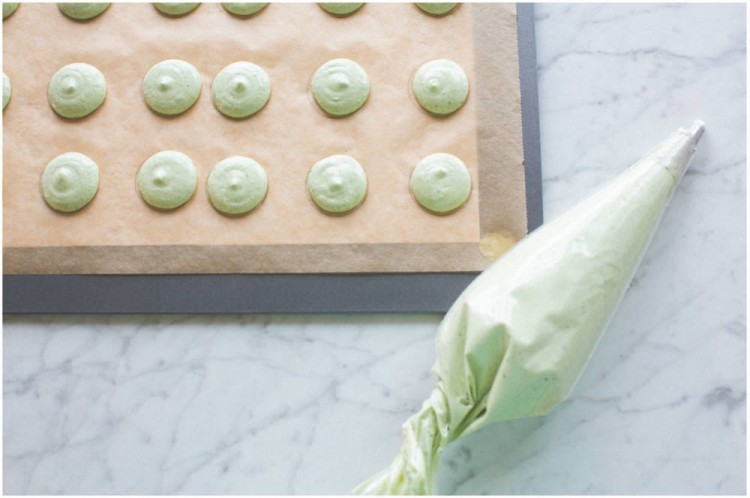
This may be cheating, but I like to have a pattern of circles the size I want my macarons to turn out. I created a template on the computer forming circles that were about 1 1/2 inches in size, and about 1 inch apart from each other. If your macarons are closer together than this they could spread together when you pipe the shells. Also, too many macarons on one baking tray creates too much humidity in the oven during the baking process and your shells are more likely to crack.
Once you have your template printed out cover with parchment paper and your tray is ready to be piped. I would advise doing this to about three or four baking sheets before you even start making your macaron batter.
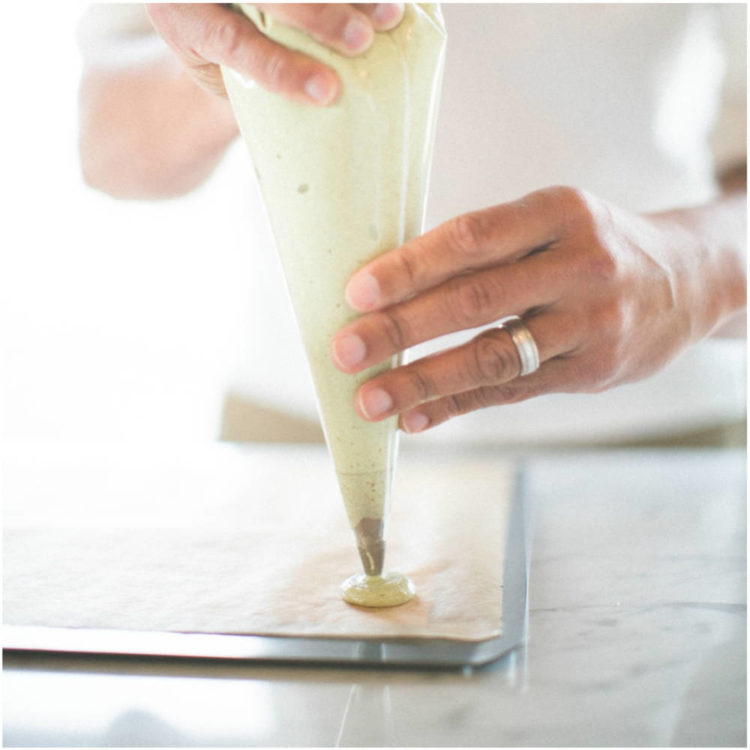
Pipe your shells so they are just inside each of the circles on your template. Apply even pressure to your bag as you squeeze. If your macarons form little tips on each shell it is ok. You can gently tap your baking sheet on the counter, and your those little tips should dissolve into the shell.
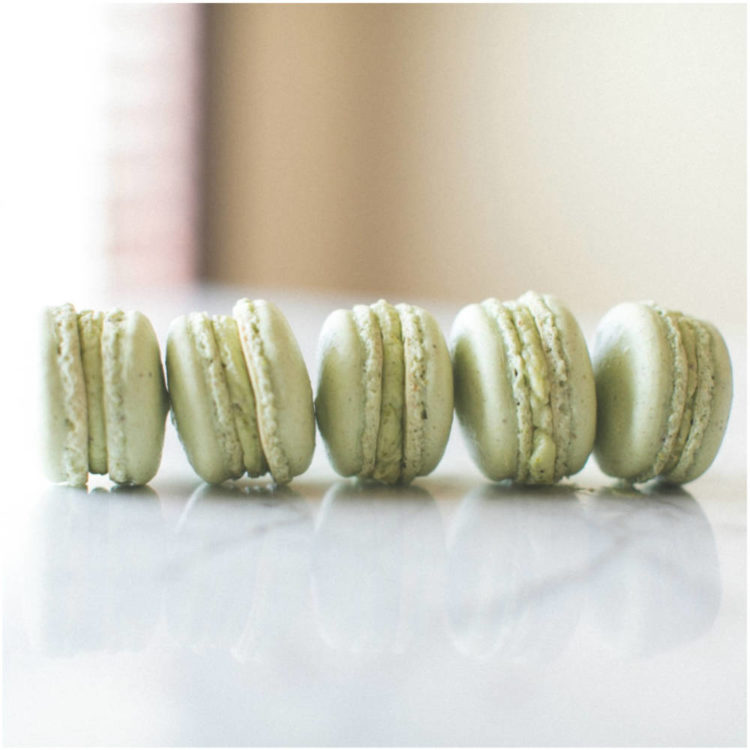
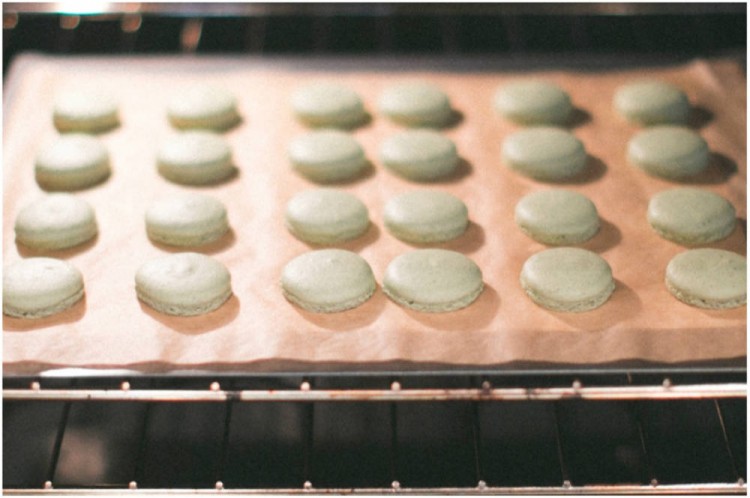
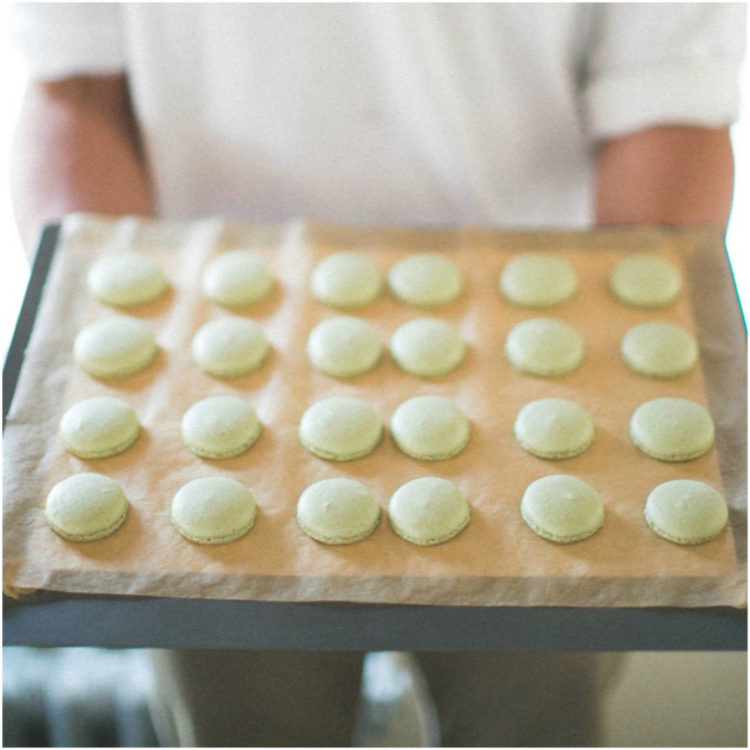
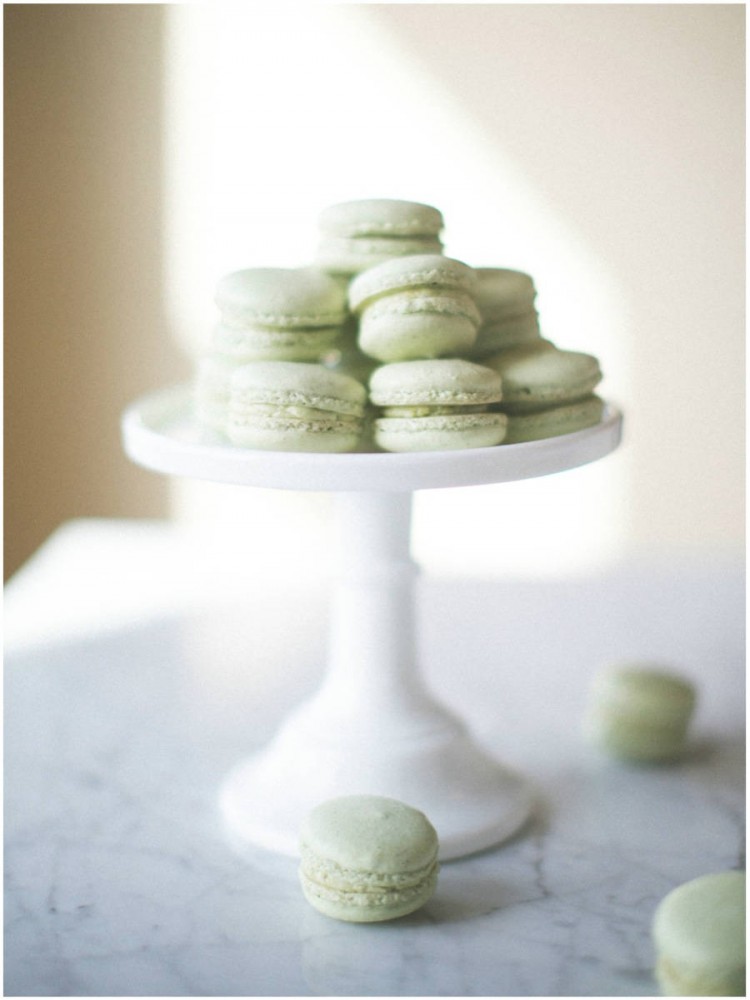
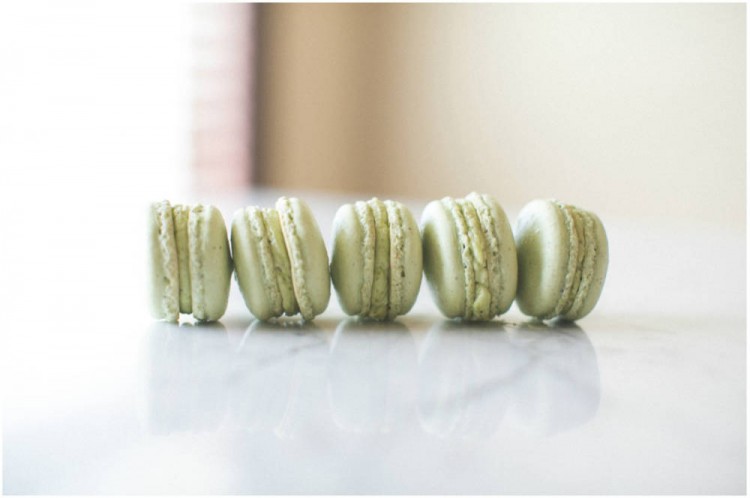
Once all of your shells have been piped, let your macarons just sit and rest for at least an hour. Don’t be impatient and skip this step. During the baking process, macaron shells form little feet (the frilly little ledge on the bottom of the shell) These feet are part of the charm and character of a macaron. If you do not let your shells rest for at least an hour, your shells will not get these feet.
Many recipes say to only let them rest 15 minutes or 30 minutes. I have found more success with letting them rest at least an hour. During this resting phase I have the opportunity to clean the kitchen, or even make the buttercream filling.
Keep track of your macaron shells in the oven. Near the end of the baking time, open the oven and insert a wood spoon between the oven and the door so that the door can be propped open. This lets the steam escape, which will help your macarons have a better chance of not cracking.
Your macarons are done baking when the shell is crisp and the frilly foot at the bottom does not jiggle or wobble when you lightly touch the macaron.
When your macarons are done baking, let them cool completely before trying to peel them off of the baking sheet.
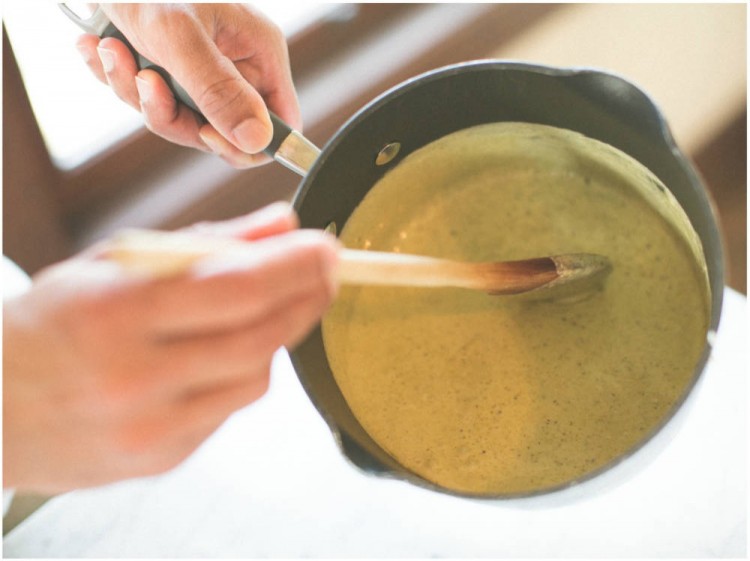
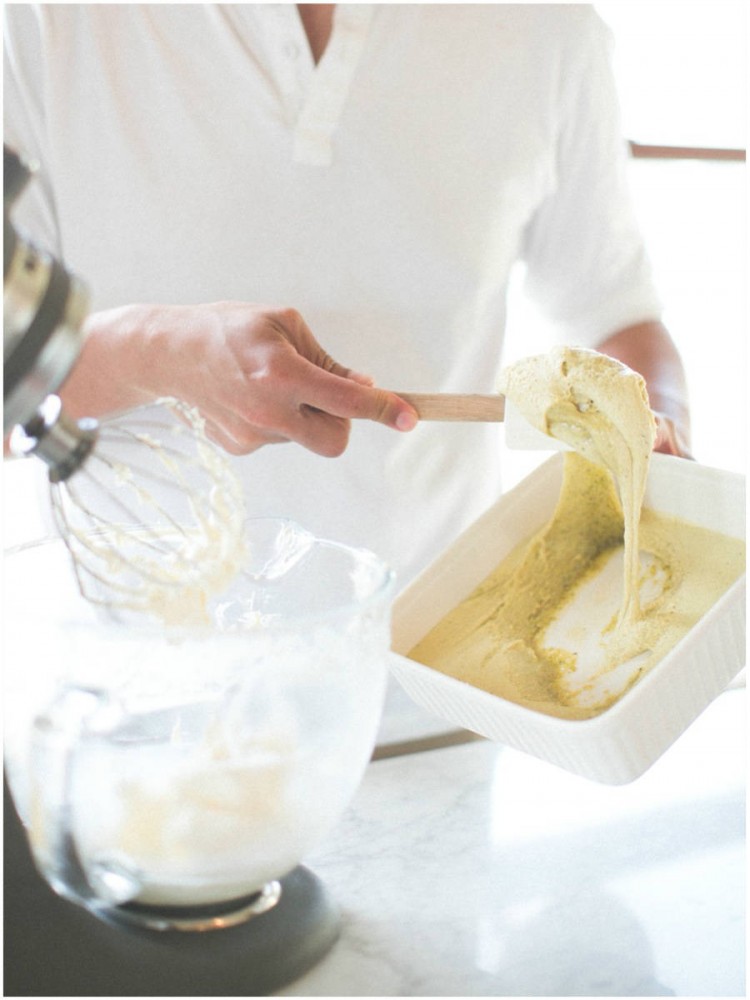
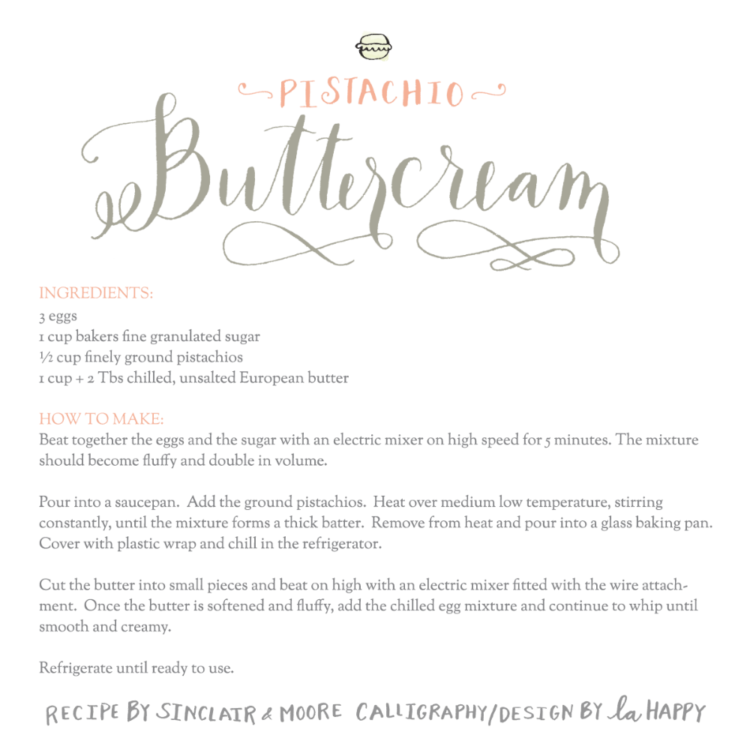
The pistachio buttercream is relatively simple to make. Did you know that true buttercream has eggs in it? (I didn’t until recently!) After you beat the eggs and sugar together and add the ground pistachios, you will cook the combination over medium heat. Make sure to stir constantly or you will burn the mixture. (I burned this twice before being successful. It happens to a lot of us so don’t feel bad if you have to start over!) You will want to cook the batter until it becomes a thick consistency. Pour the batter into a shallow dish. Cover with plastic wrap and let it chill in the refrigerator.
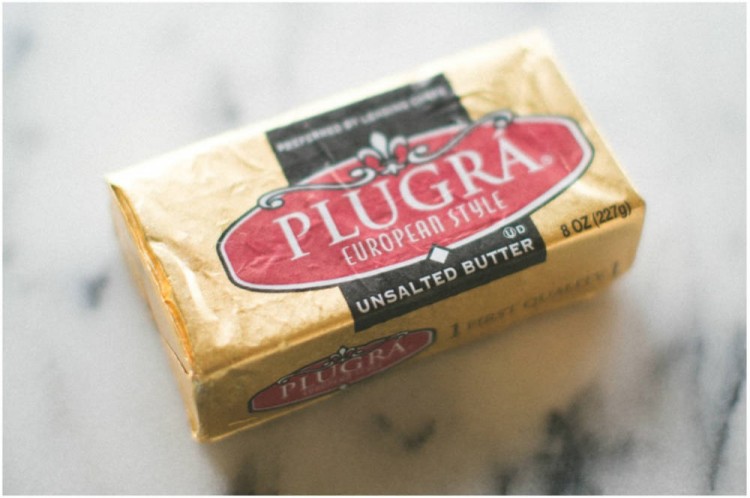
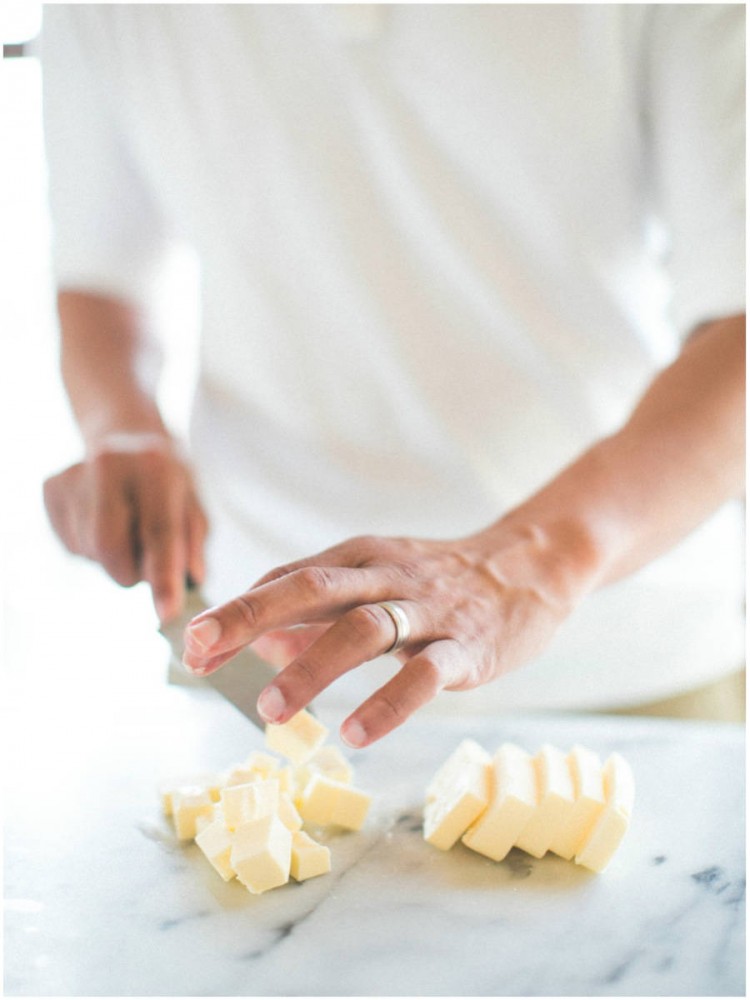
I never really bought into the hype about European butter. (I thought it was a scam to spend more money.) I was wrong. It makes such a difference. I still don’t use it for everything, but I definitely think it is worth using for buttercream icing. You will want to work with cold European butter, that you cut into small squares and then whip with an electric mixer.
When your egg, sugar and pistachio mixture has chilled in the refrigerator long enough to solidify, add it to the whipped butter, and continue to whip until your buttercream is fluffy.
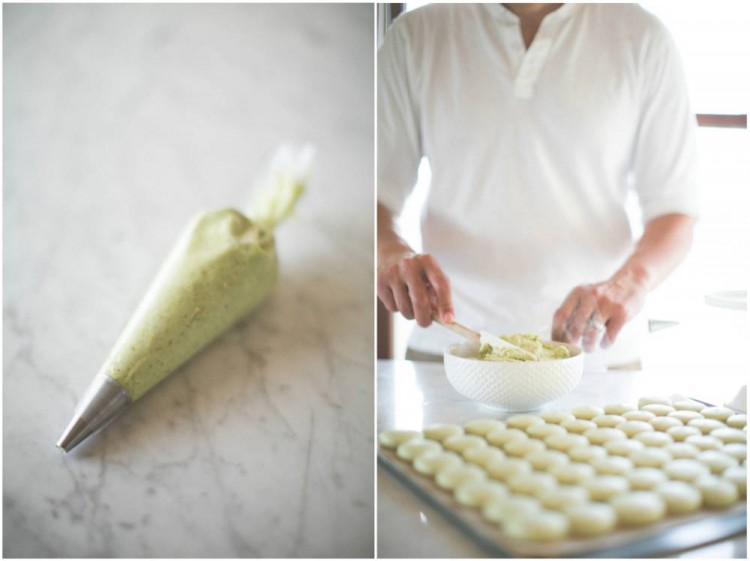
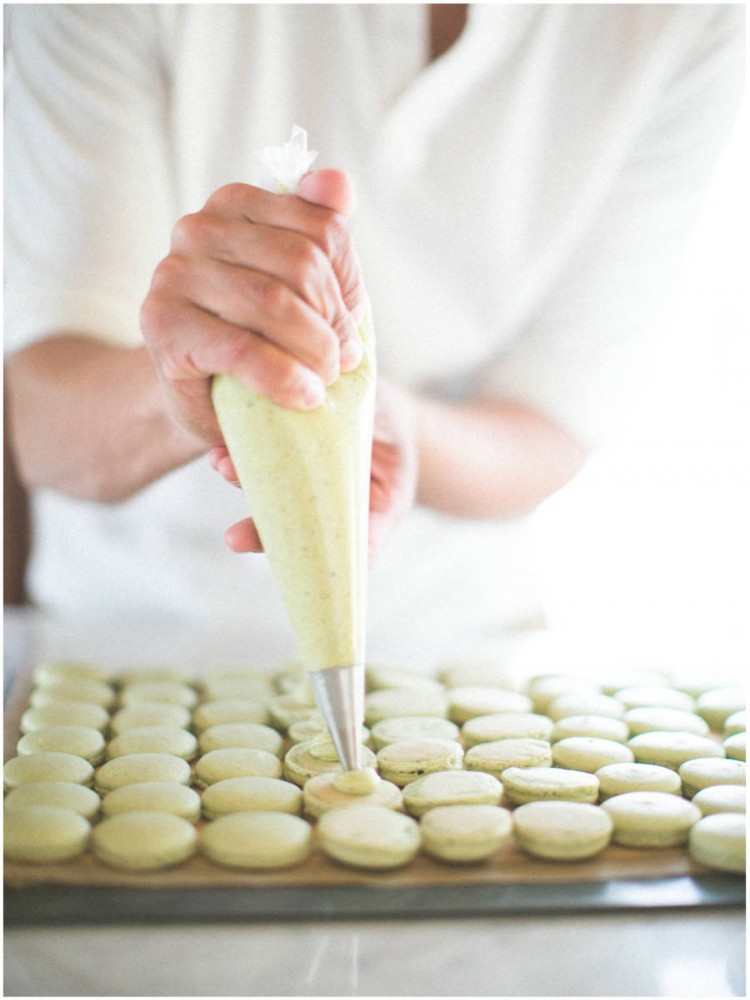
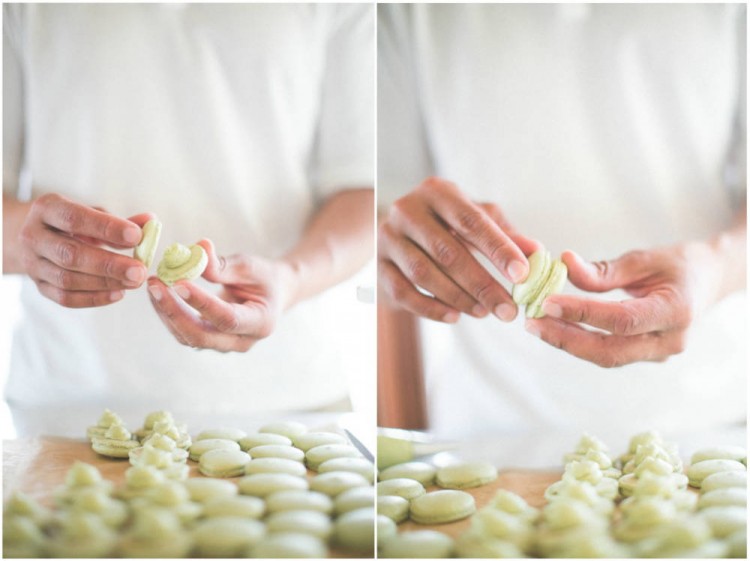
Fit another pastry bag with a round tip- size 5 worked well for me. Fill with your buttercream and start squeezing small dabs of buttercream on half of your shells. Sandwich the macaron together with another shell and your macaron is complete.
You can certainly enjoy your macarons right away, or you can store in an airtight container in the refrigerator overnight. There is a some kind of special reaction that takes place overnight and the flavors blend together resulting in a better tasting macaron. If you allow your macarons to rest overnight, take them out of the refrigerator and allow them to return to room temperature before serving them.
If you decide to try and make these, don’t be discouraged if they don’t turn out perfectly the first time. It takes practice and patience. I don’t make them often. I usually opt to purchase them at my favorite bakery near our house. Although purchasing them saves me time (and usually money too) there is something really rewarding about creating them for yourself. The recipe might seem difficult. It’s not as hard as it seems at first glance. Take your time, be patient, read through everything several times before starting, and be ok with macarons that don’t look perfect the first time. They will still taste amazing!
photography: Matthew Land Studios
recipe design and calligraphy: La Happy



add a comment
+ COMMENTS