 Many of my favorite childhood memories are centered around the cakes and desserts my mom would make for our family to enjoy. Chocolate cake with peanut butter icing was one of those special treats we always looked forward to. I can still smell the cake baking in the oven and remember anxiously waiting for a spoonful of that delicious peanut butter icing.
When Grey turned one, it was a no-brainer that we would have a chocolate peanut butter cake at his party. We had planned to do all of the baking ourselves for his party, but we moved into our new home just a week before his celebration, and I knew we needed to take some things off of our plate.
Our friends that own Deru Market jumped right in to help. Deru is famous for their choclate cake iced in salted peanut butter frosting. It’s amazing. We ordered one of those cakes in addition to 4 other flavors for our friends and family to enjoy. If you are ever in the Seattle are you have to stop by their place for amazing food and a slice of their heavenly cake!
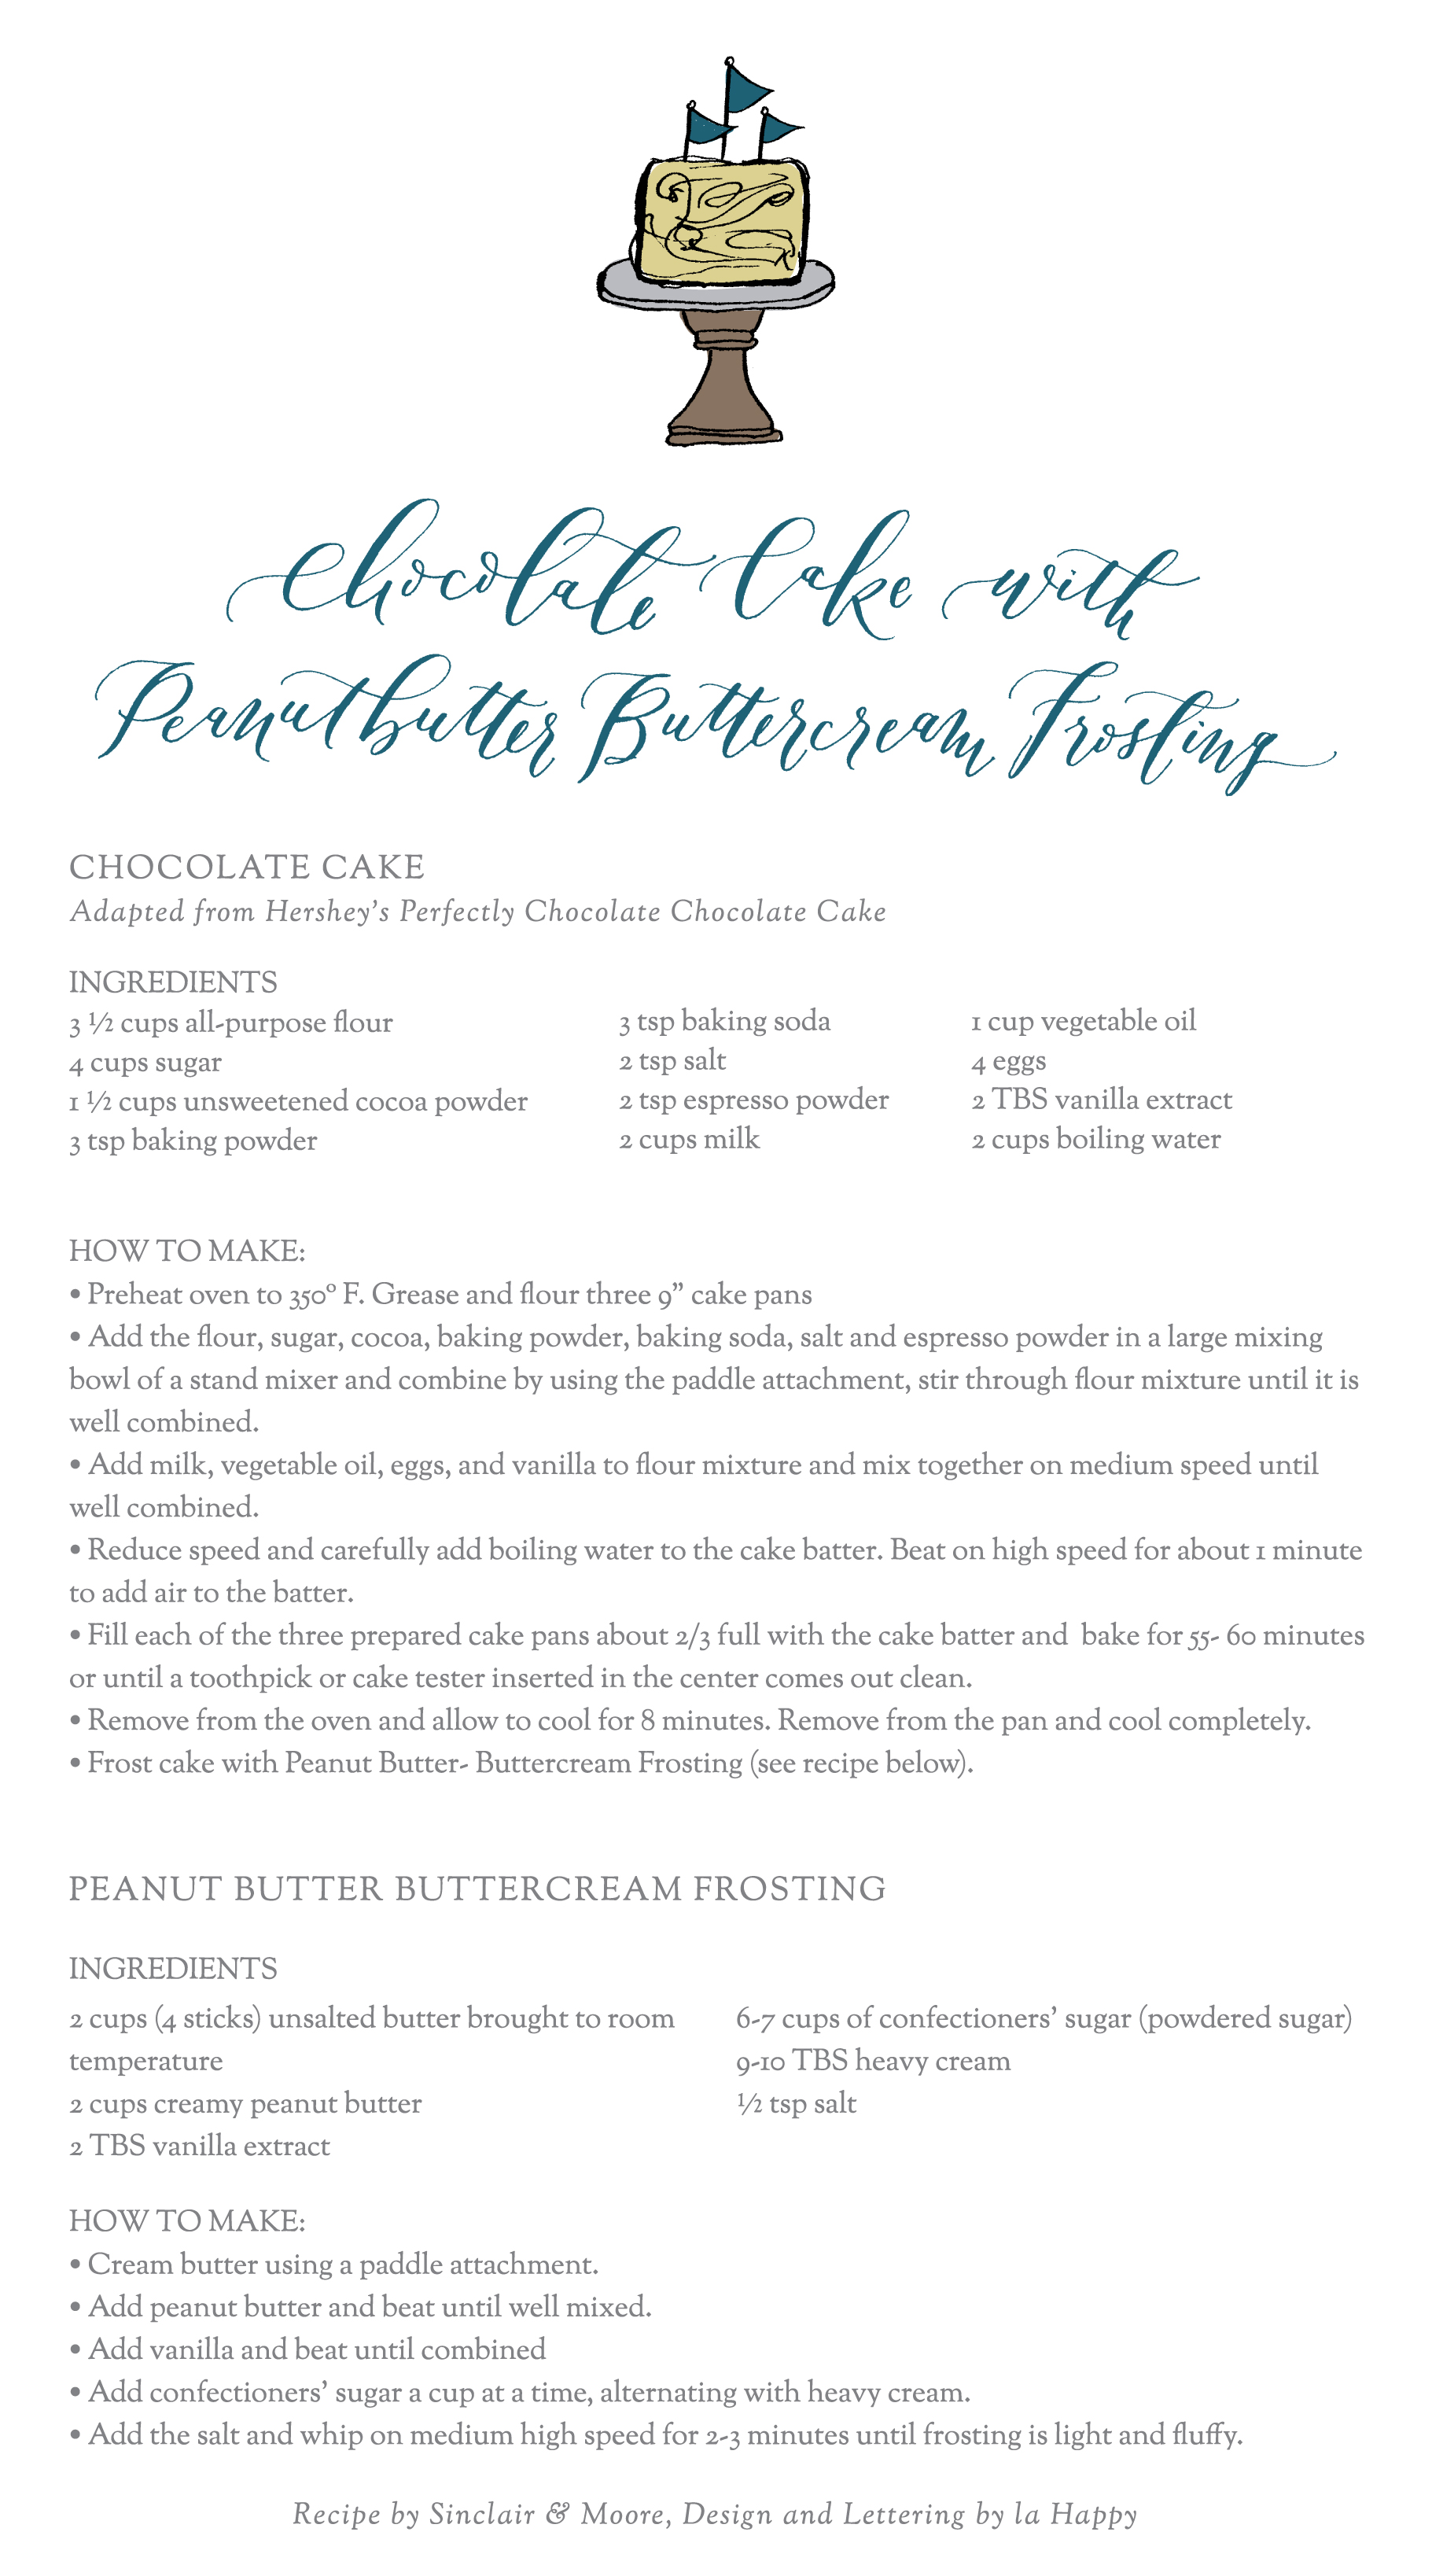
The recipe I’m sharing today is not Deru’s recipe- that is kept under lock and key. The recipe below is for a classic chocolate cake that I based off of Hershey’s timeless recipe, but made some modification and updates to. The frosting recipe is light and airy and easily whips right up! I’ve also provided a few tips below to help with your success!
I hope you’ll enjoy this recipe and that it becomes a signature cake for some of your special celebrations!
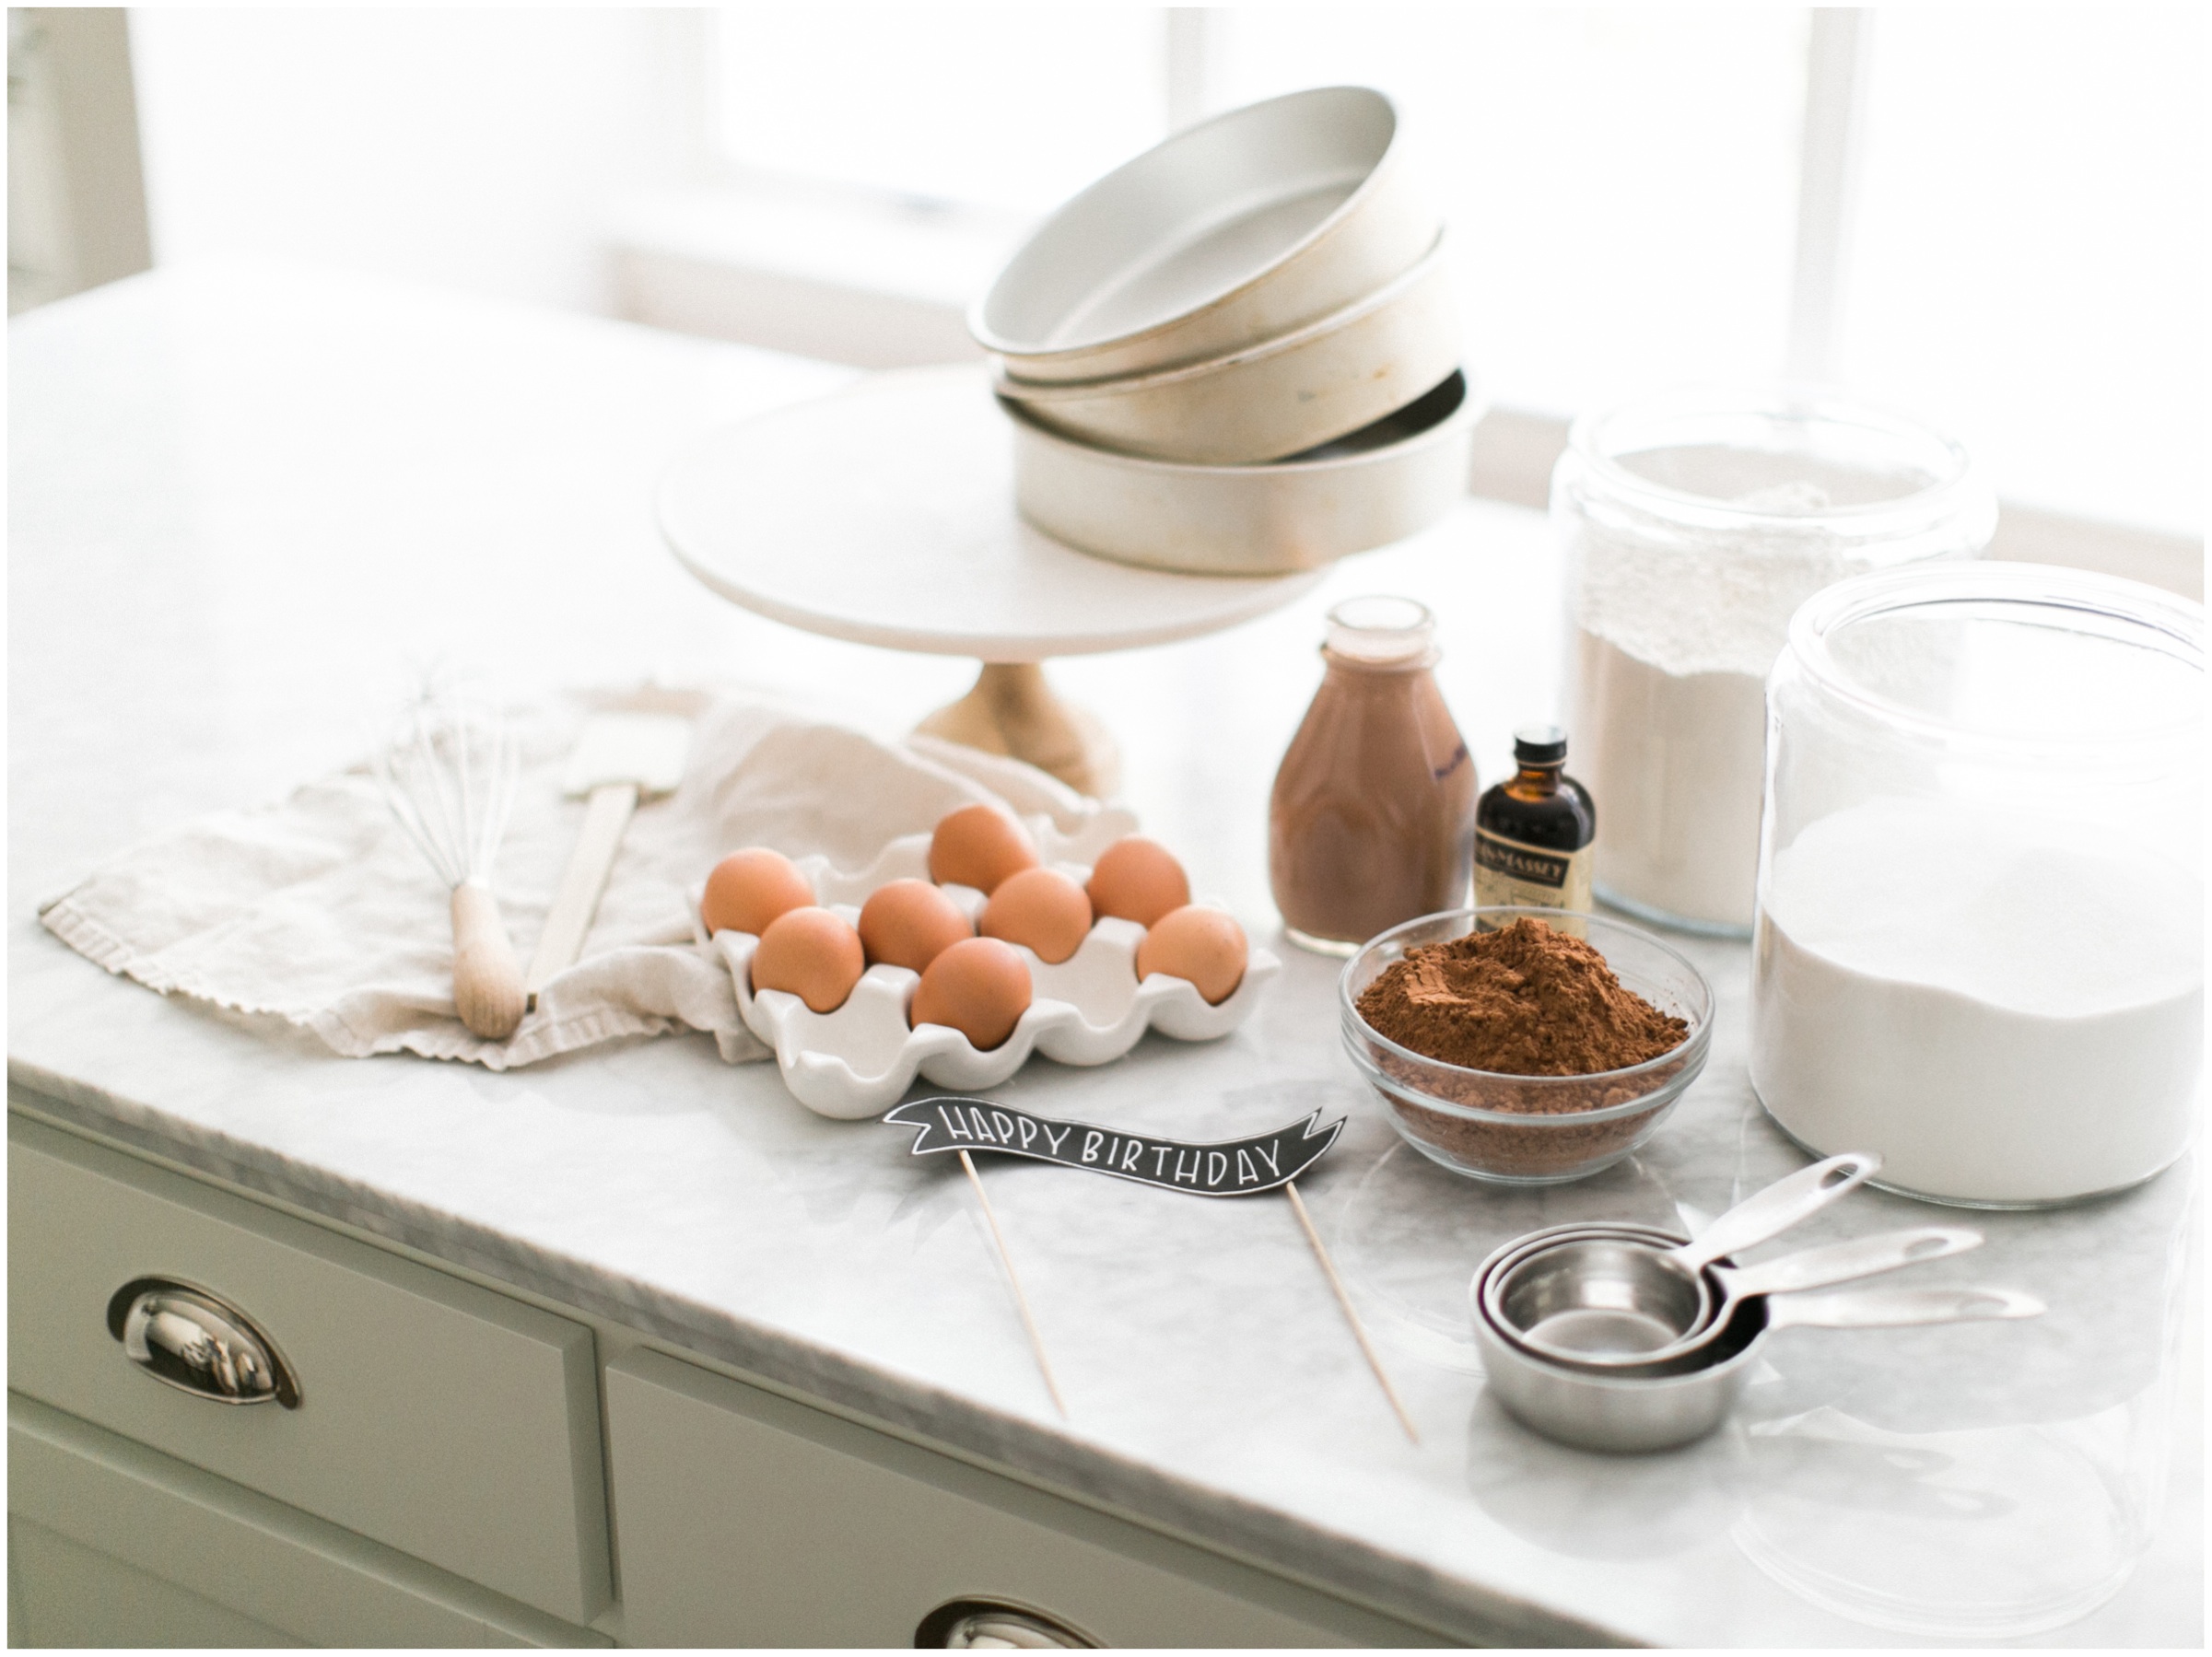
* Remember to always use fresh ingredients when baking. Avoid using supplies that have been sitting in your pantry for too long as it can affect the outcome and taste of your cake! Fresh ingredients will yield a fresh cake!
* The nicer the cocoa powder you use the finer your cake will taste. Splurge on good chocolate if you are making a chocolate cake.
* The espresso powder will not make your cake taste like coffee! I promise! The espresso powder will enhance the flavor of your chocolate and add depth.
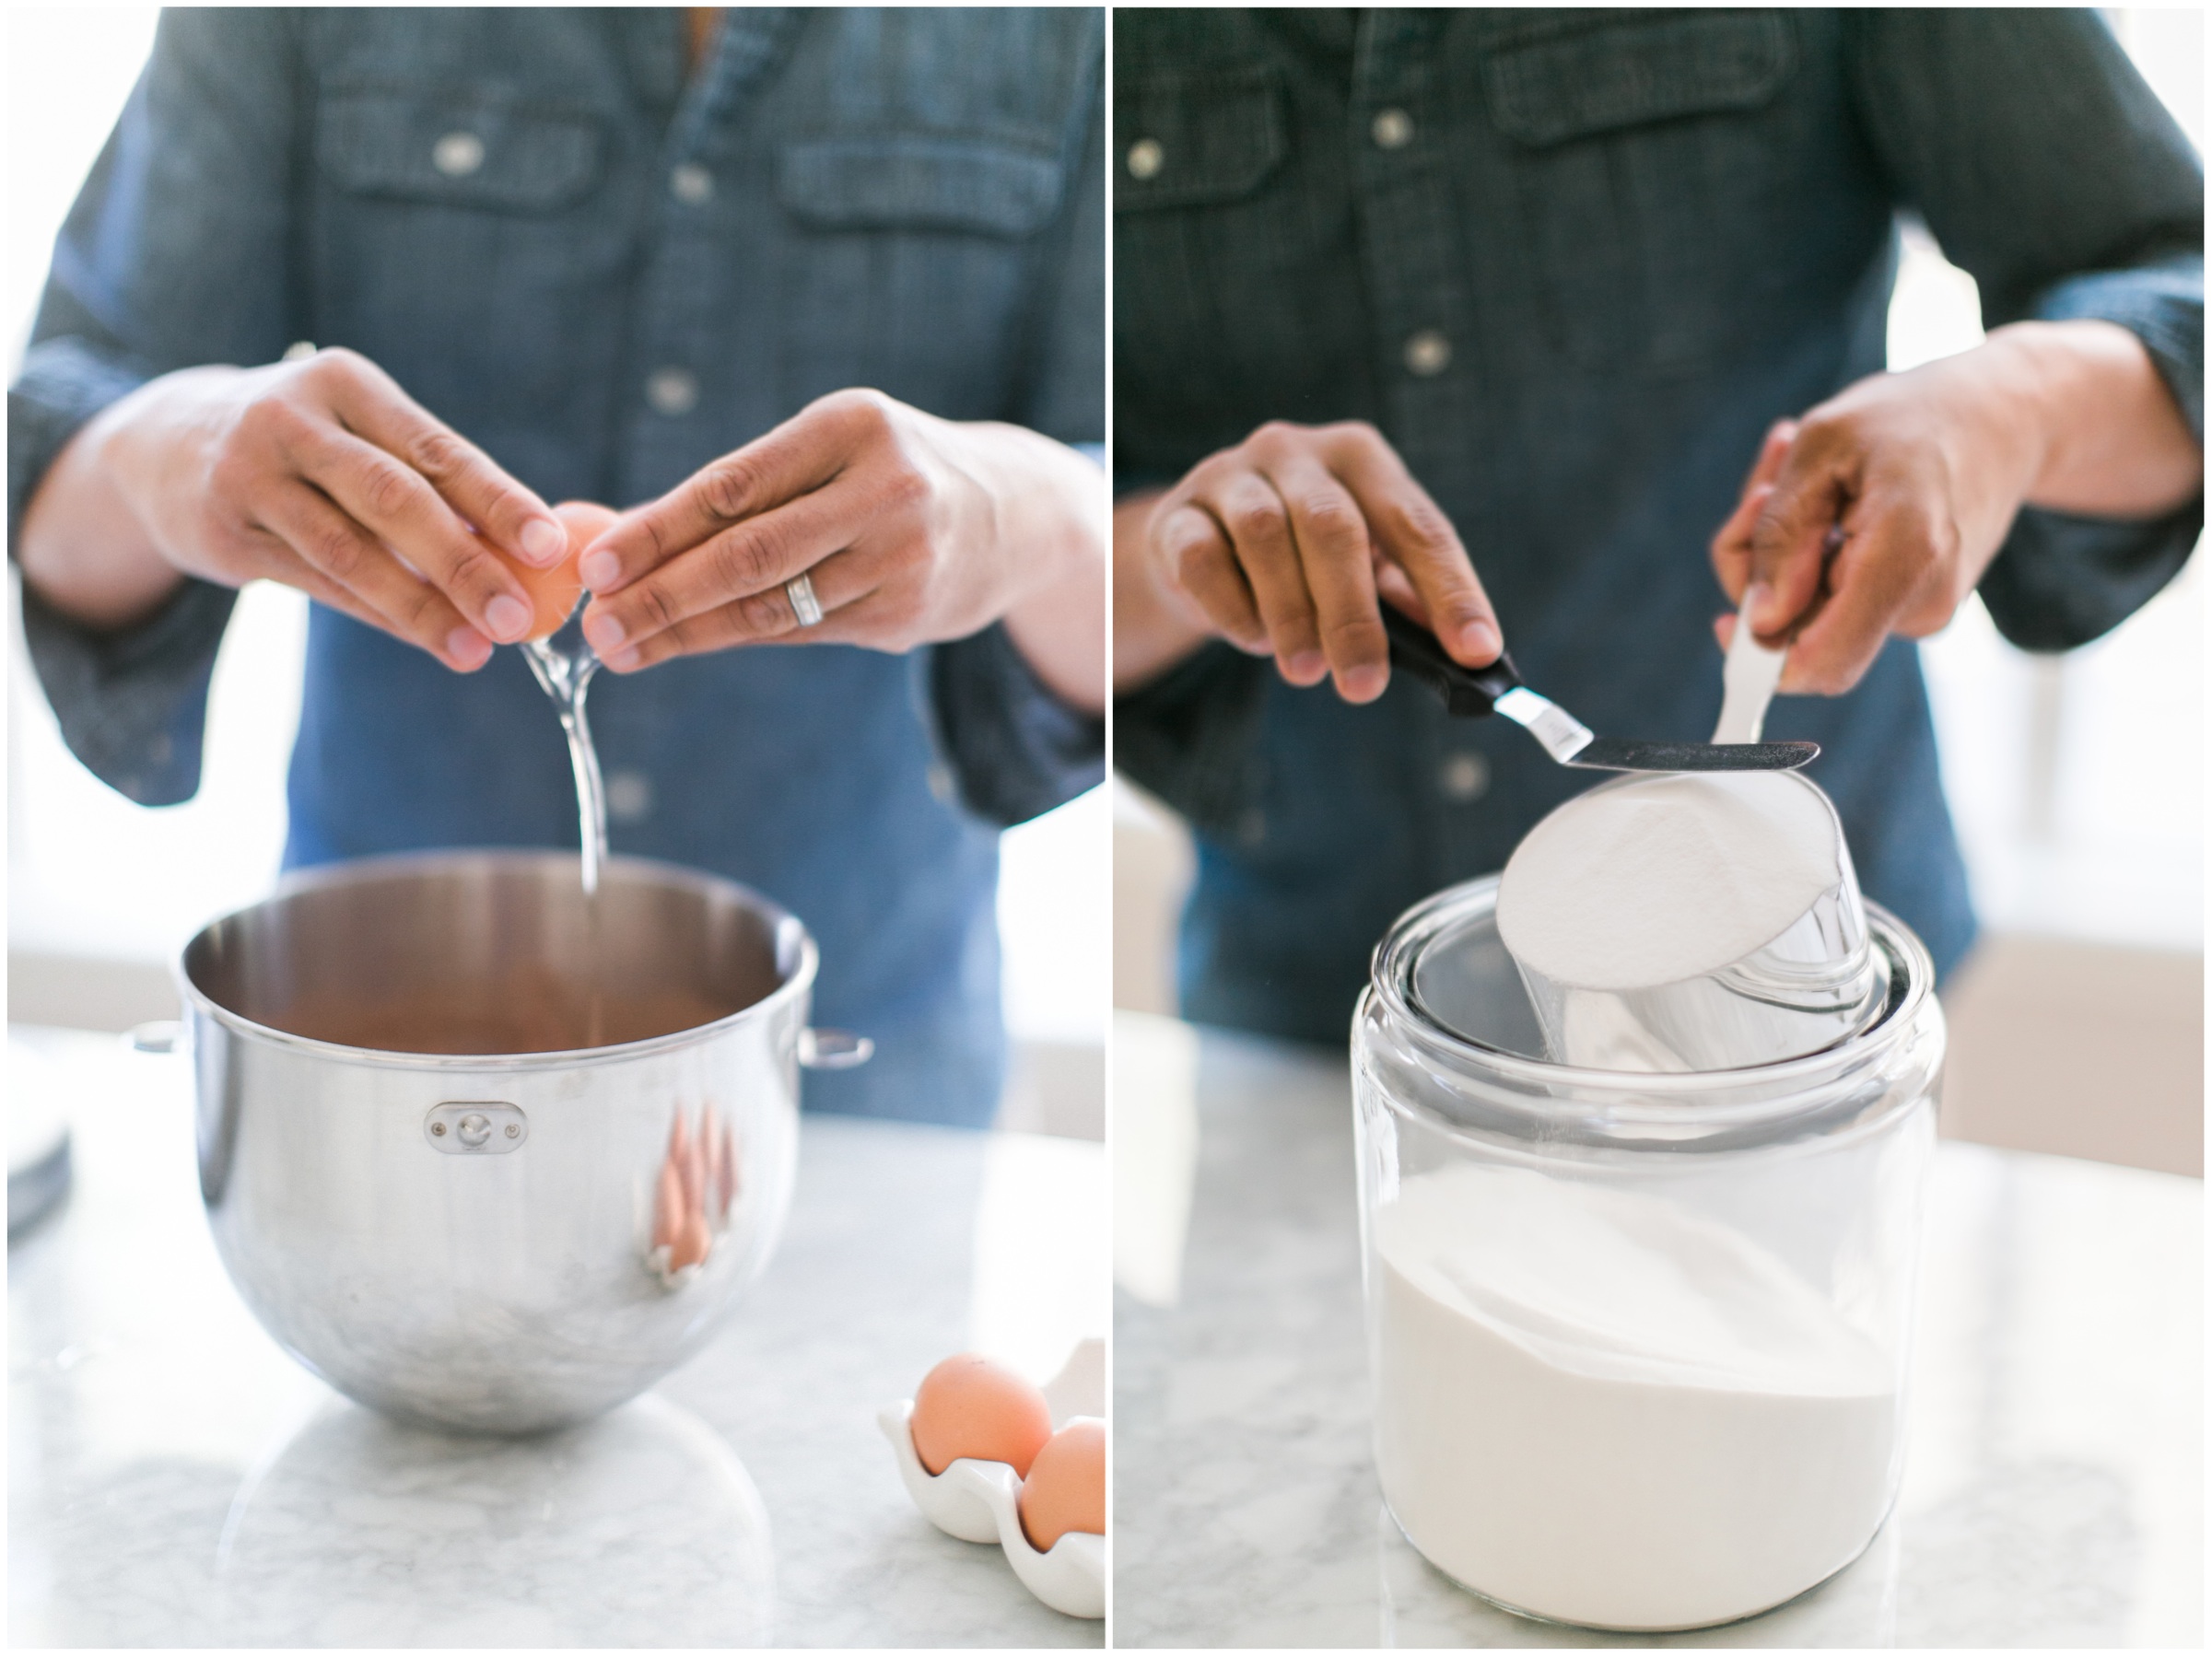
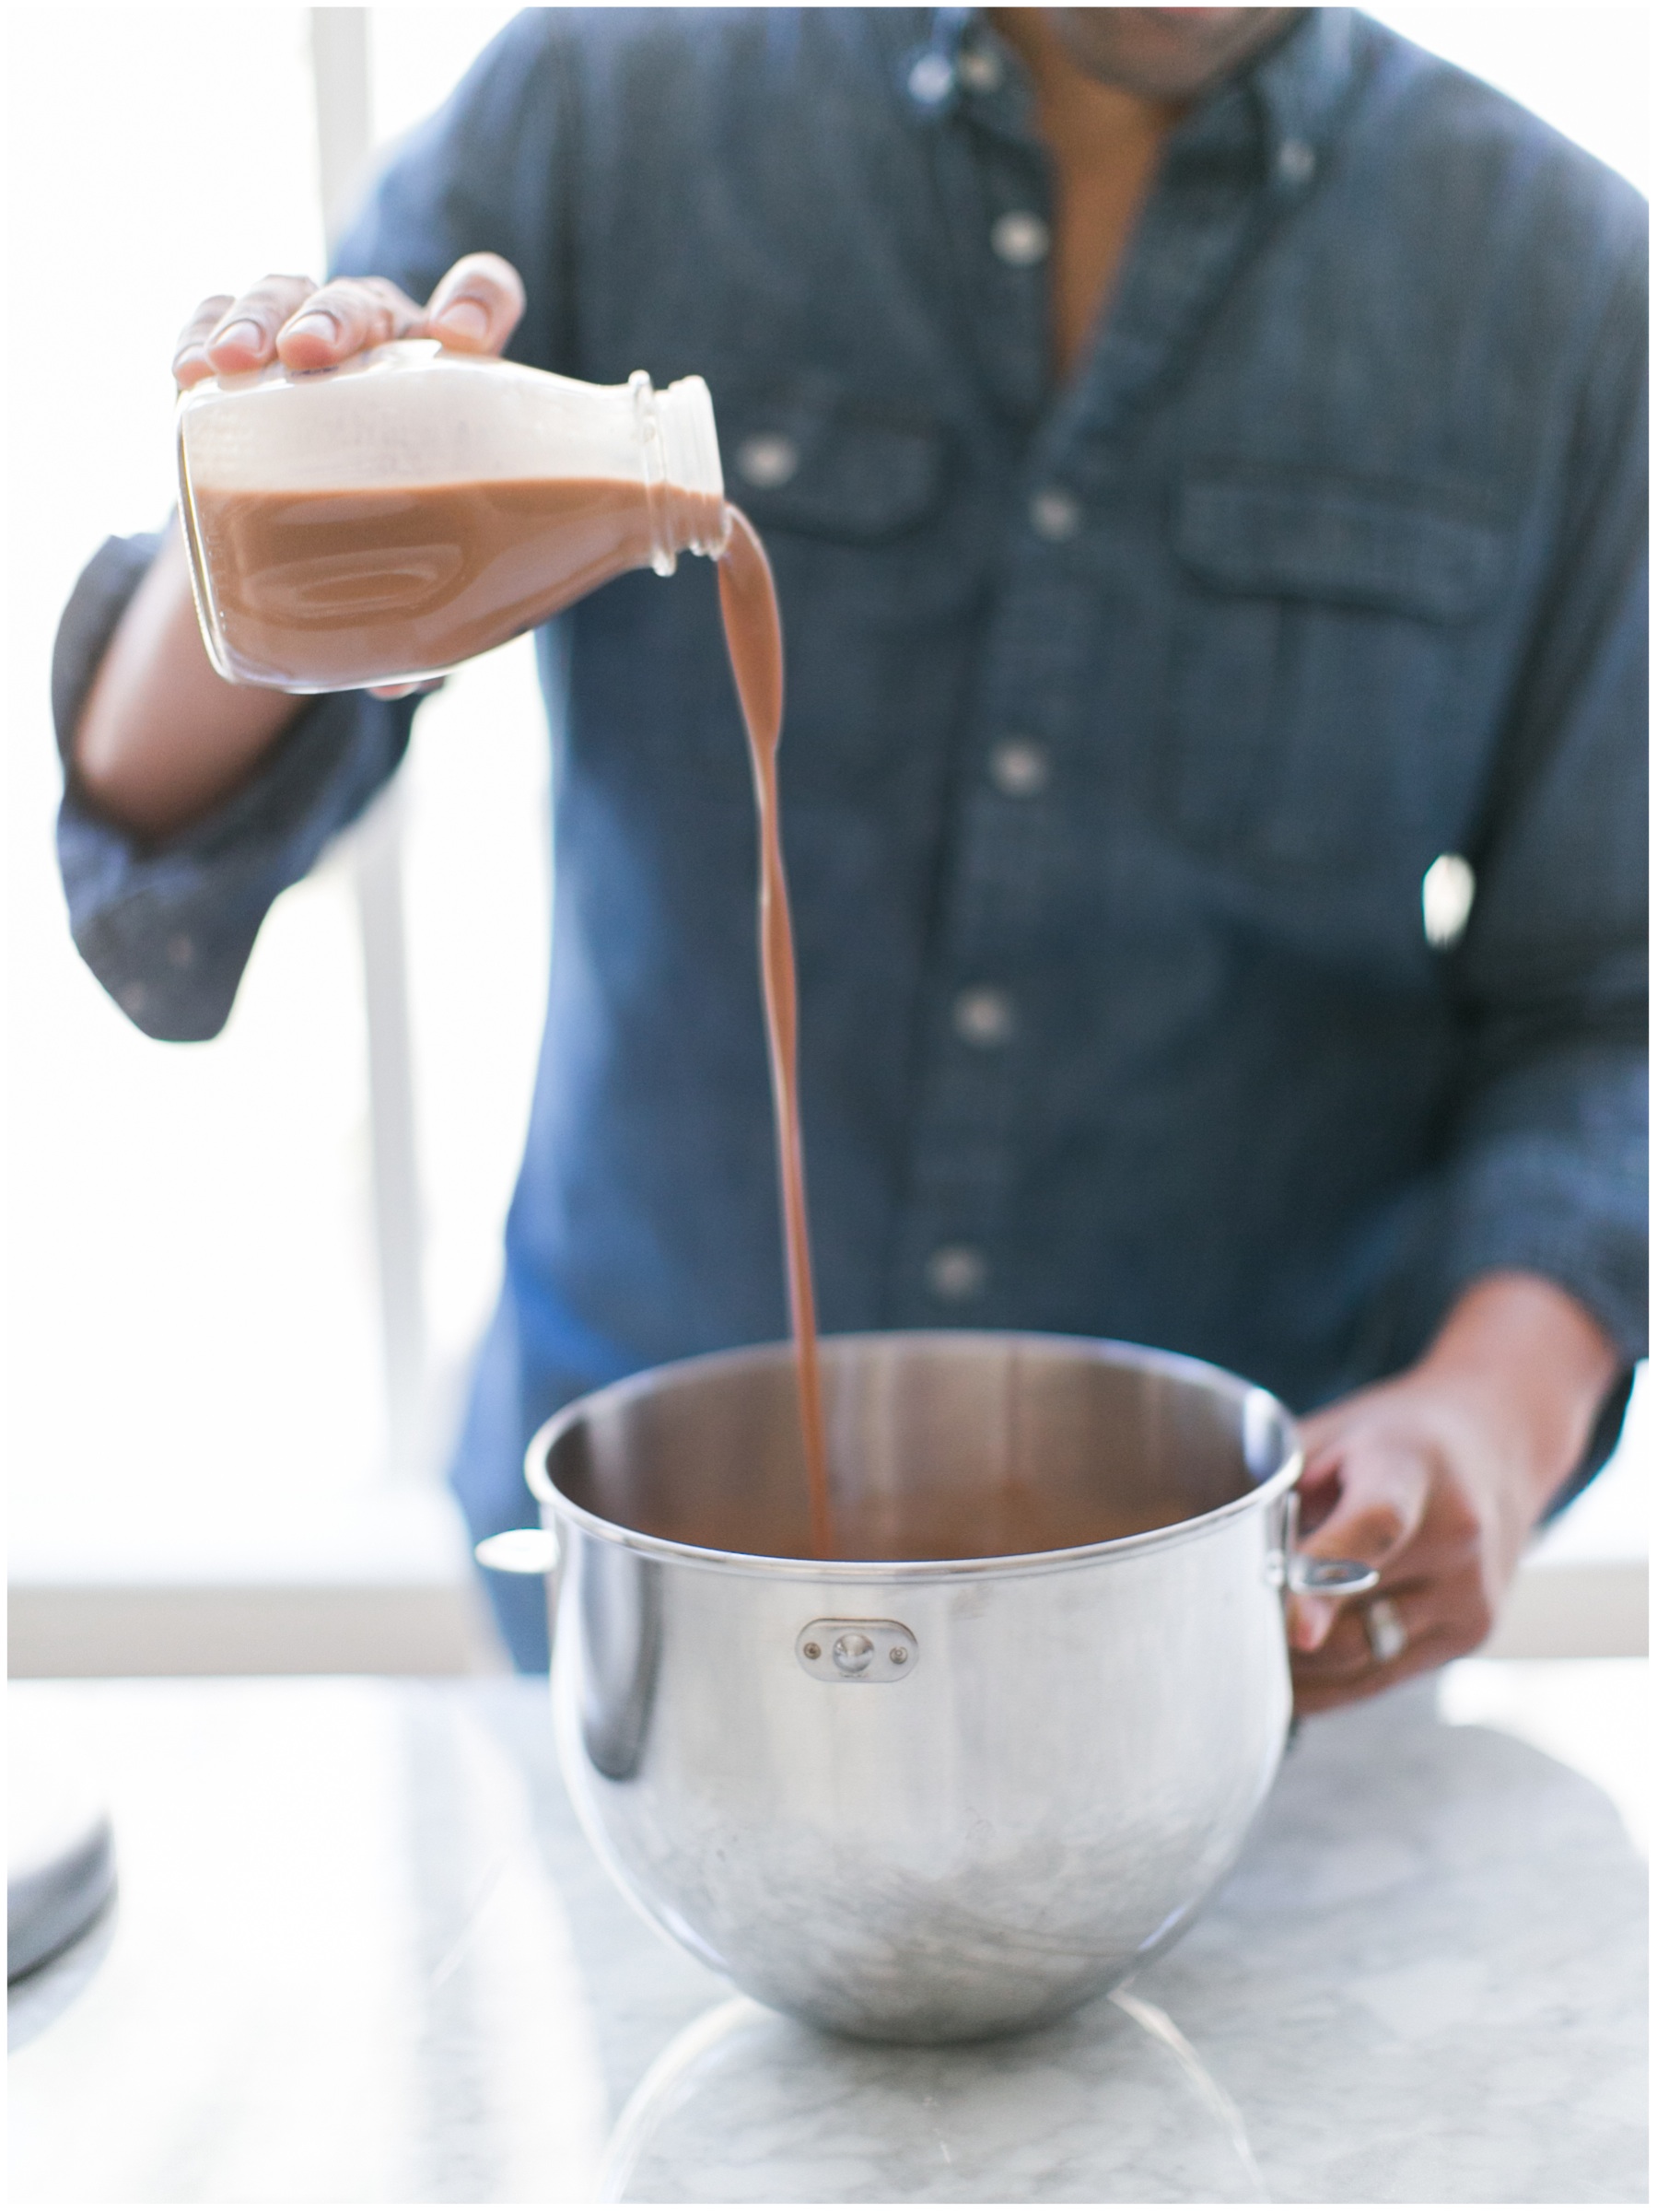
* You don’t have to use chocolate milk, but it can be a fun addition to your cake to add a bit of richness and to get a little extra chocolate flavor into your baking.
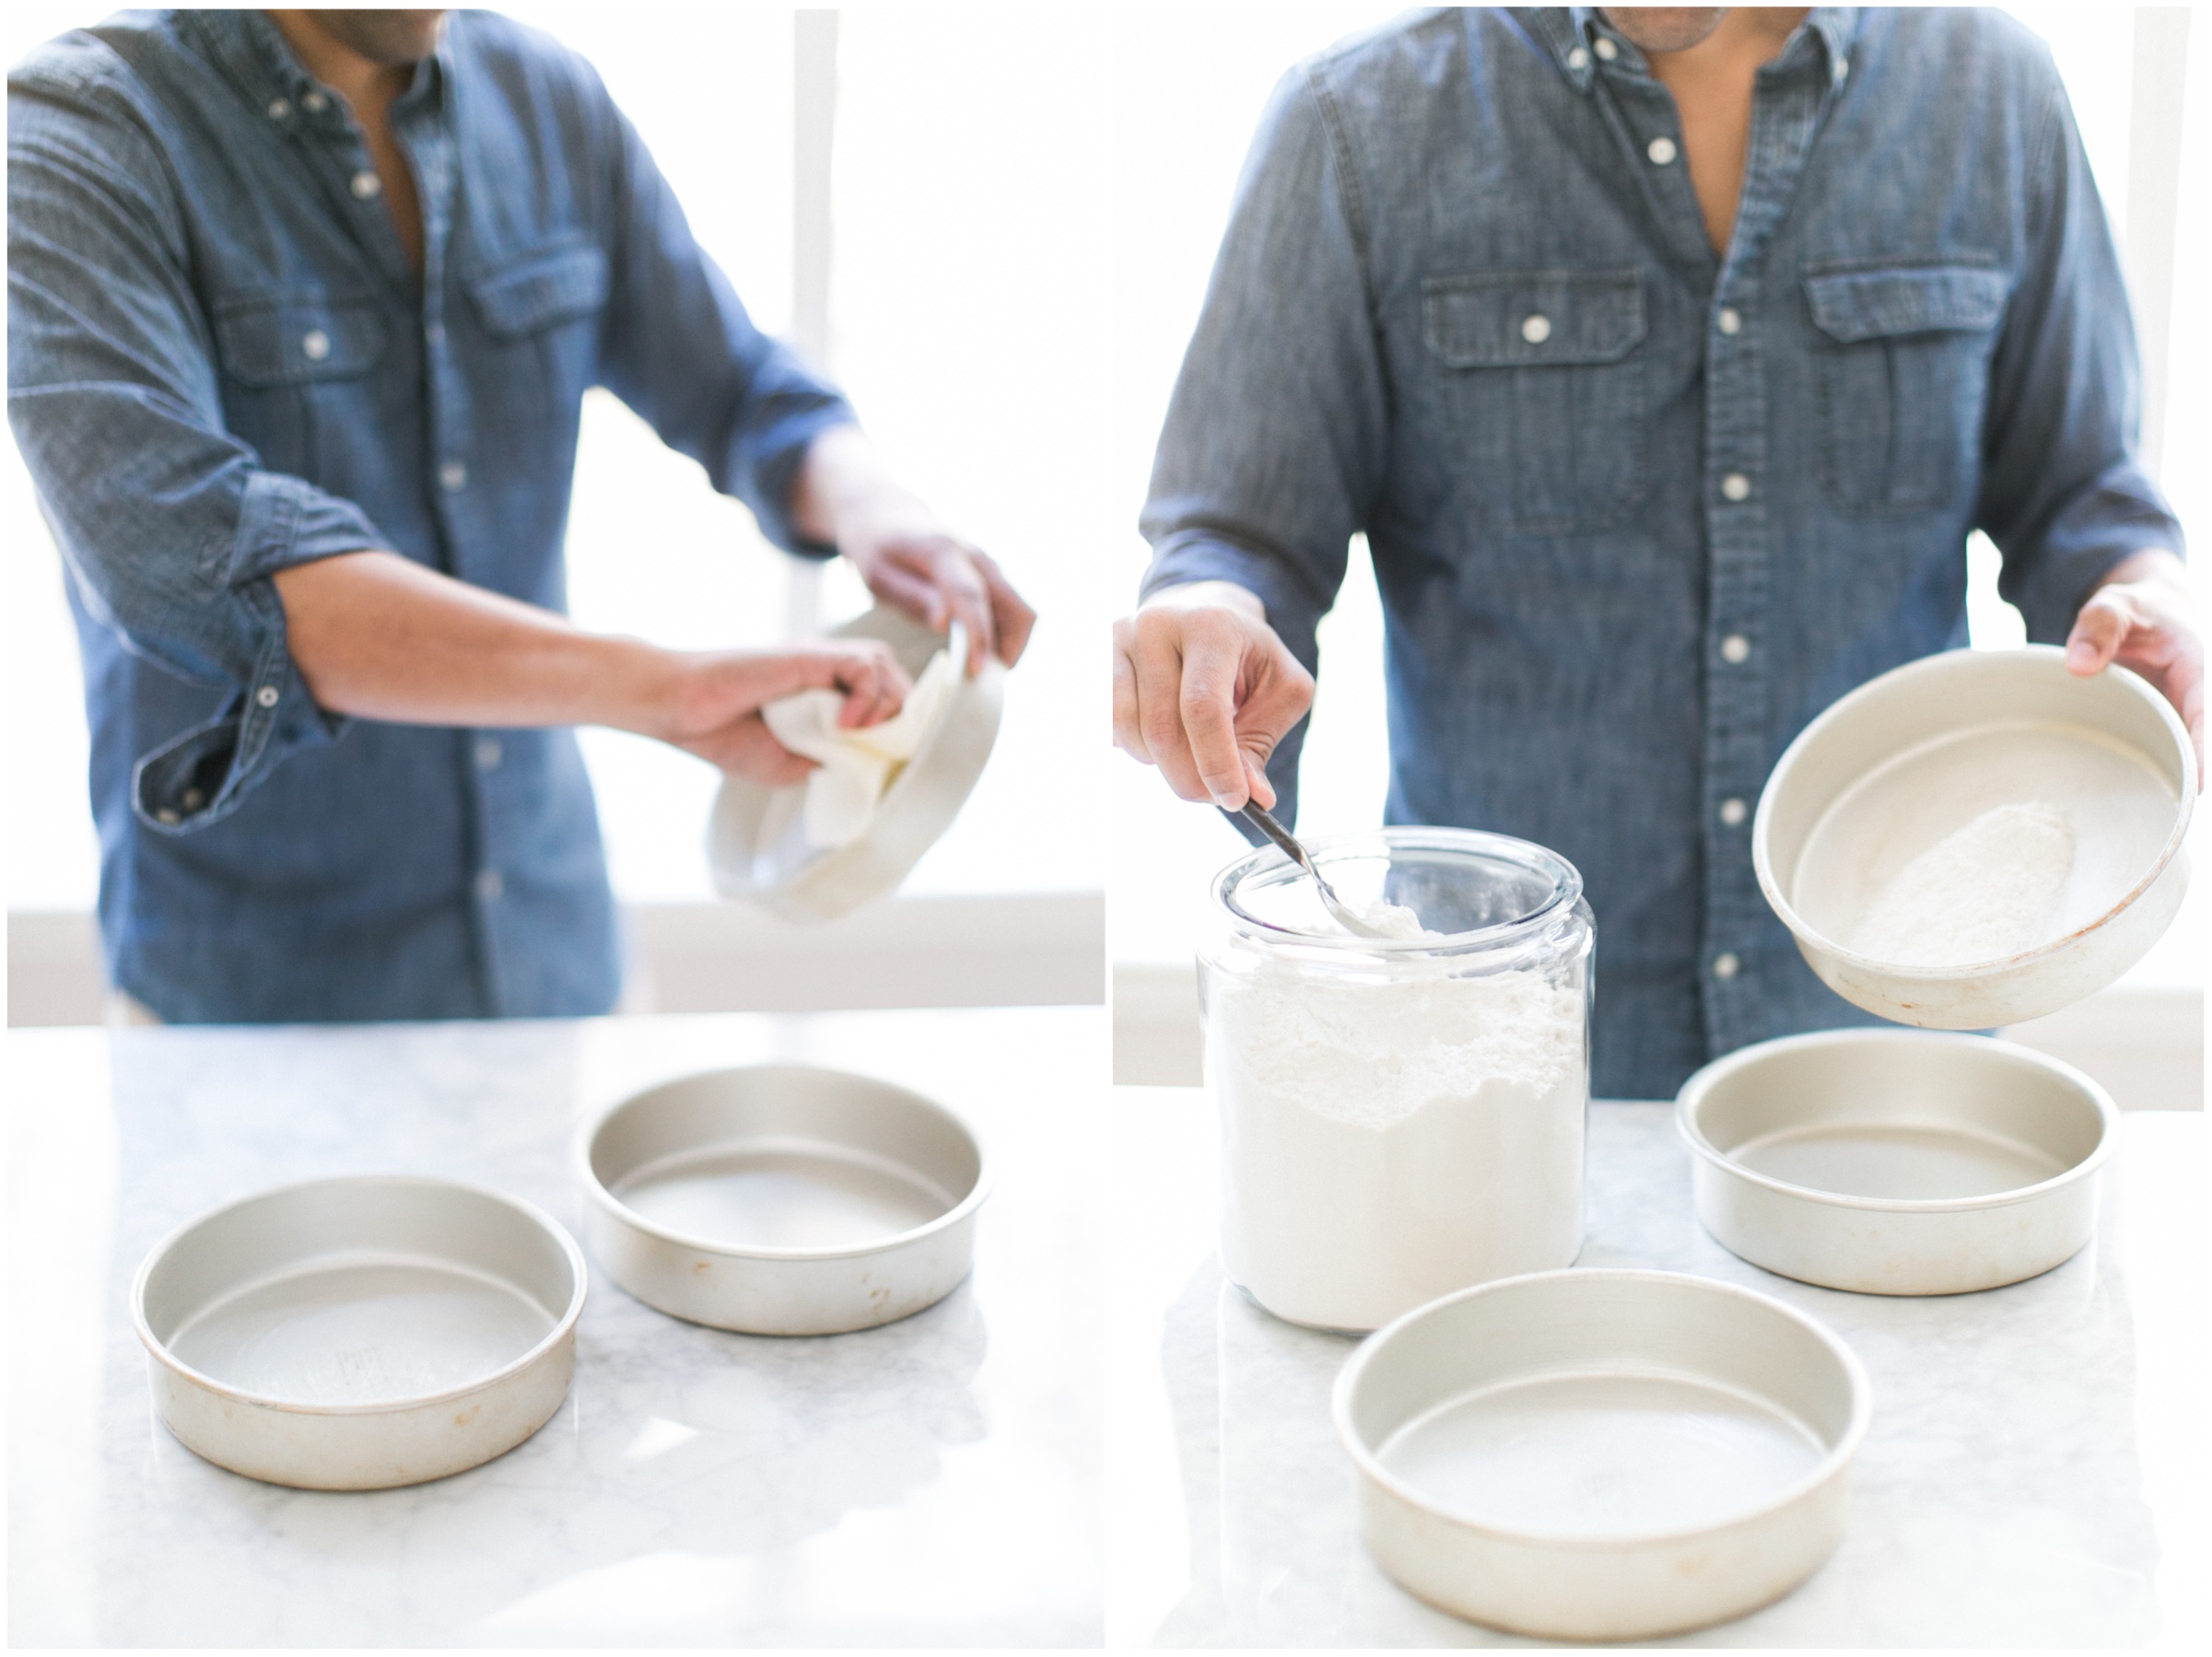
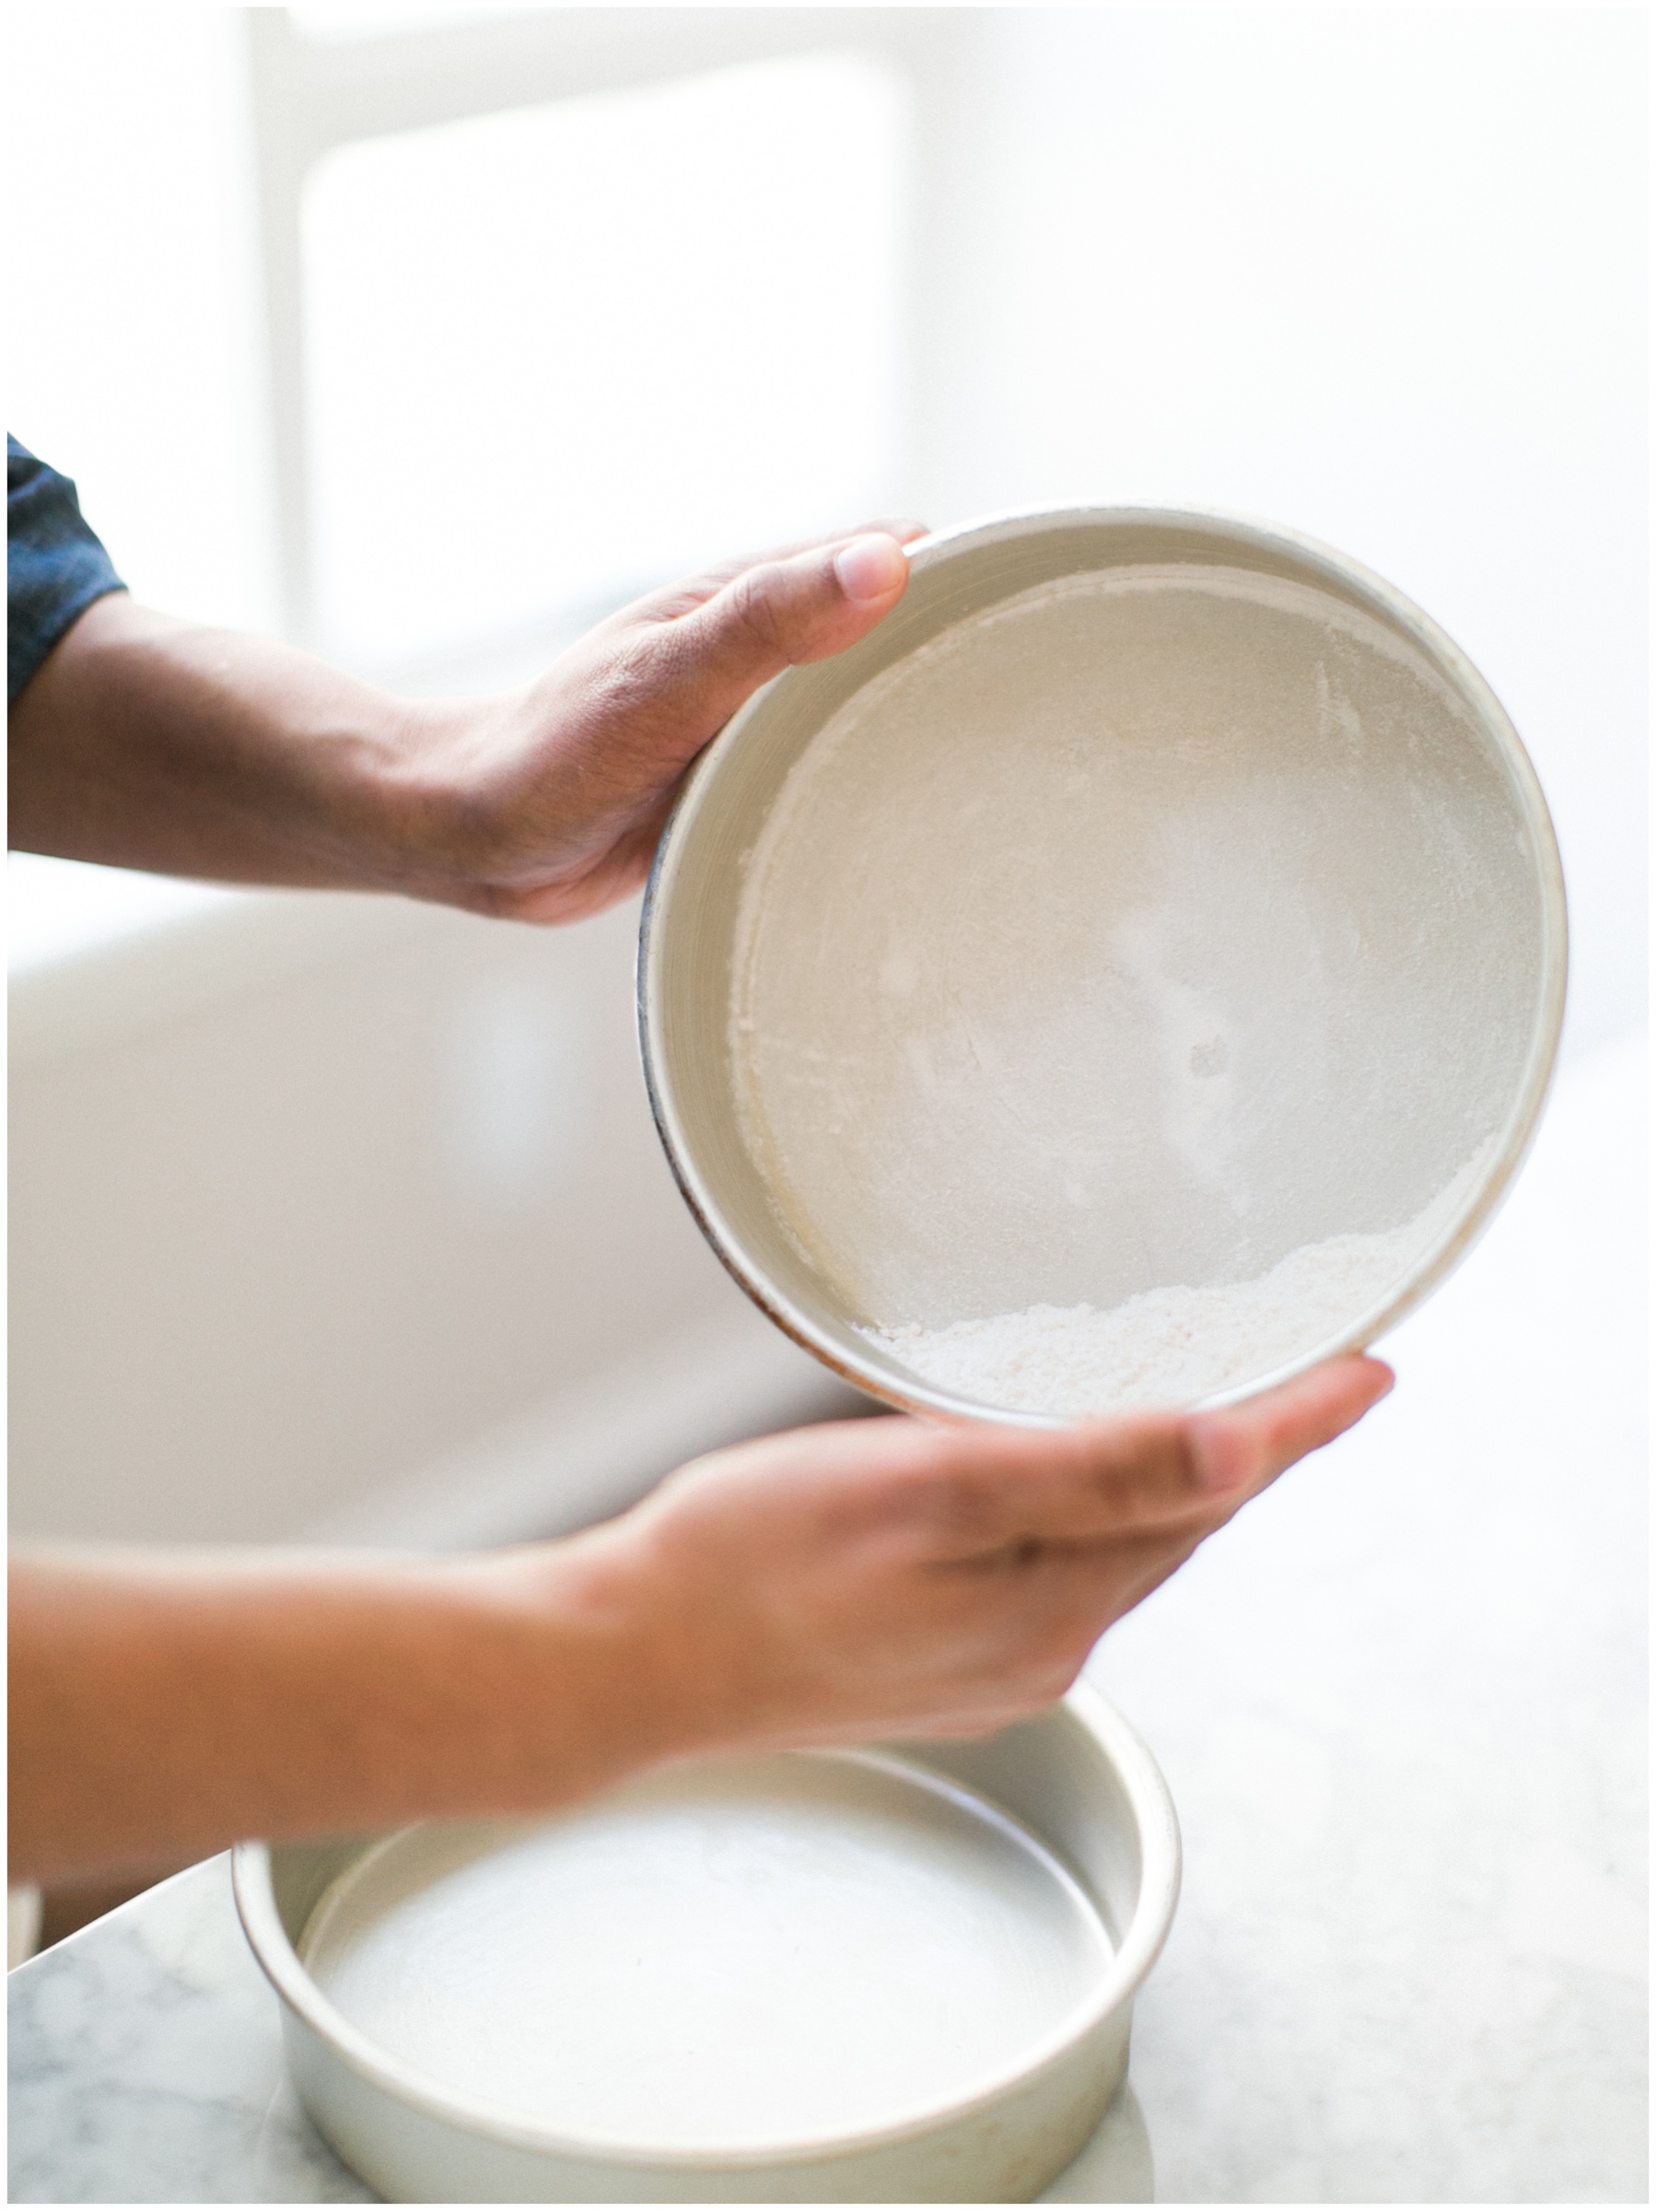
* Grease and flouring a pan is an important step or your cake will not flip out of the pan once it has baked! Lightly coat the entire inside of your pan with vegetable shortening using a paper towel or pastry brush. Once the surface is thoroughly covered add a few tablespoons of flour and shift the pan around in your hands to make sure the flour coats all of the vegetable shortening. Tap the pan on the countertop to collect all of the excess flour, and then turn the pan on the side to dump the excess flour out of the pan. Taking your time to grease and flour you pan properly is a foundational step to a successful cake.
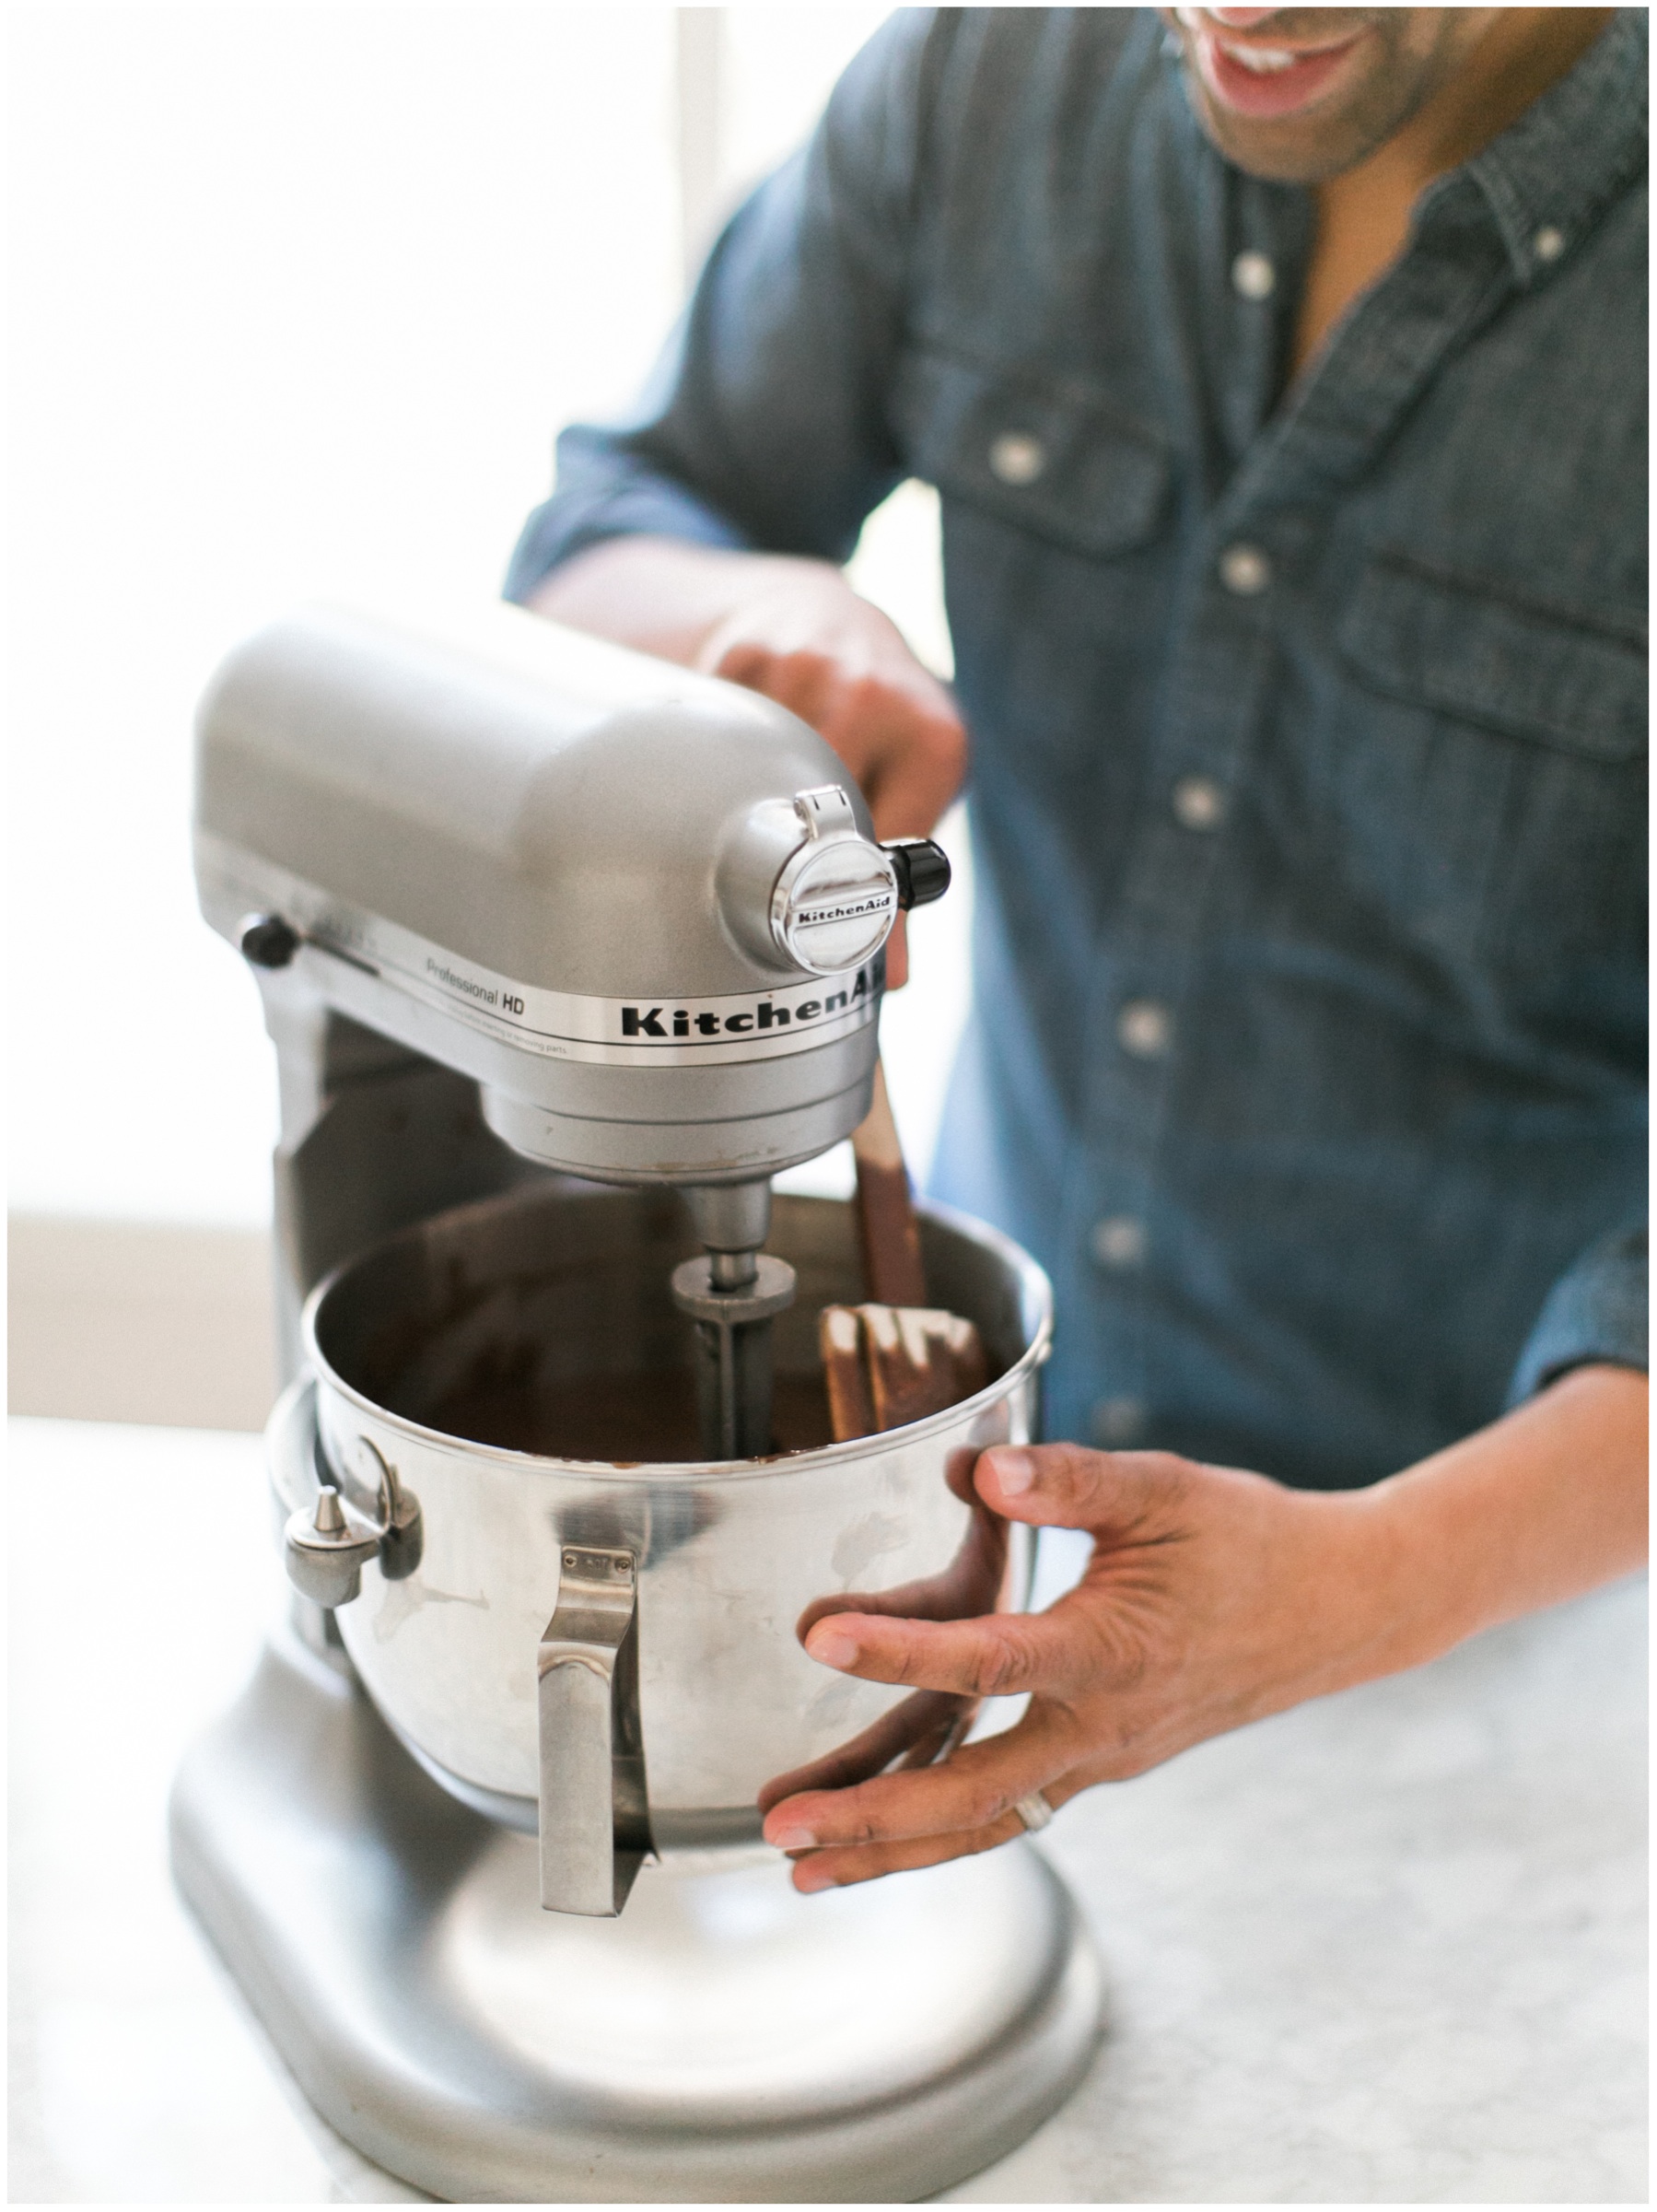
* Be careful not to over mix your cake batter. Follow the mixing time on the recipe. Over mixing your cake batter will lead to a dry cake.
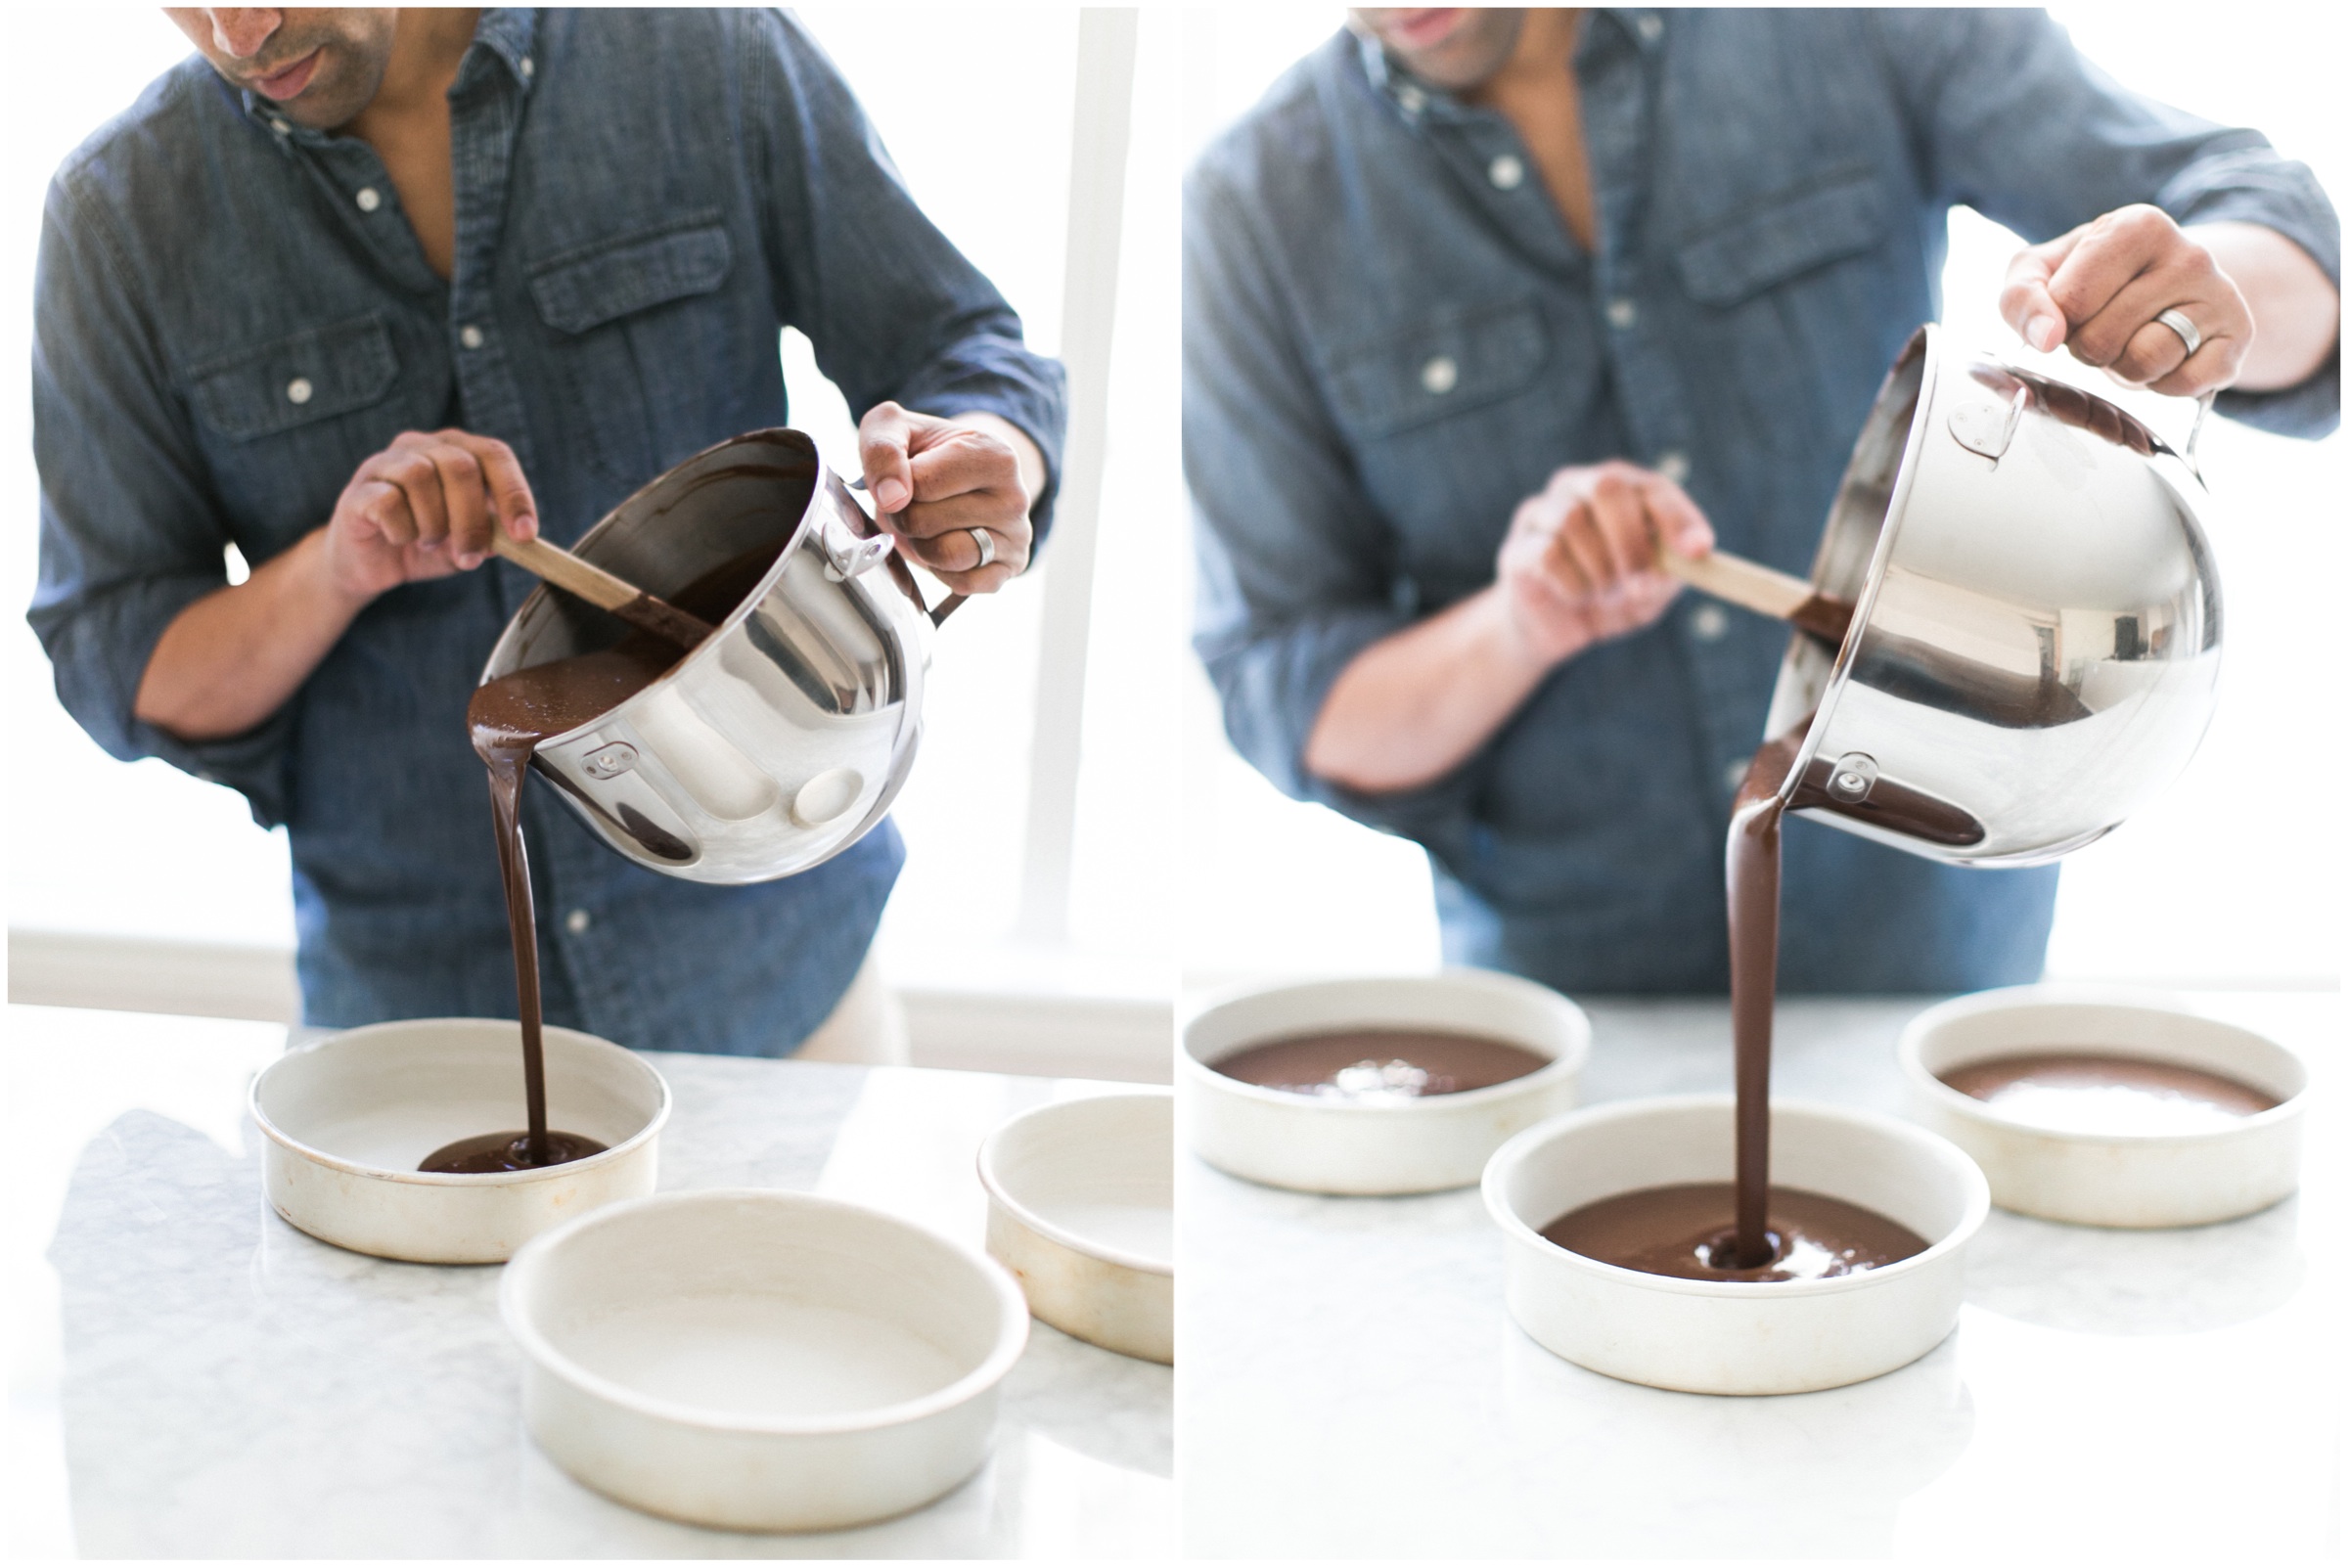
* This cake batter is very thin, and you may think you added too much water to the batter. Don’t worry! Part of what makes this cake batter so moist is that it baked from a thin, liquidy batter.
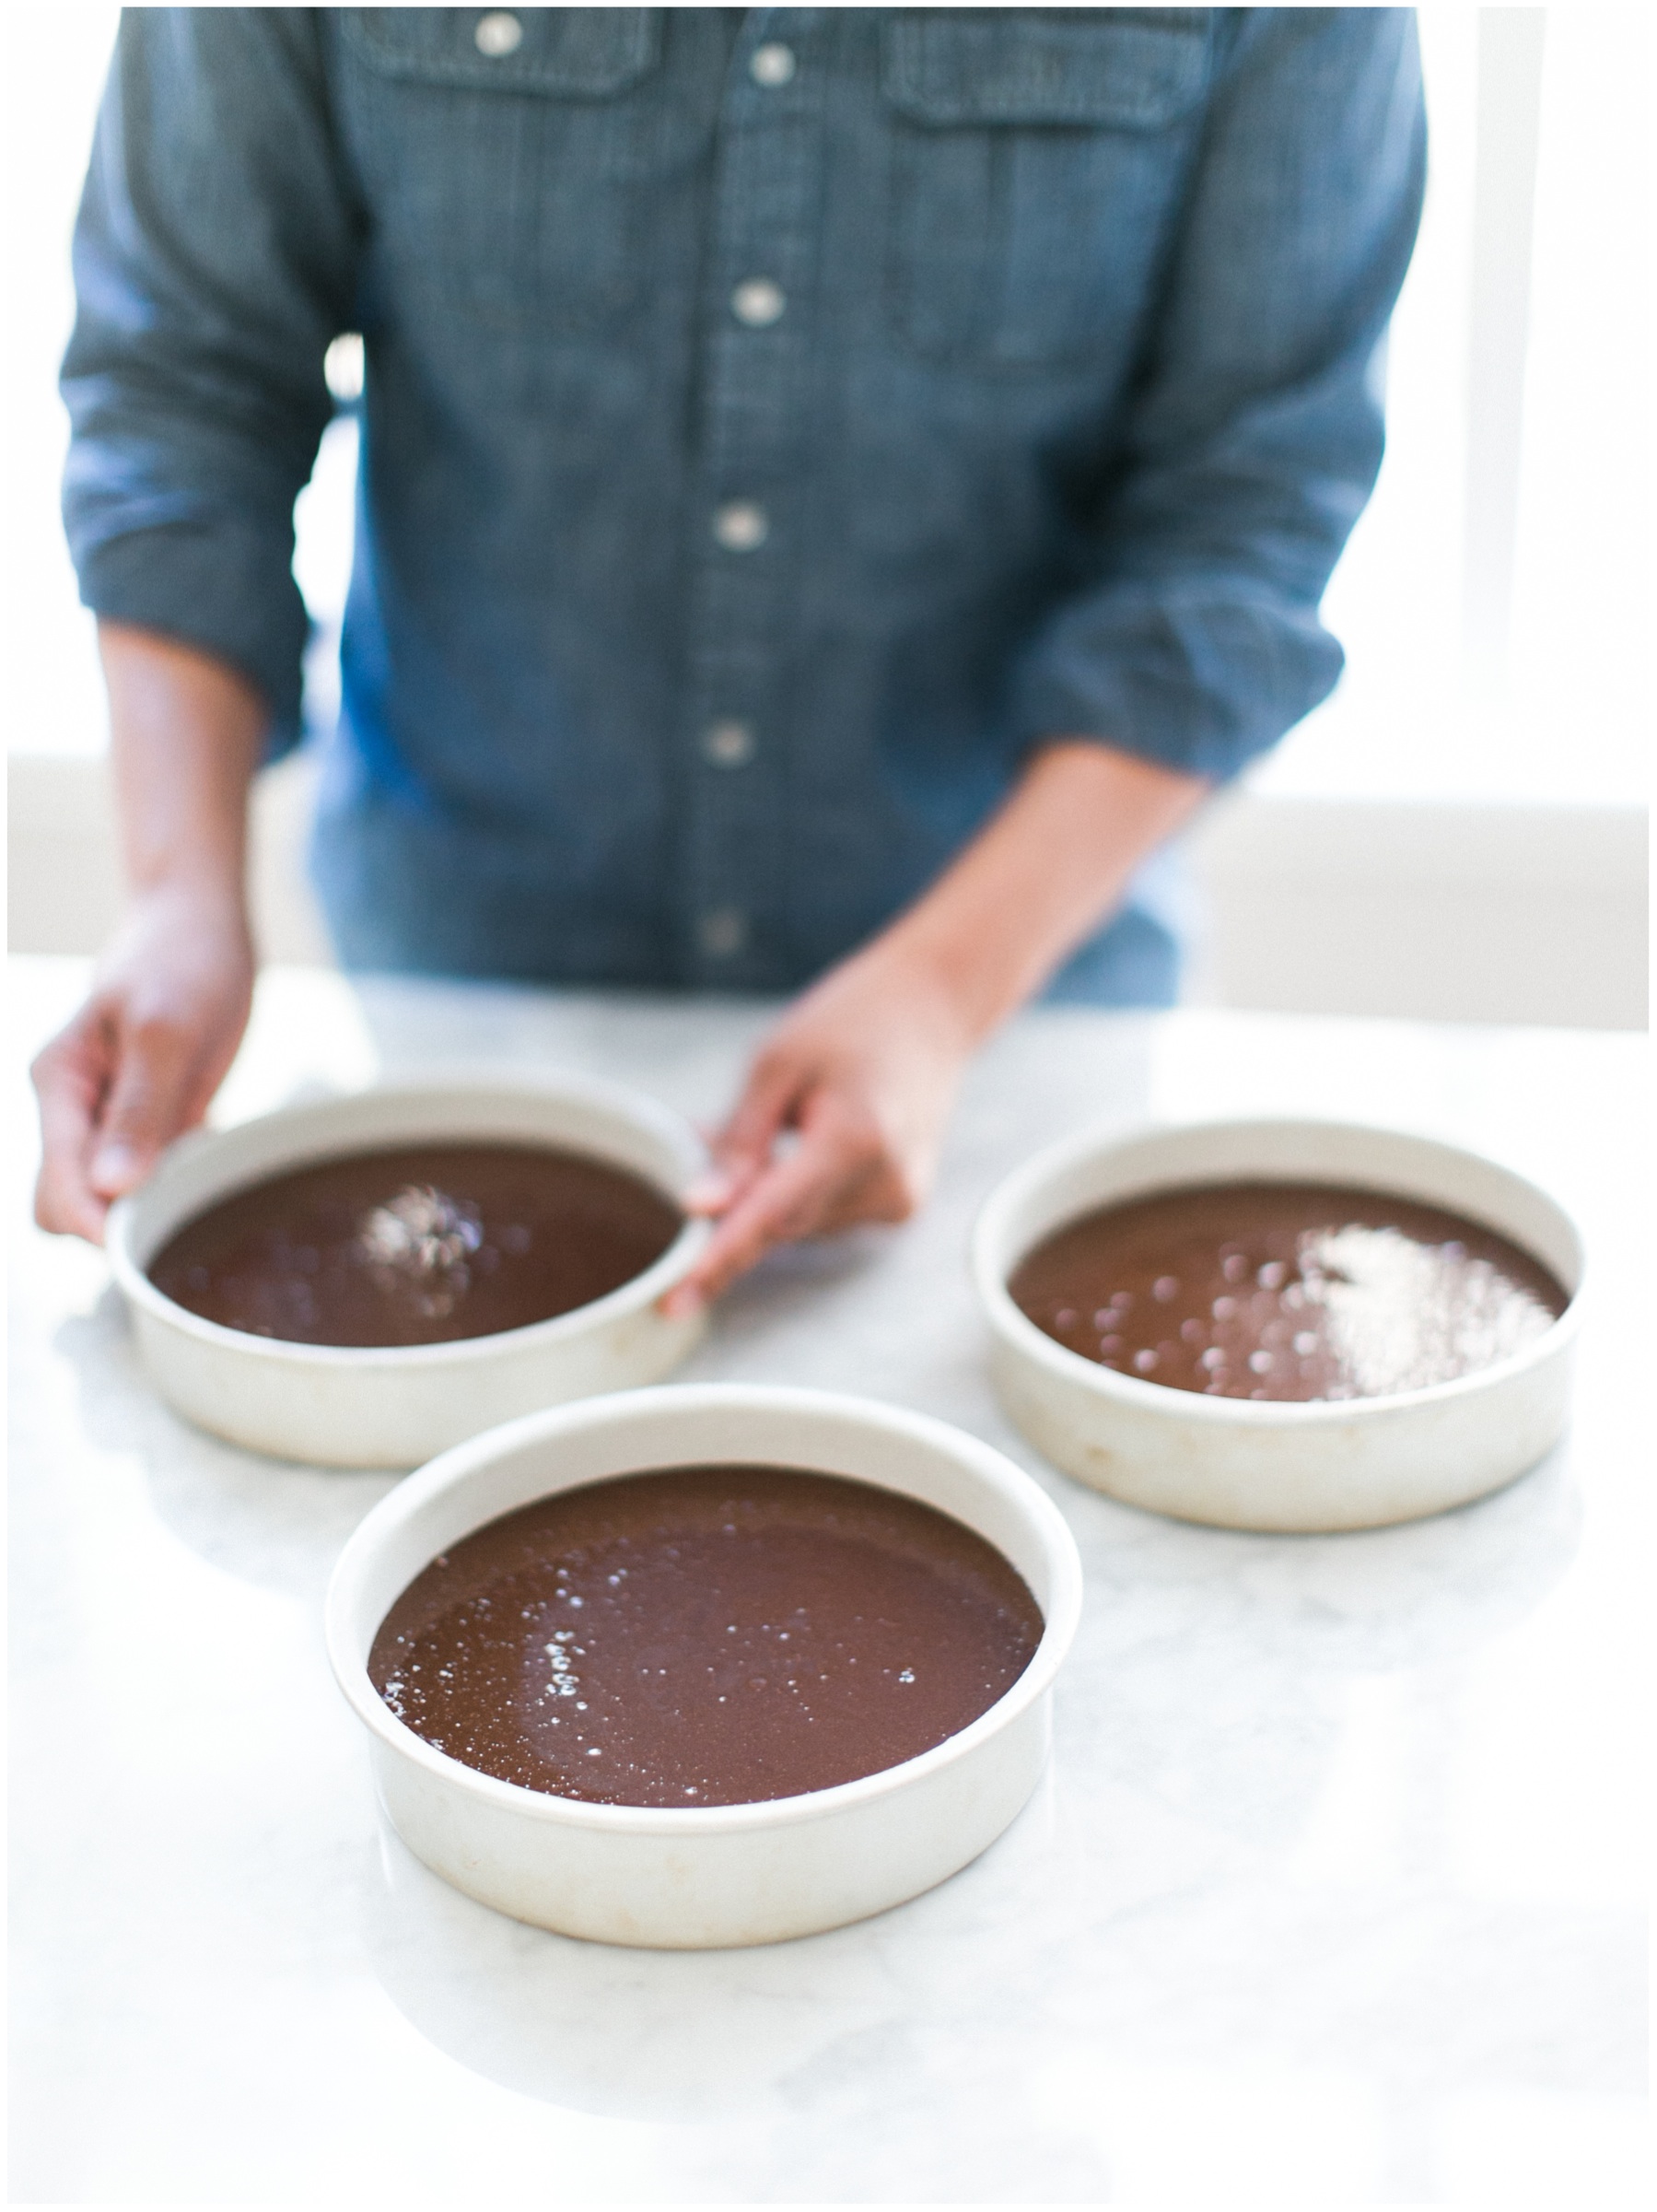
* Fill your pans 2/3 full. This will allow your cakes to bake higher so you can have nice tall layers. Once you have filled your pans, tap them lightly on the countertop several times to release the air bubbles and bring them to the surface.
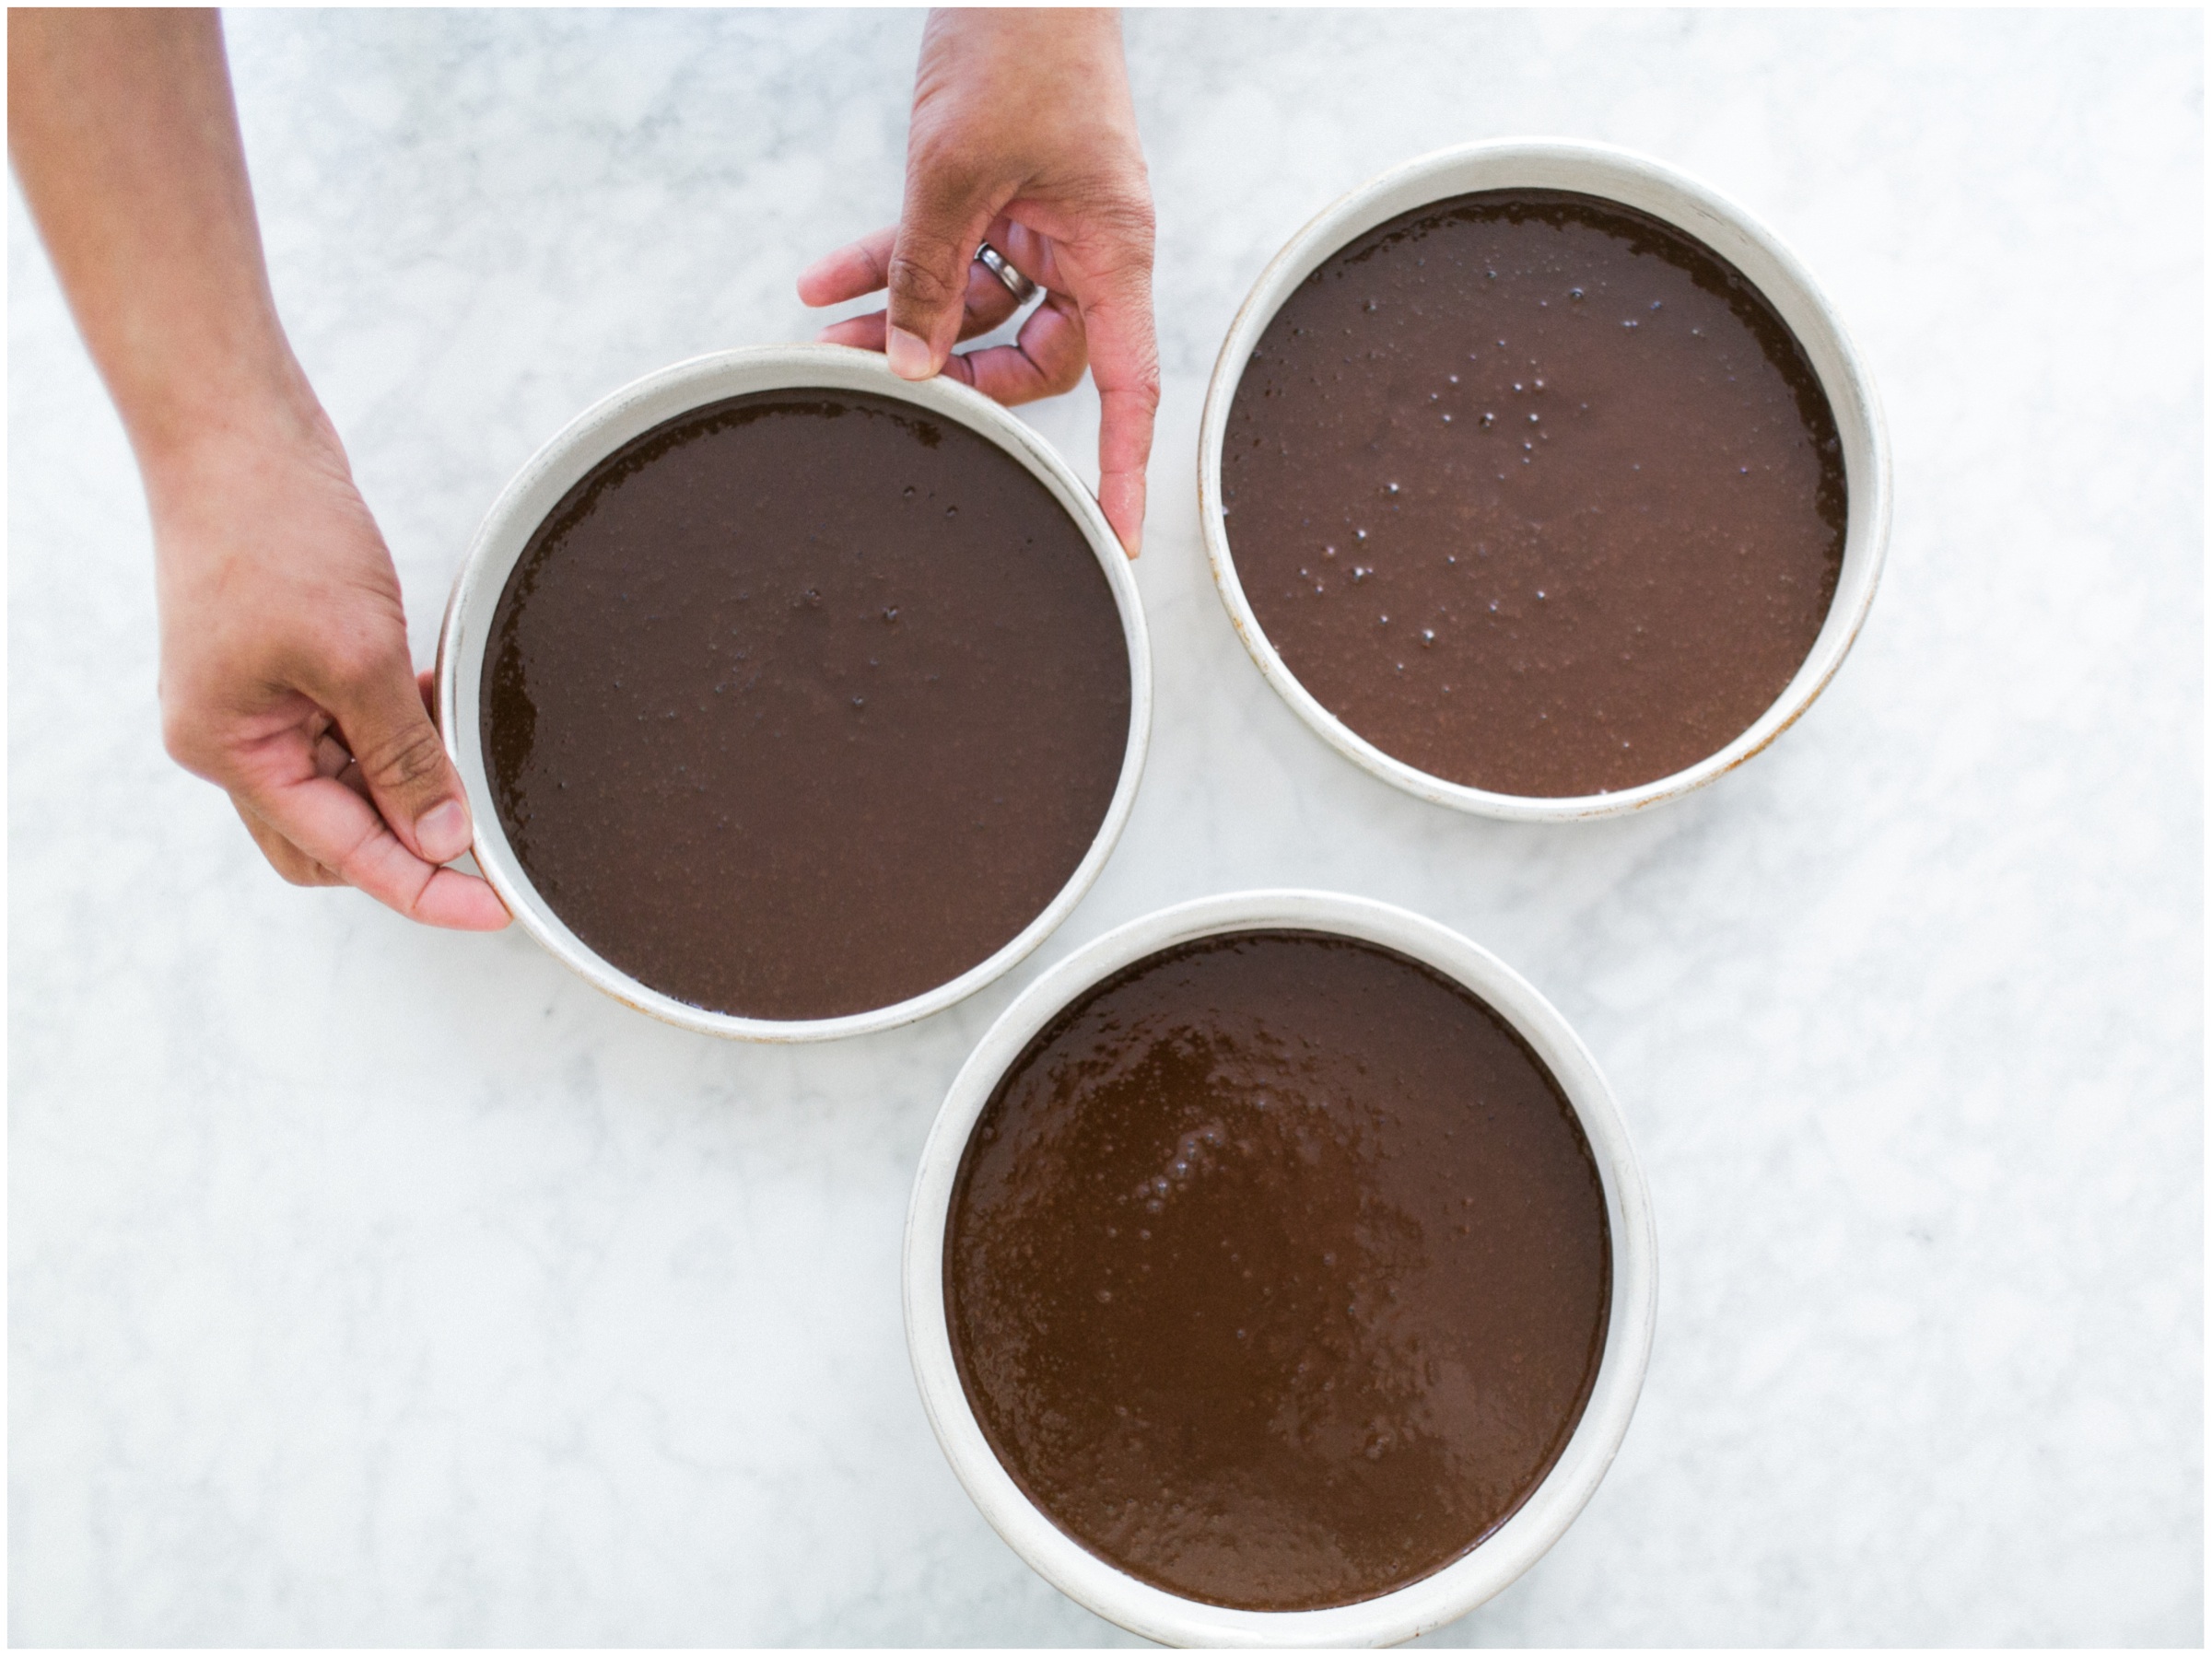
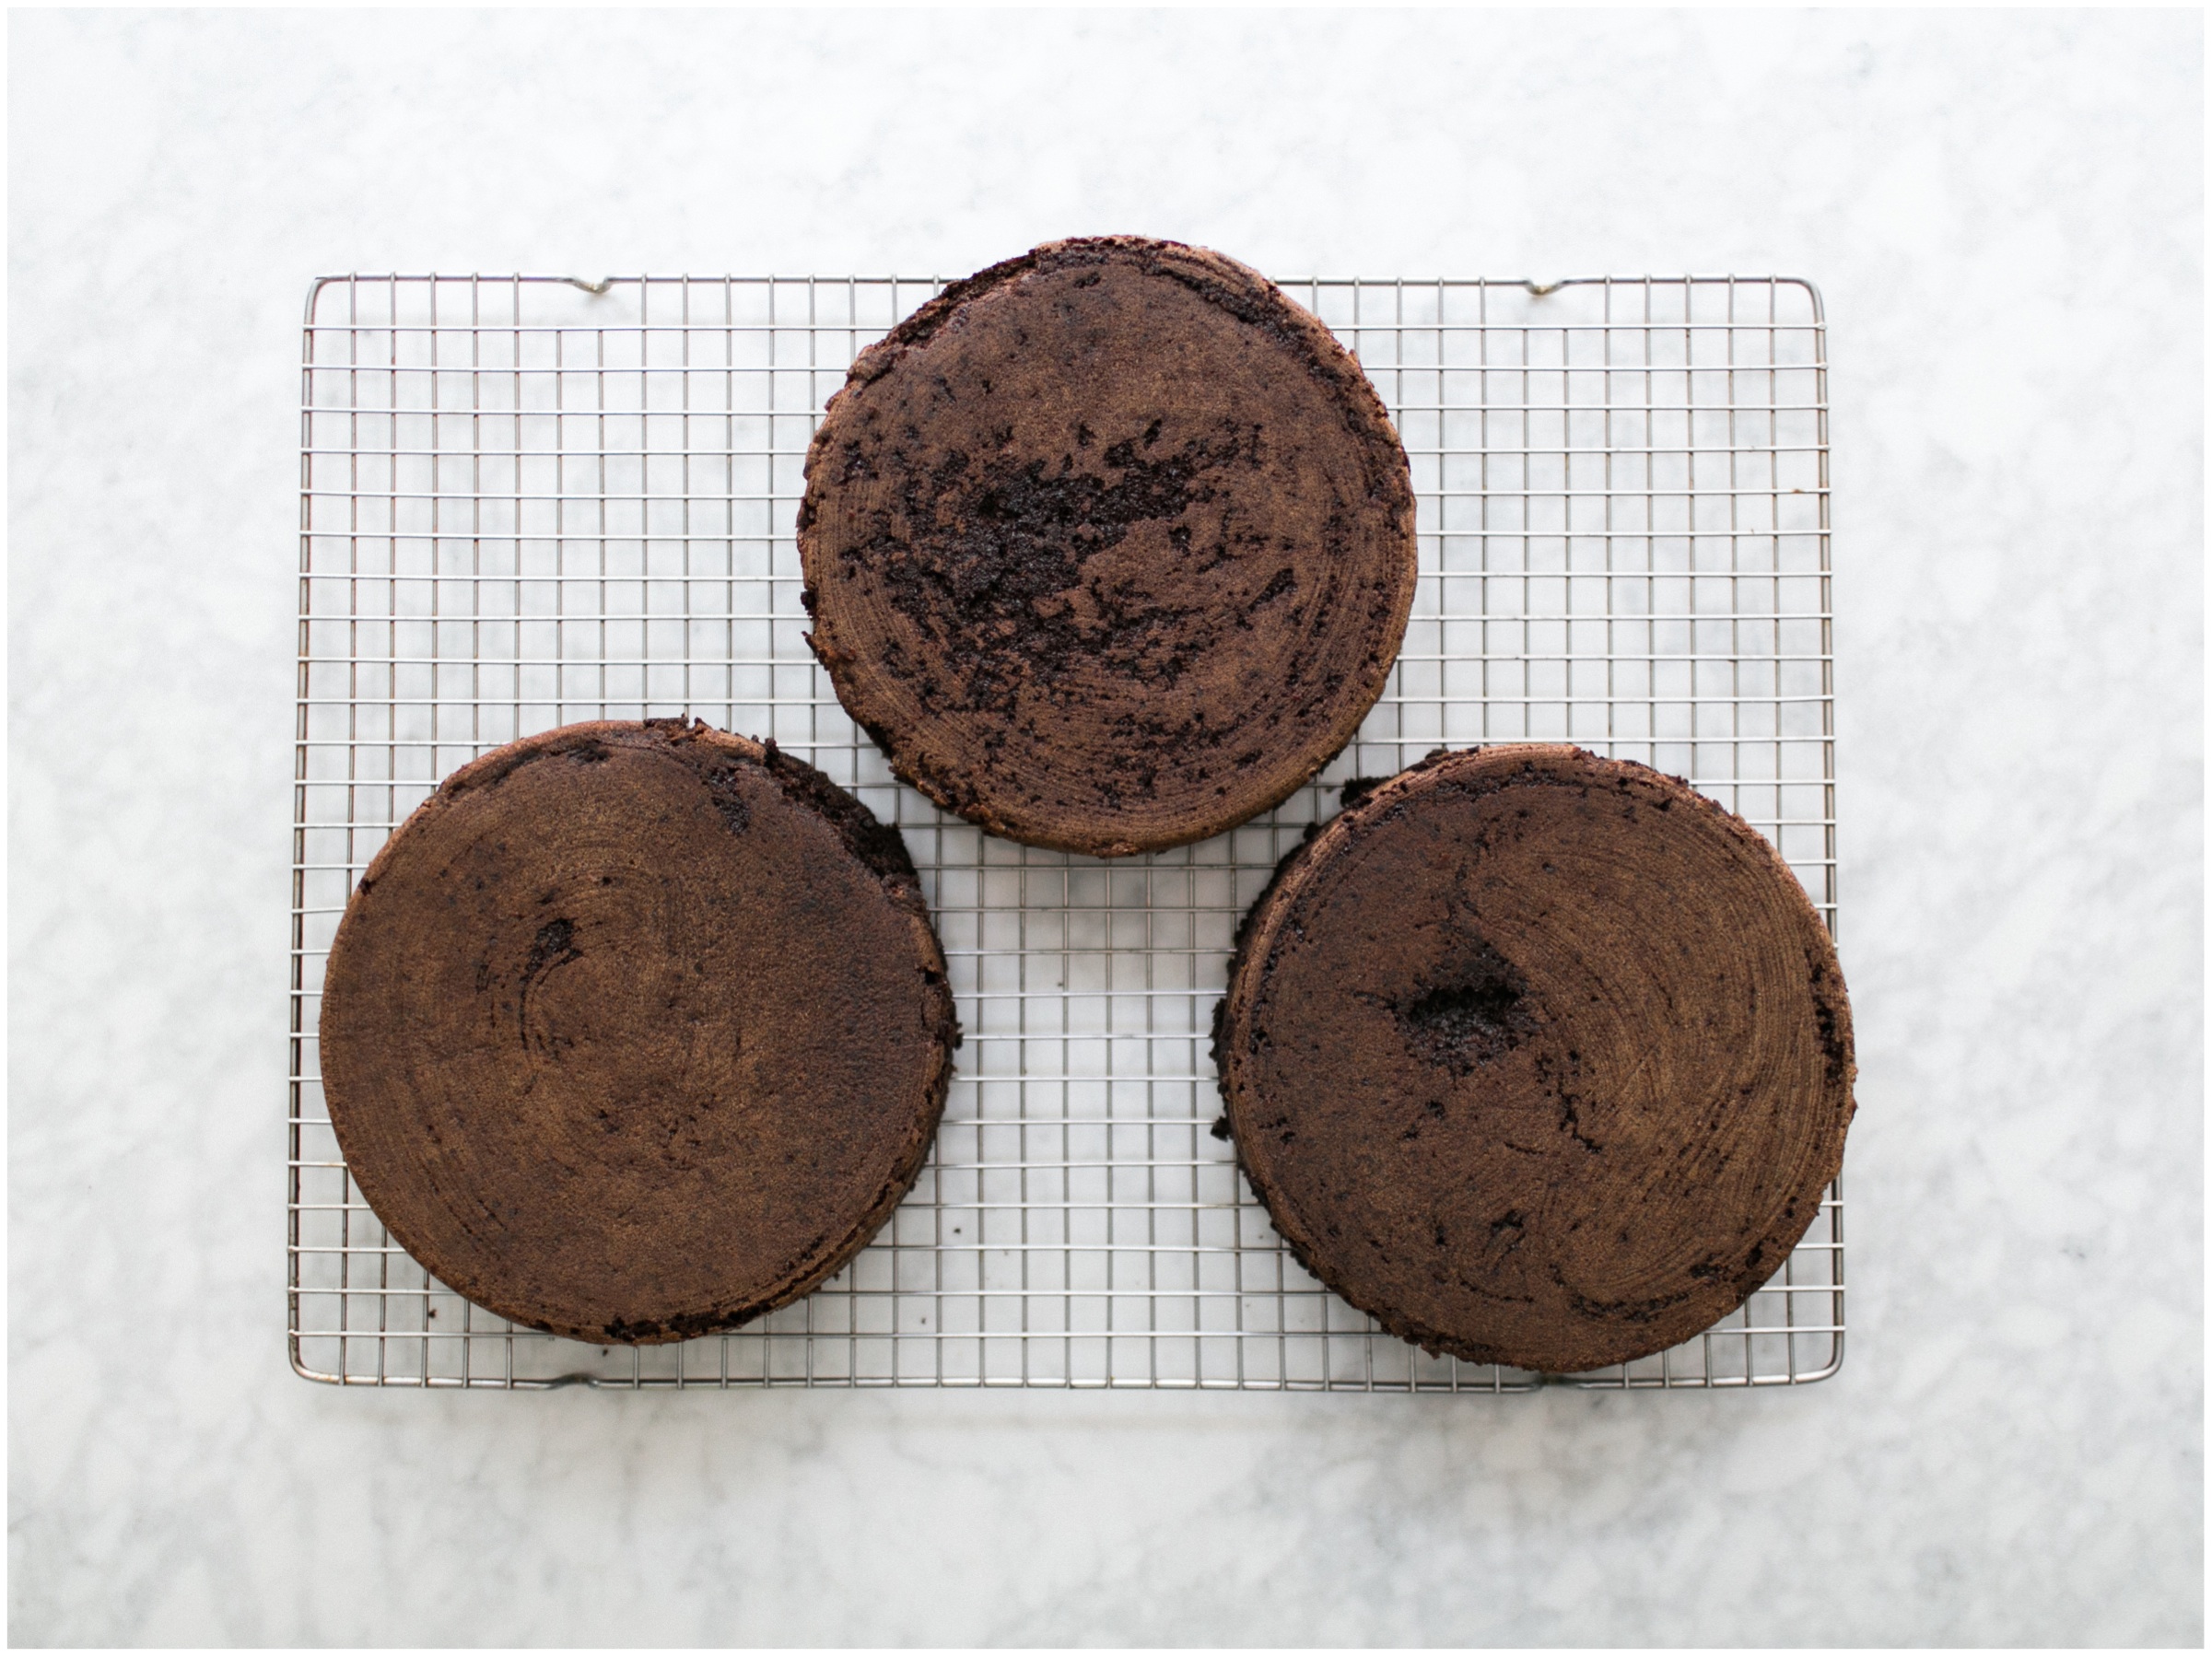
* You’ll know that your cake is baked long enough when you insert a toothpick or cake tester into the middle of the baking cake, and it comes out clean.
* I always try to set an alarm for 8 minutes after the cakes come out of the oven so I can flip them out of their pan before the cake cools too much and sticks to the pan. Once the cakes are flipped out, make sure to let them cool completely before attempting to ice the cake. If the cake is not completely cool your icing will melt.
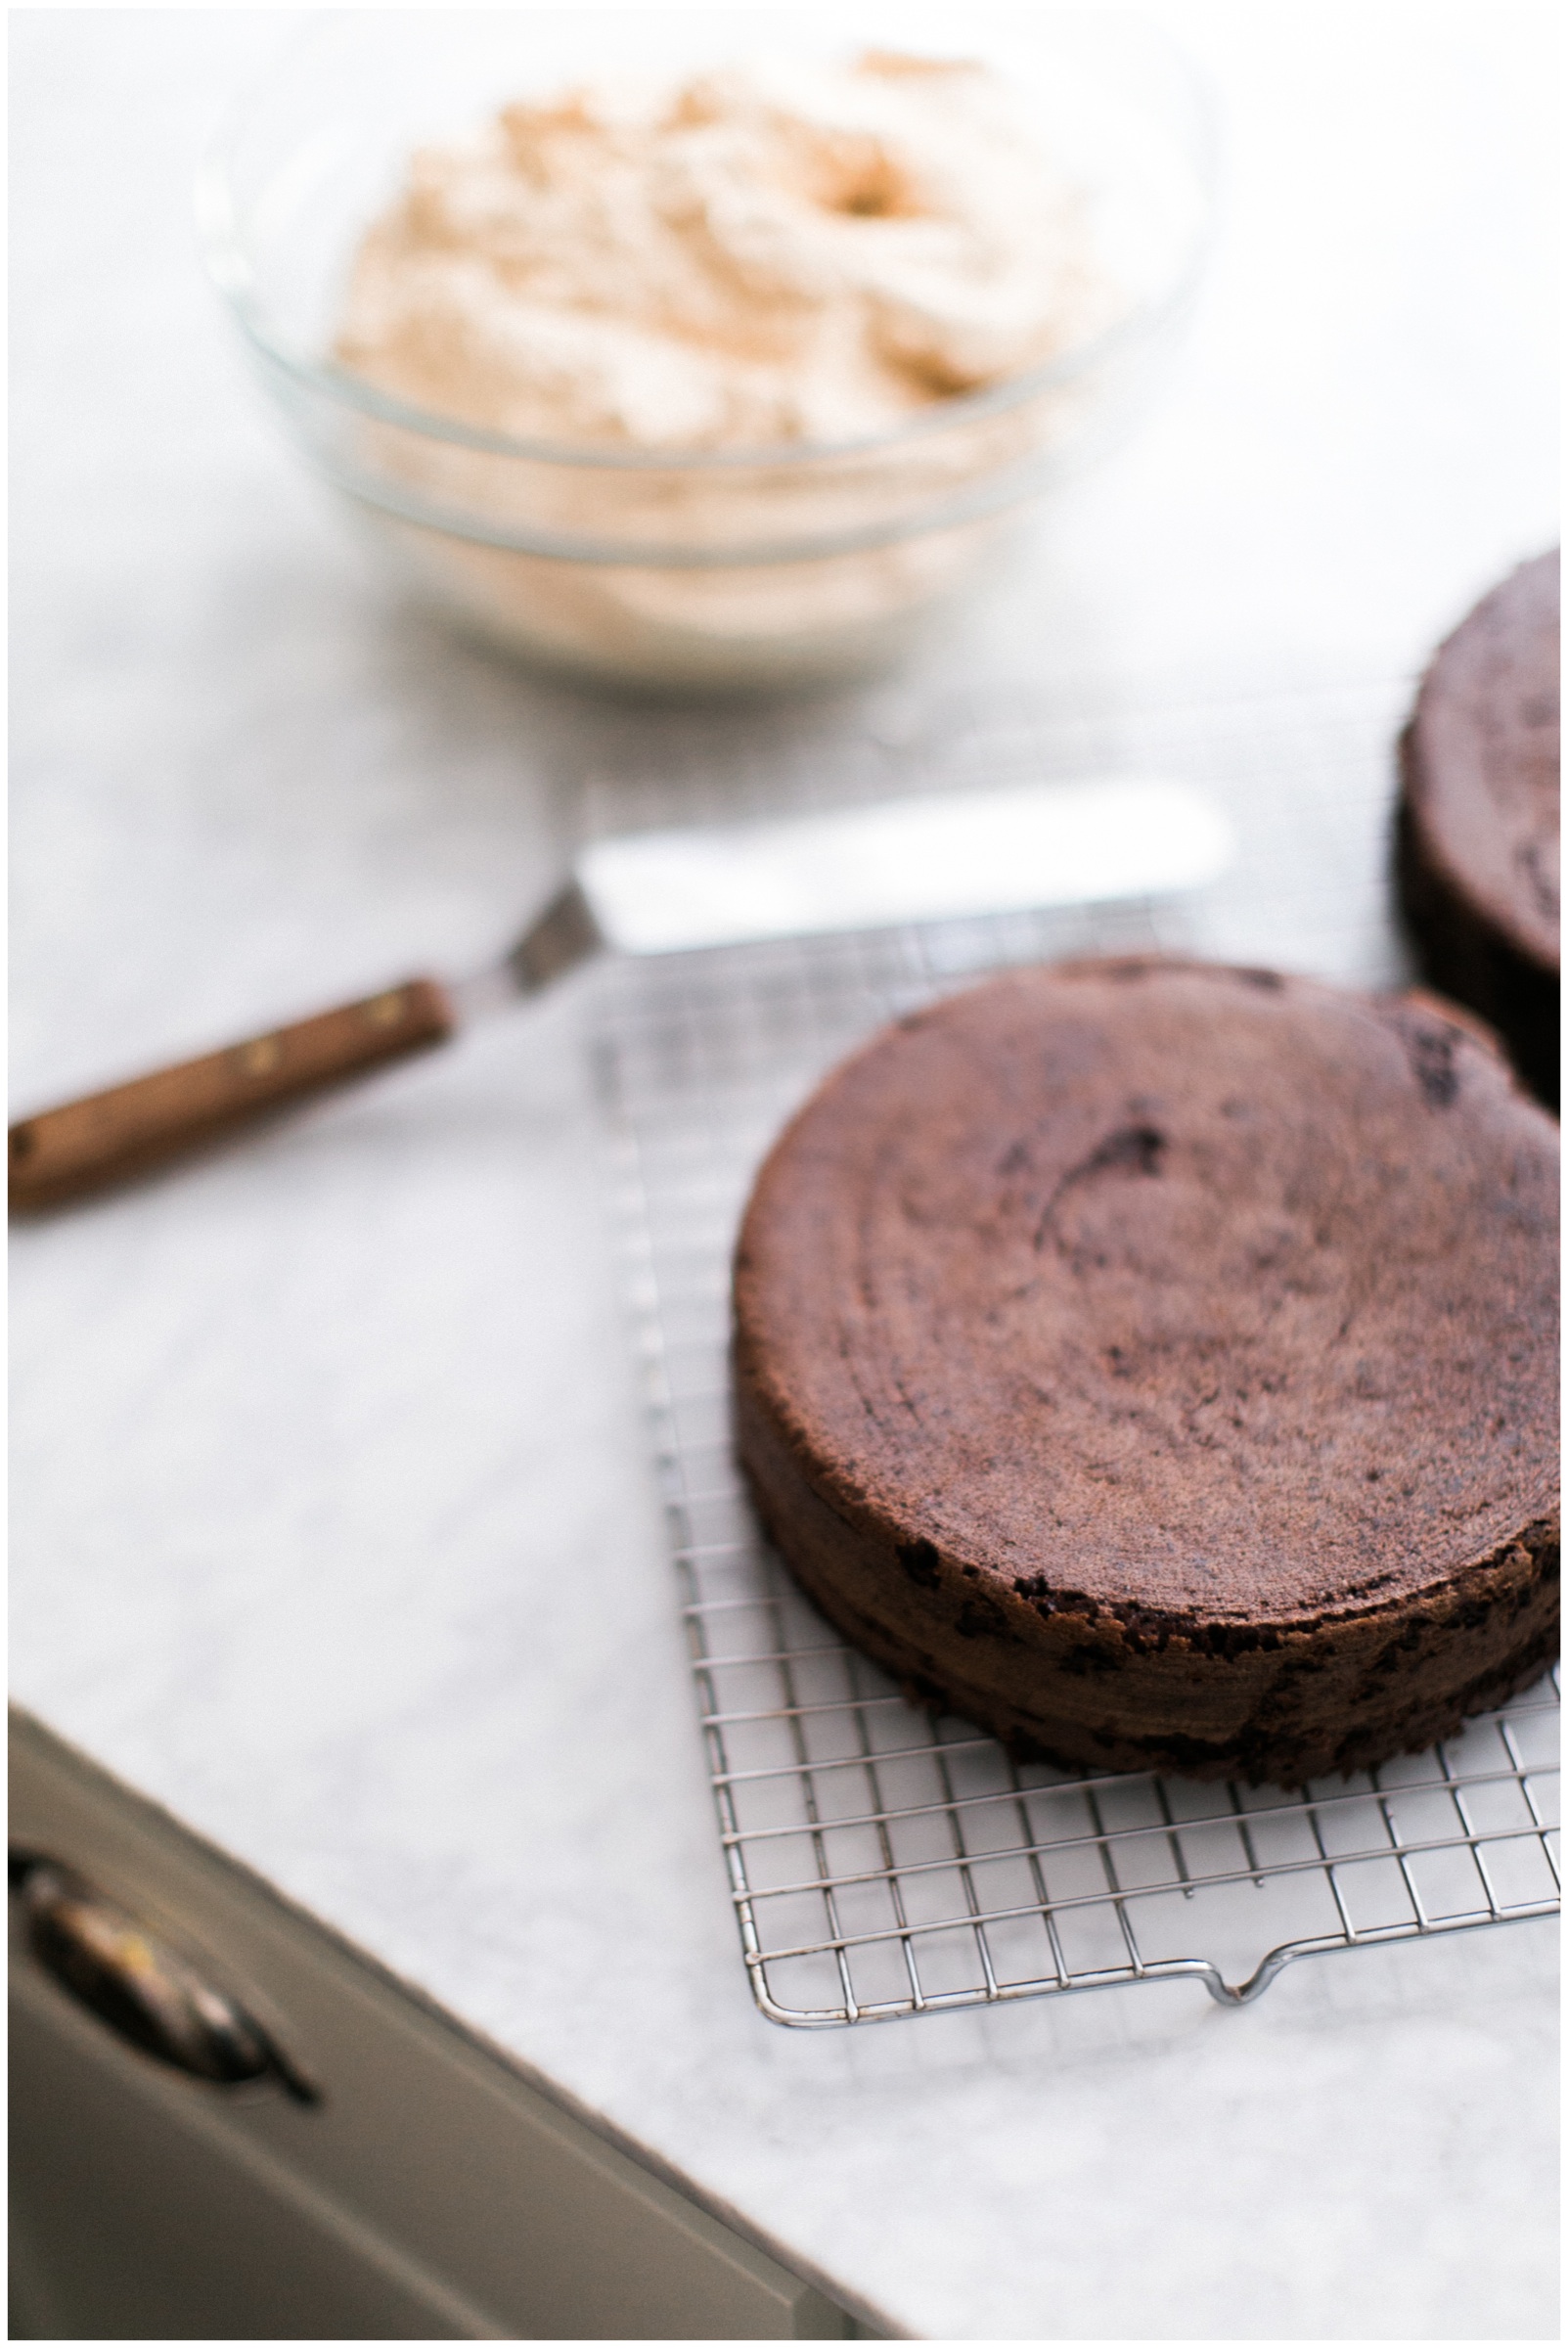
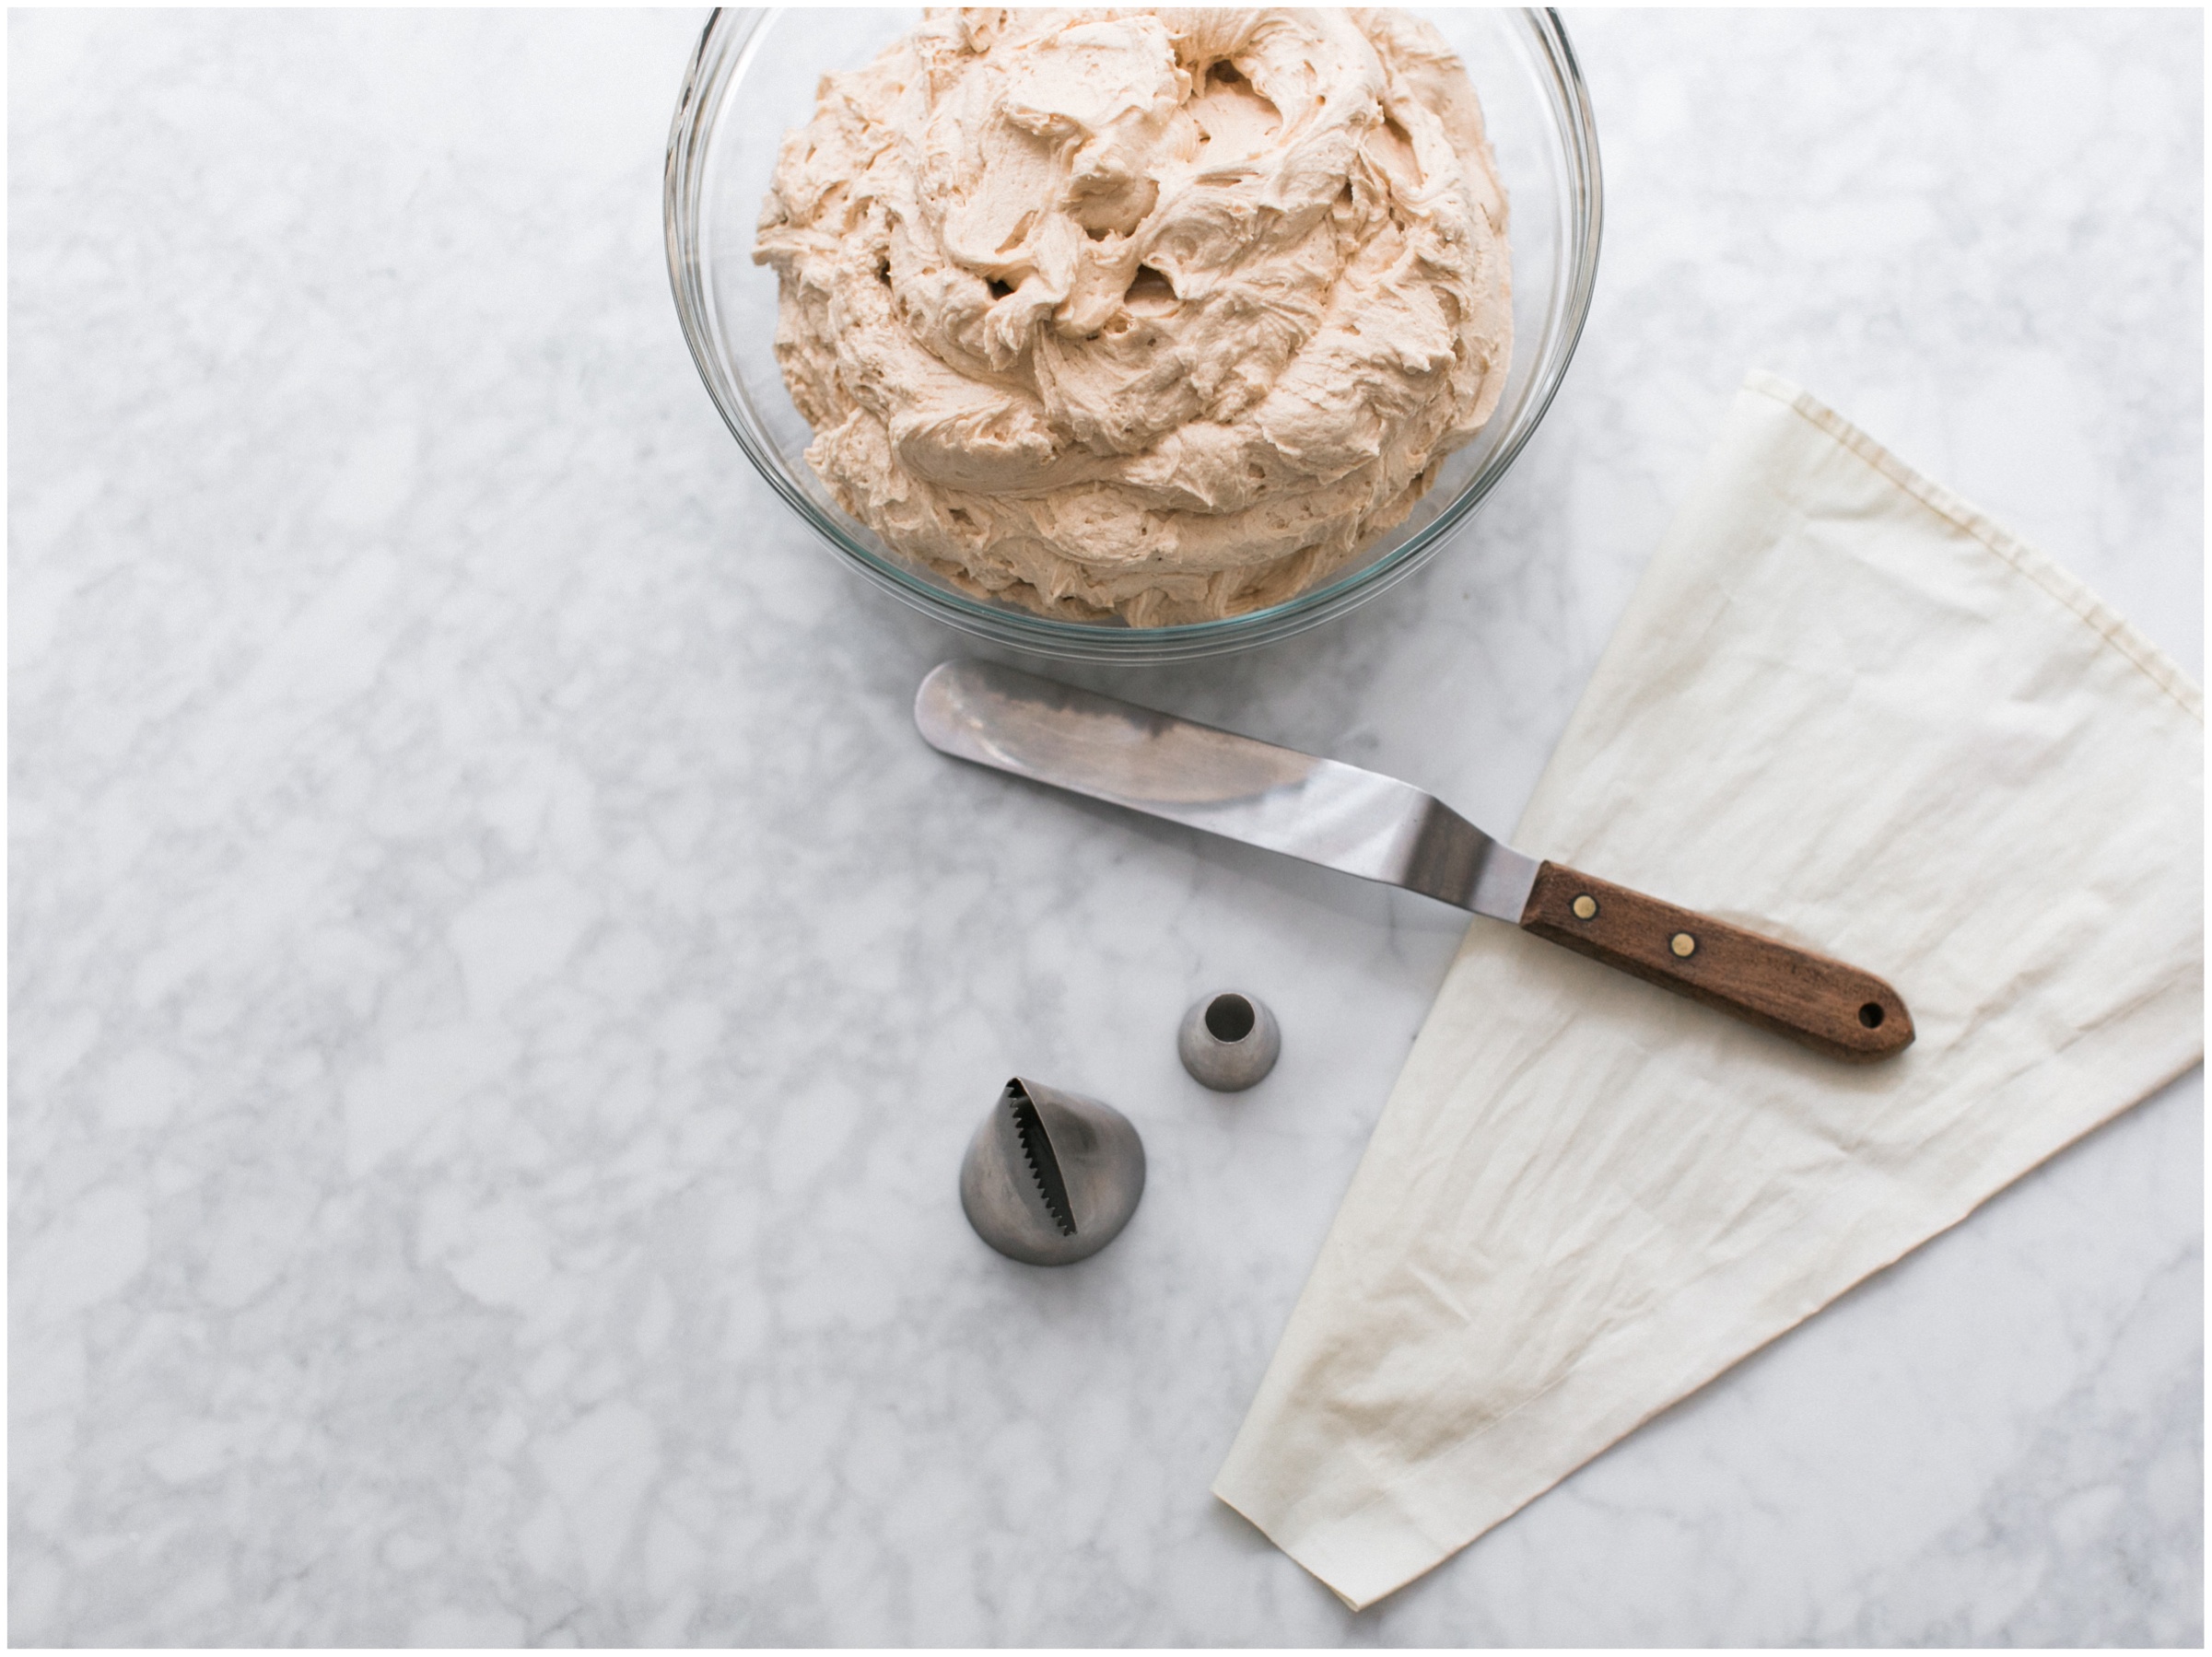
* There are many ways to ice a cake. I prefer to use pastry bags fitted with a round tip for quickly filling the middle of each tier and then a cake icer tip for icing the sides.
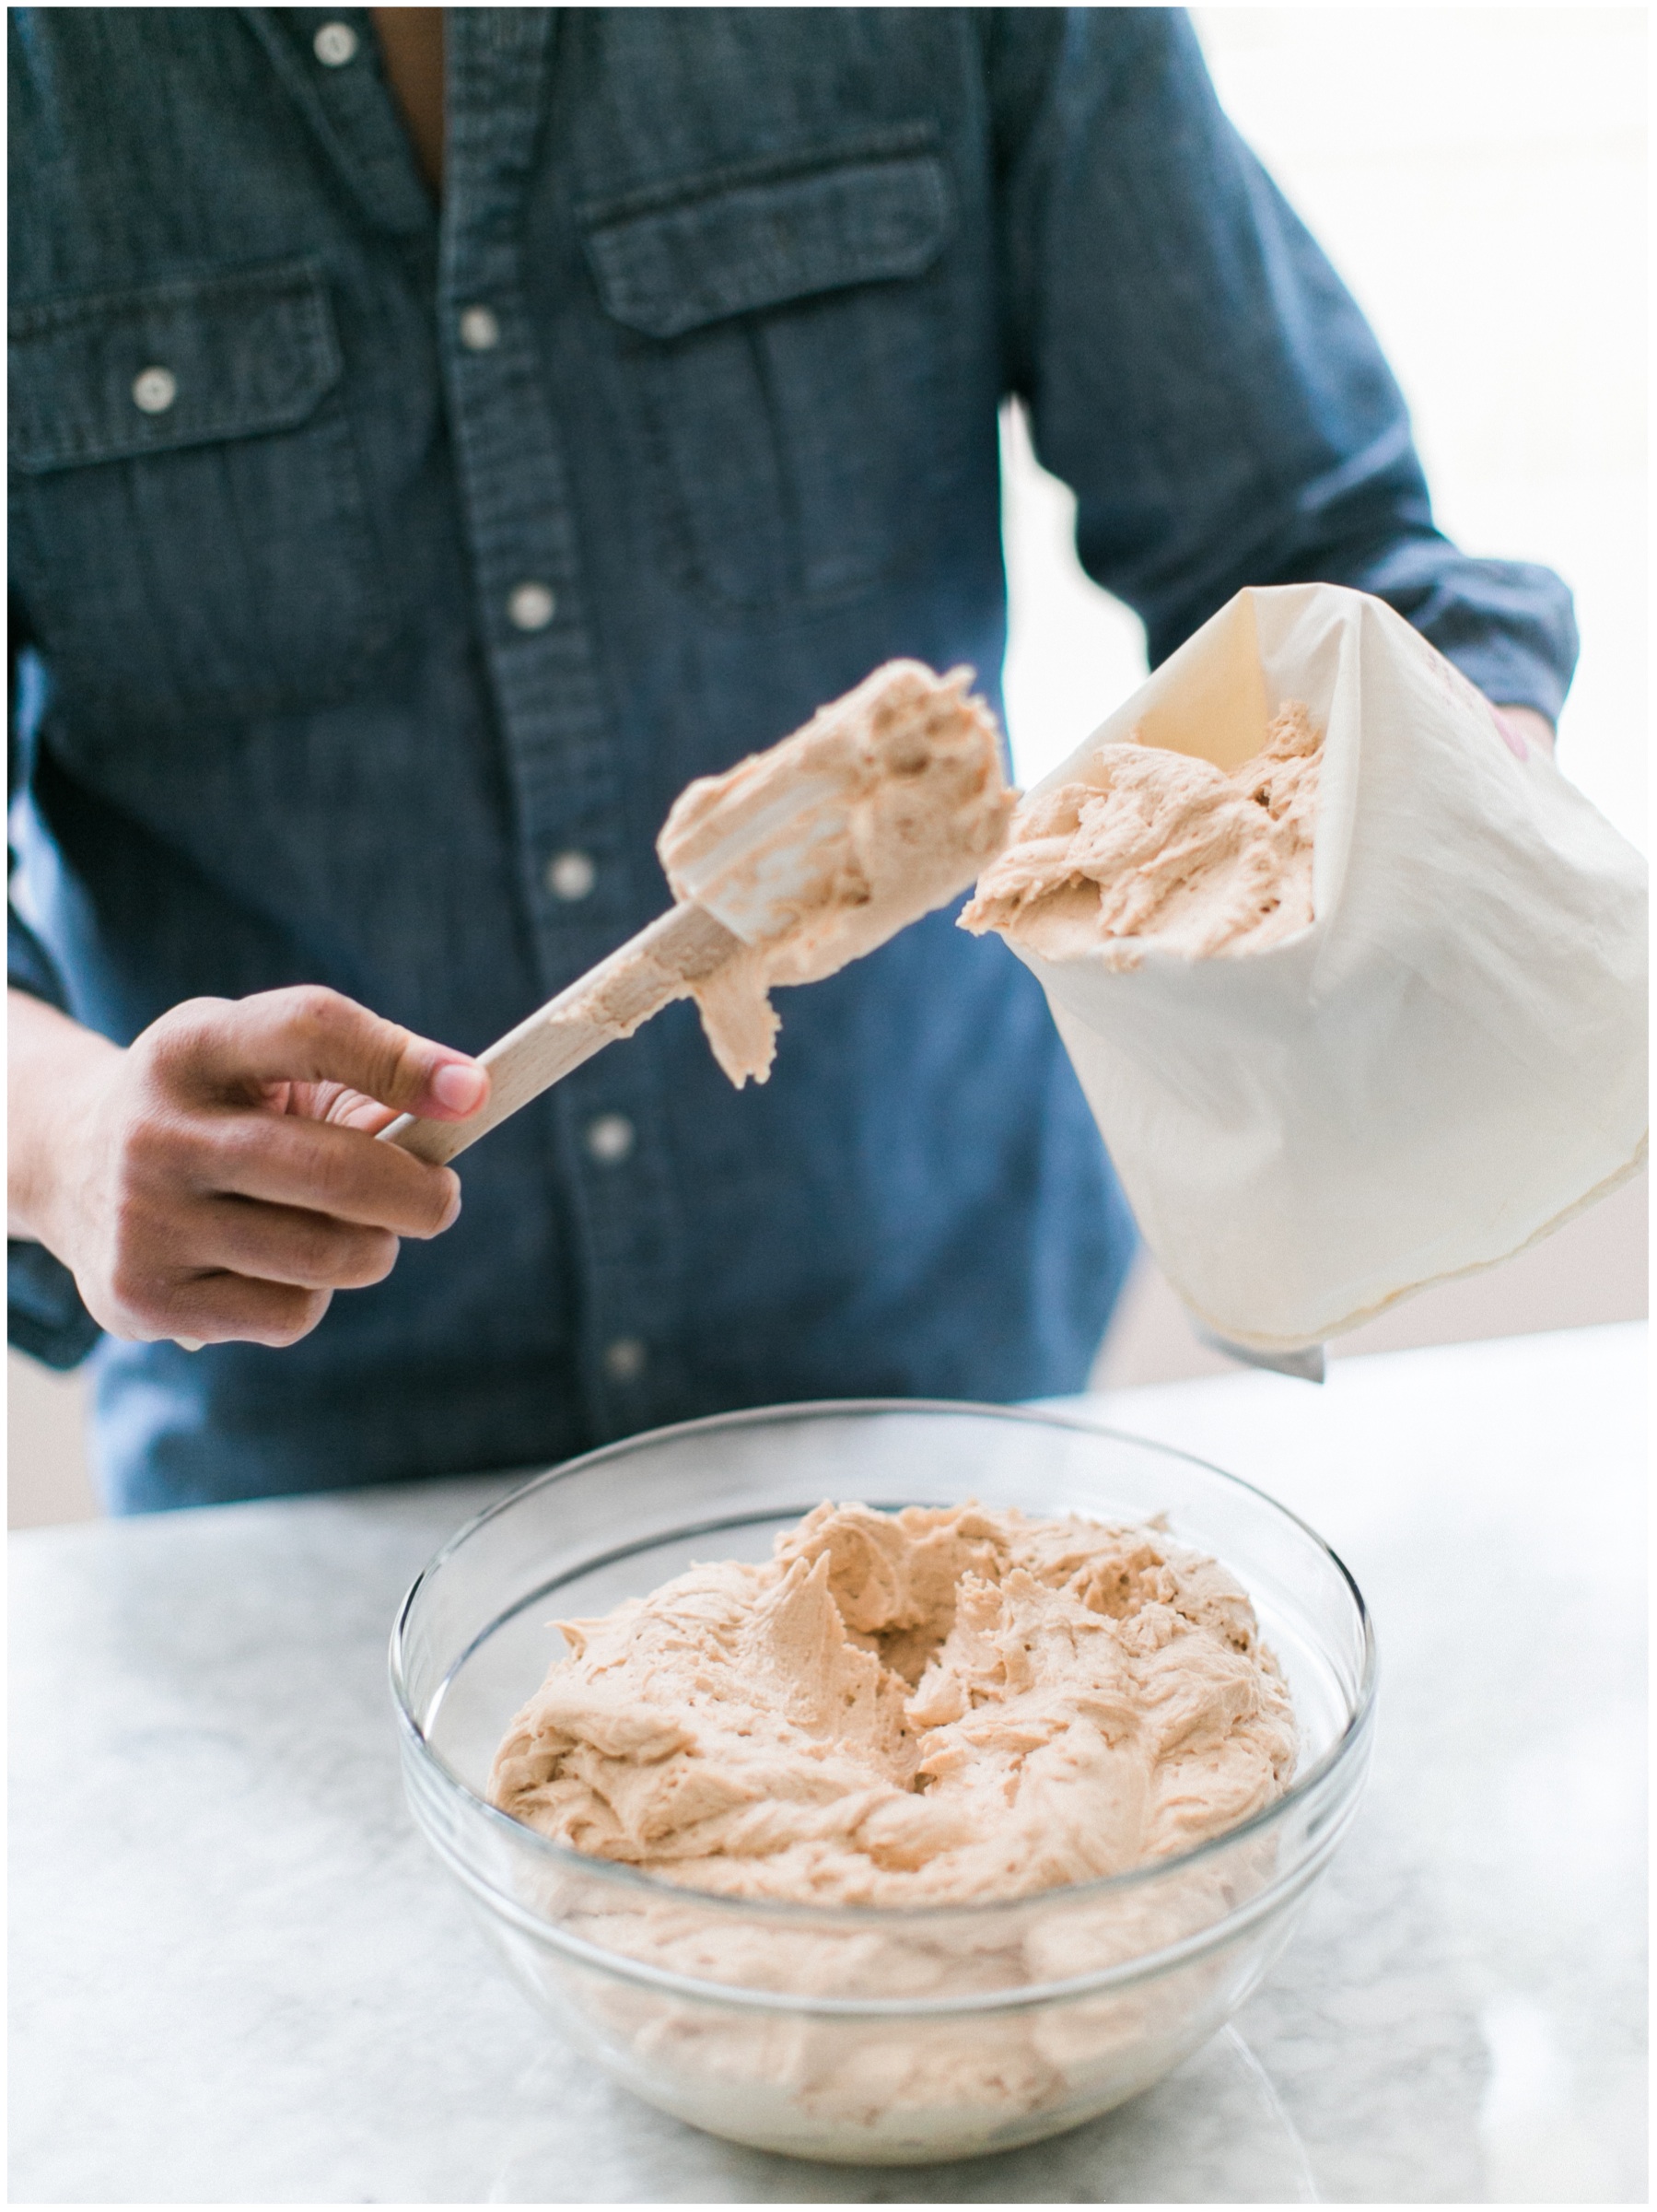
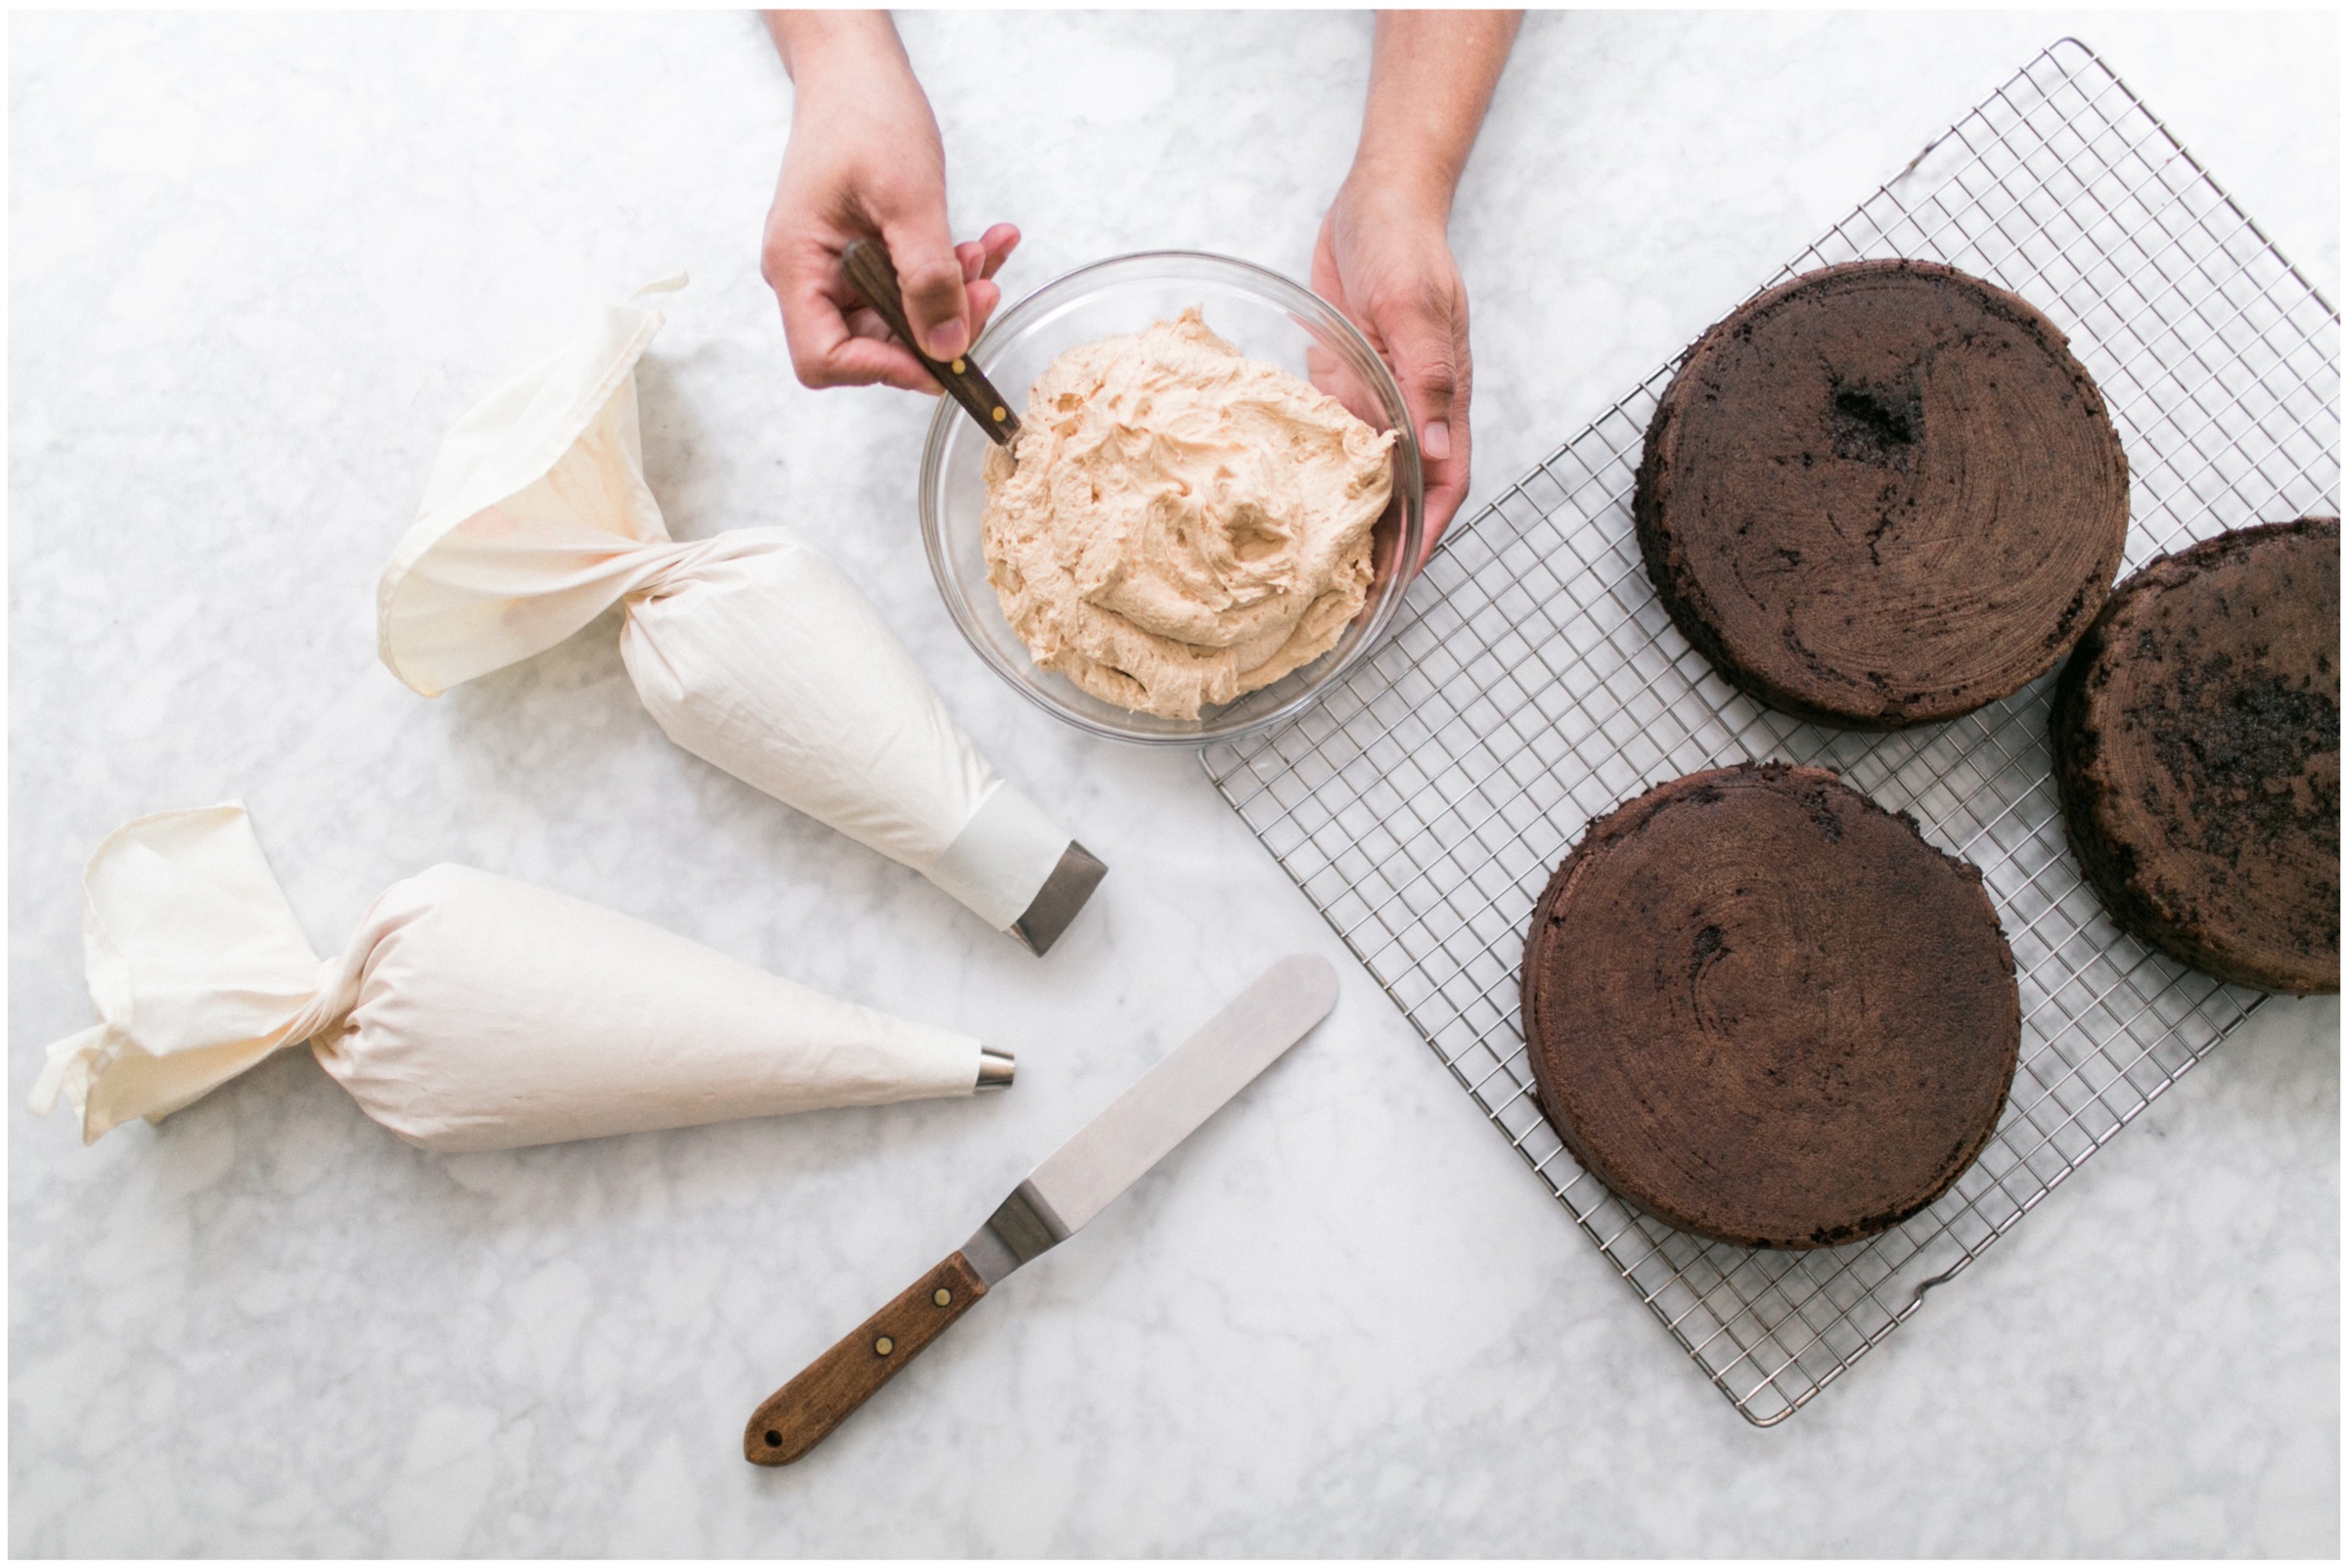
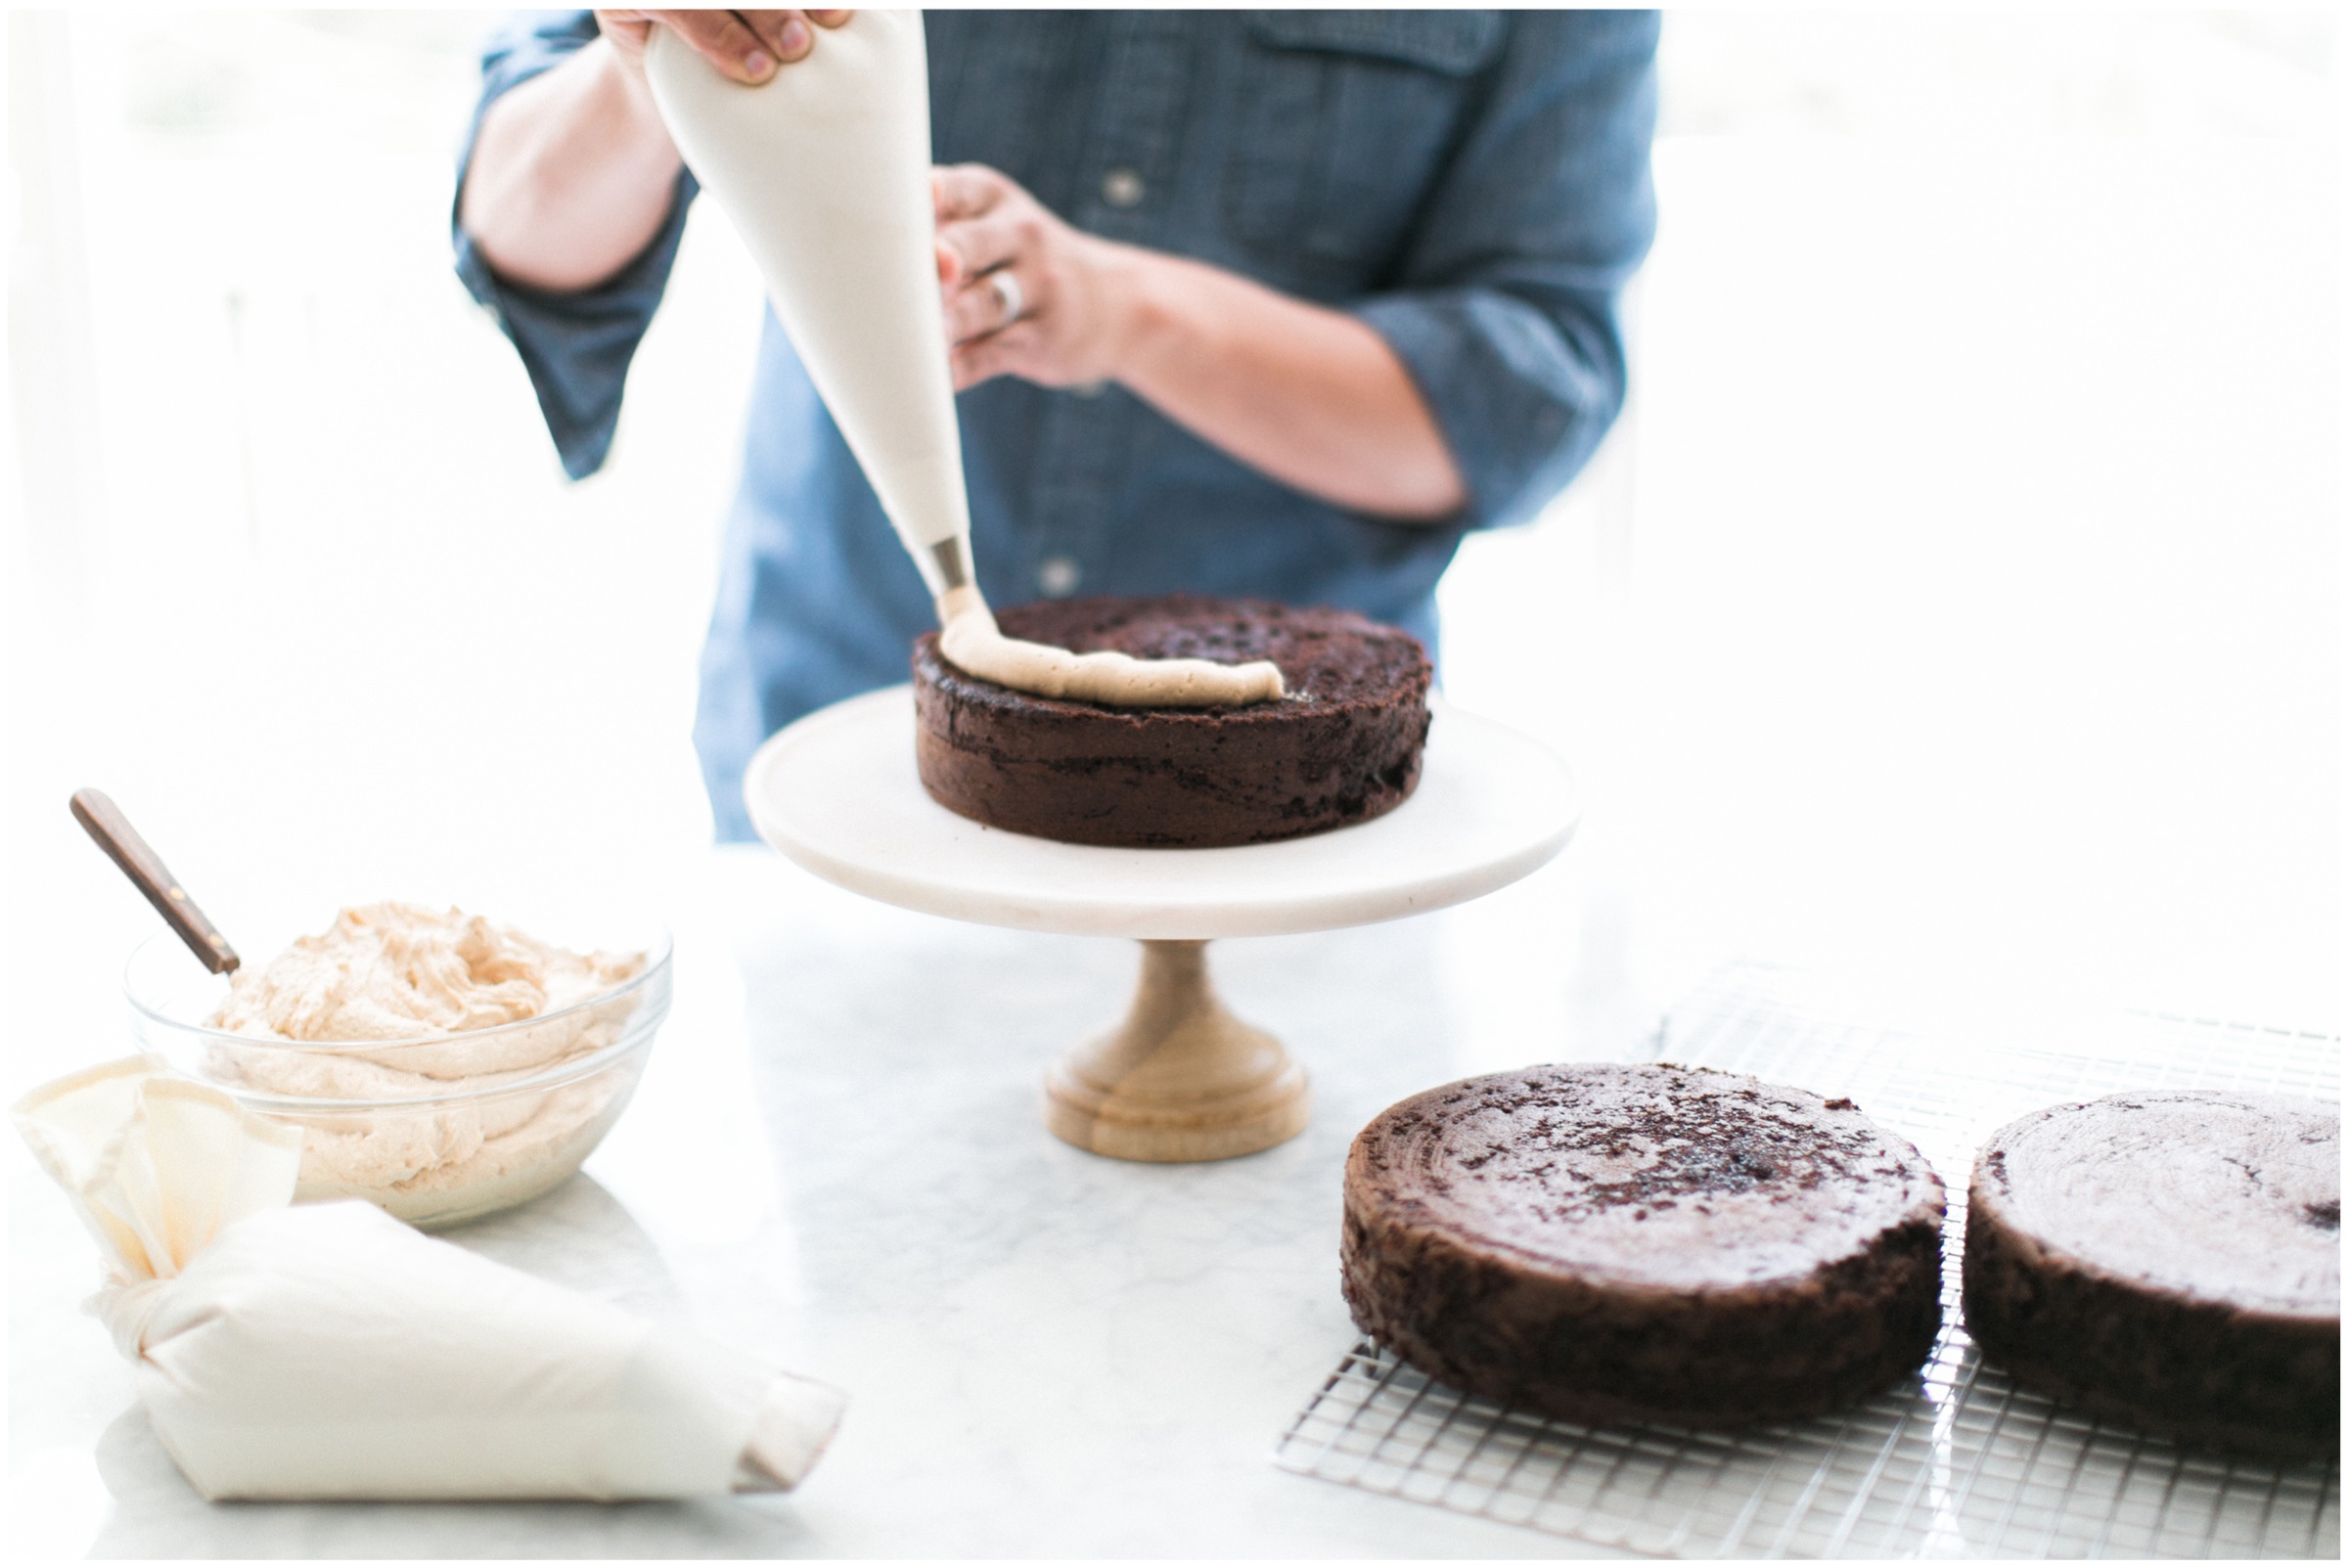
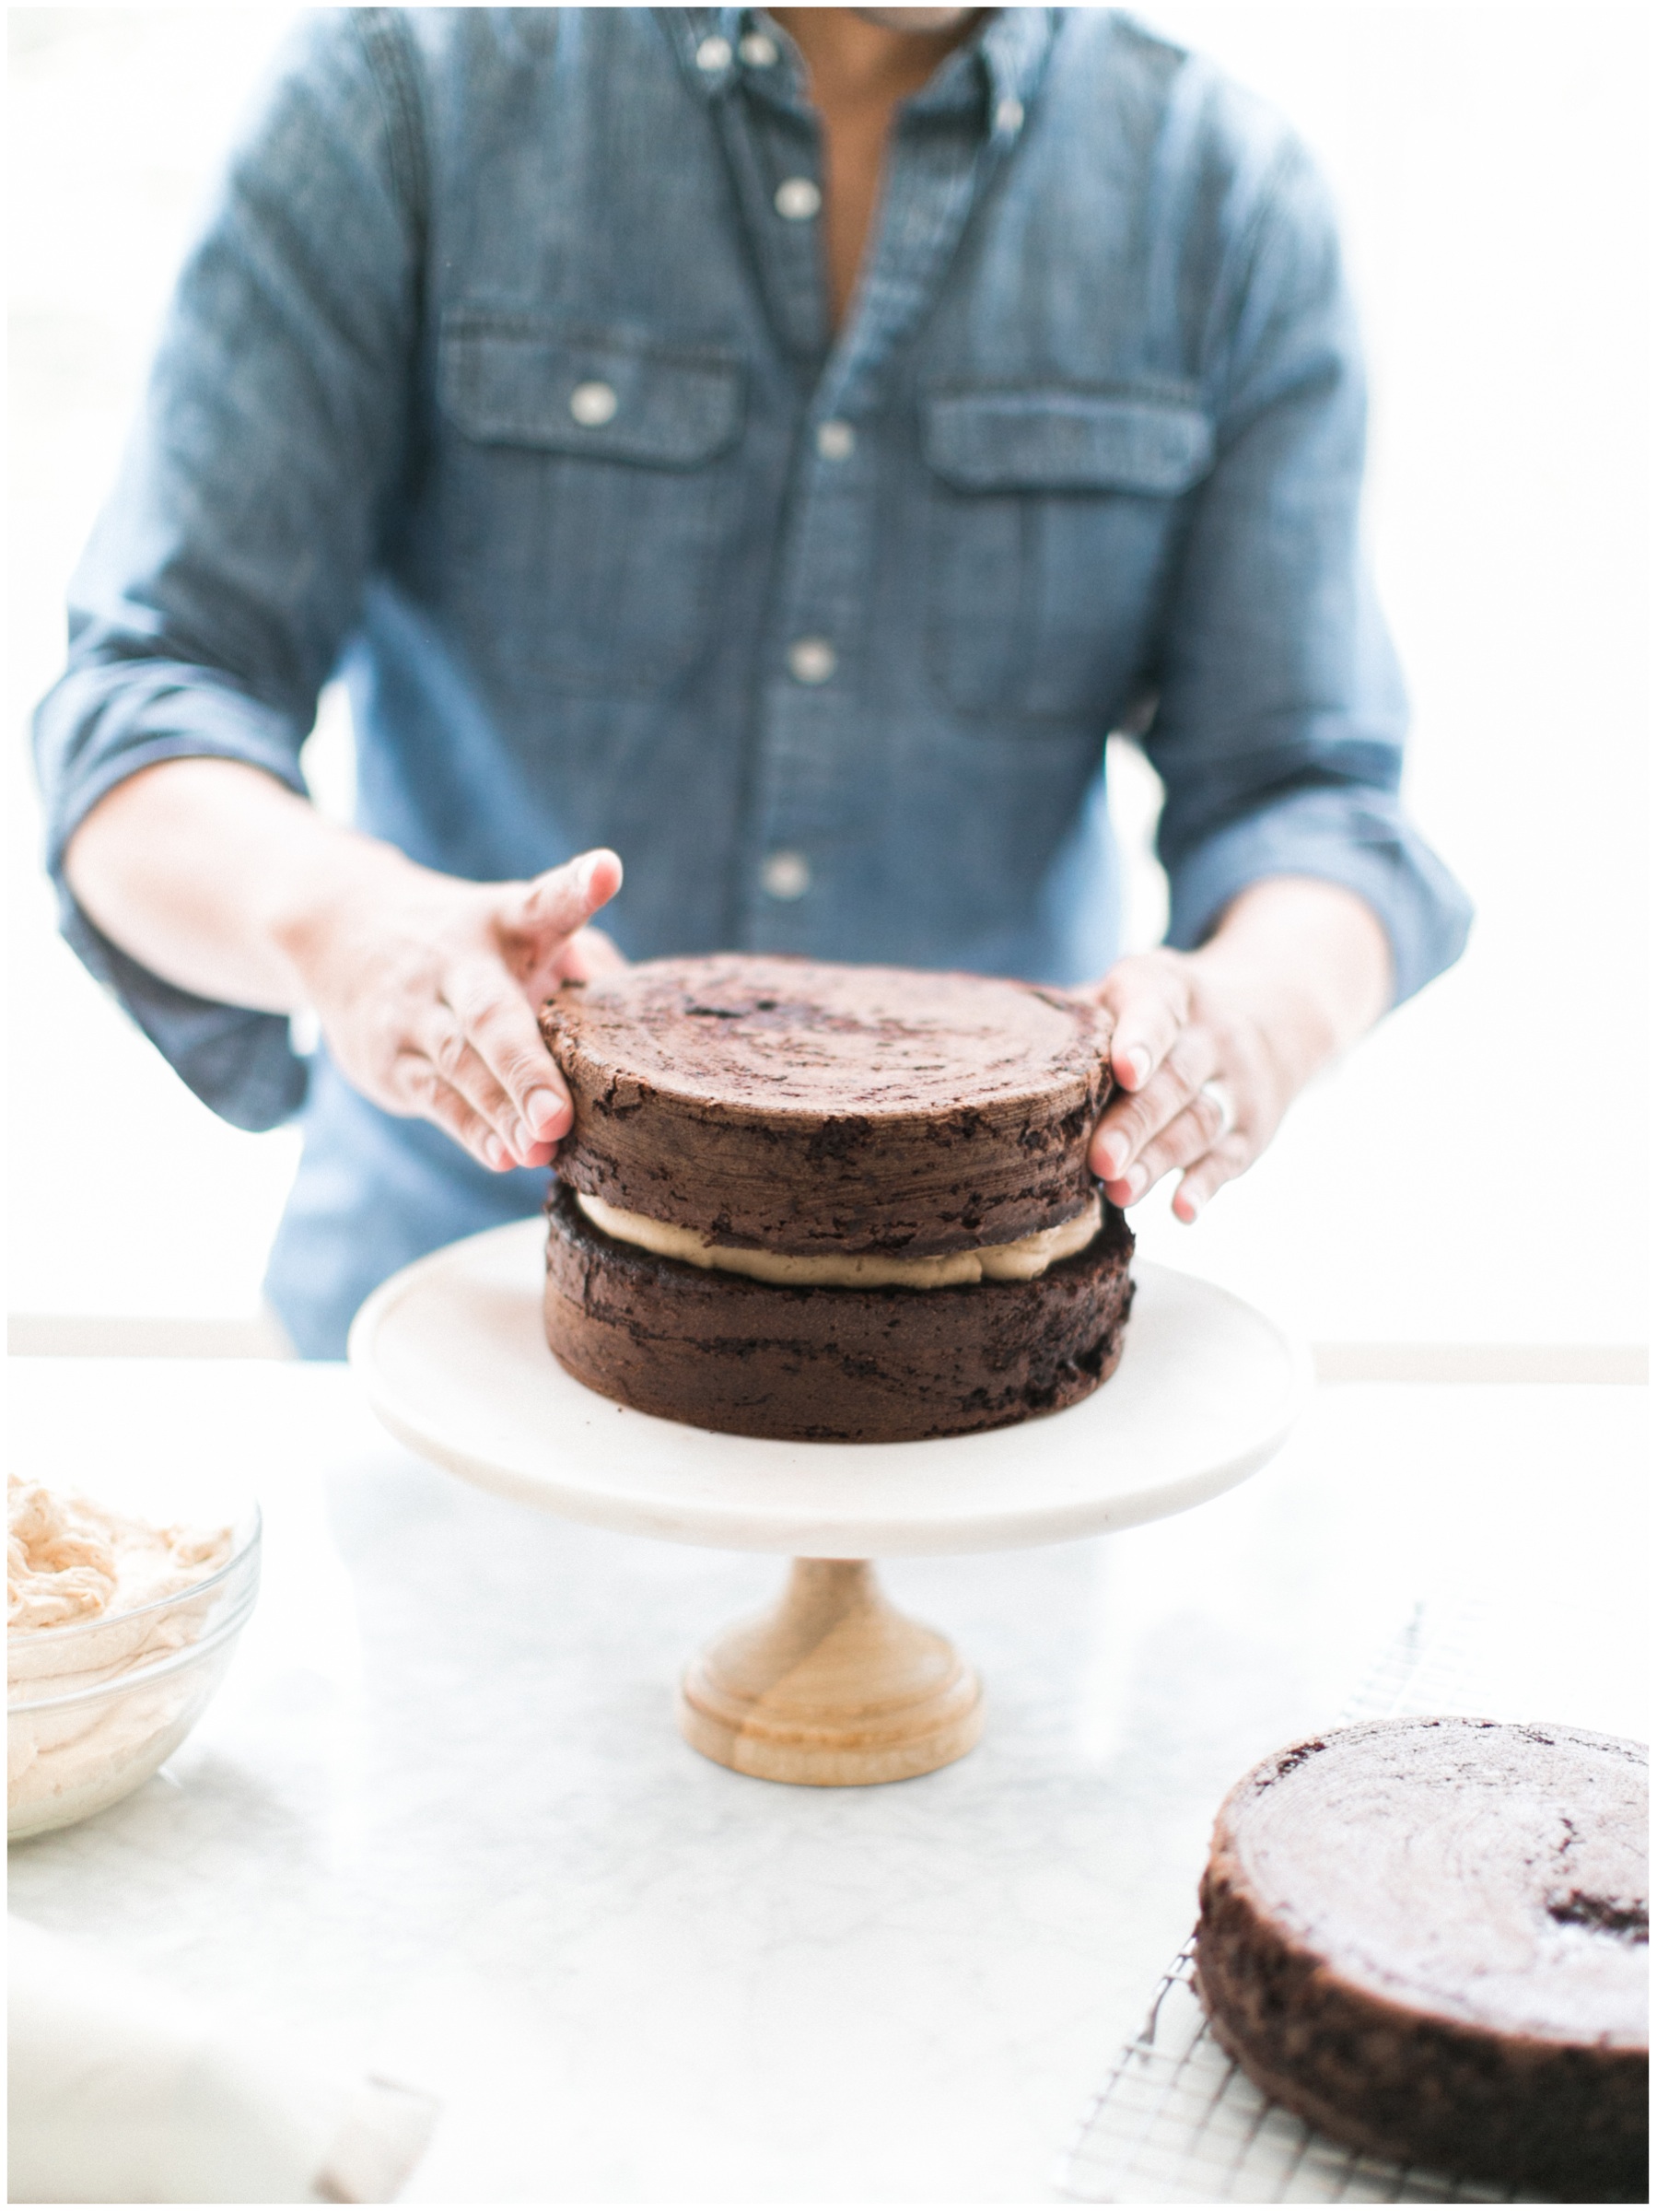
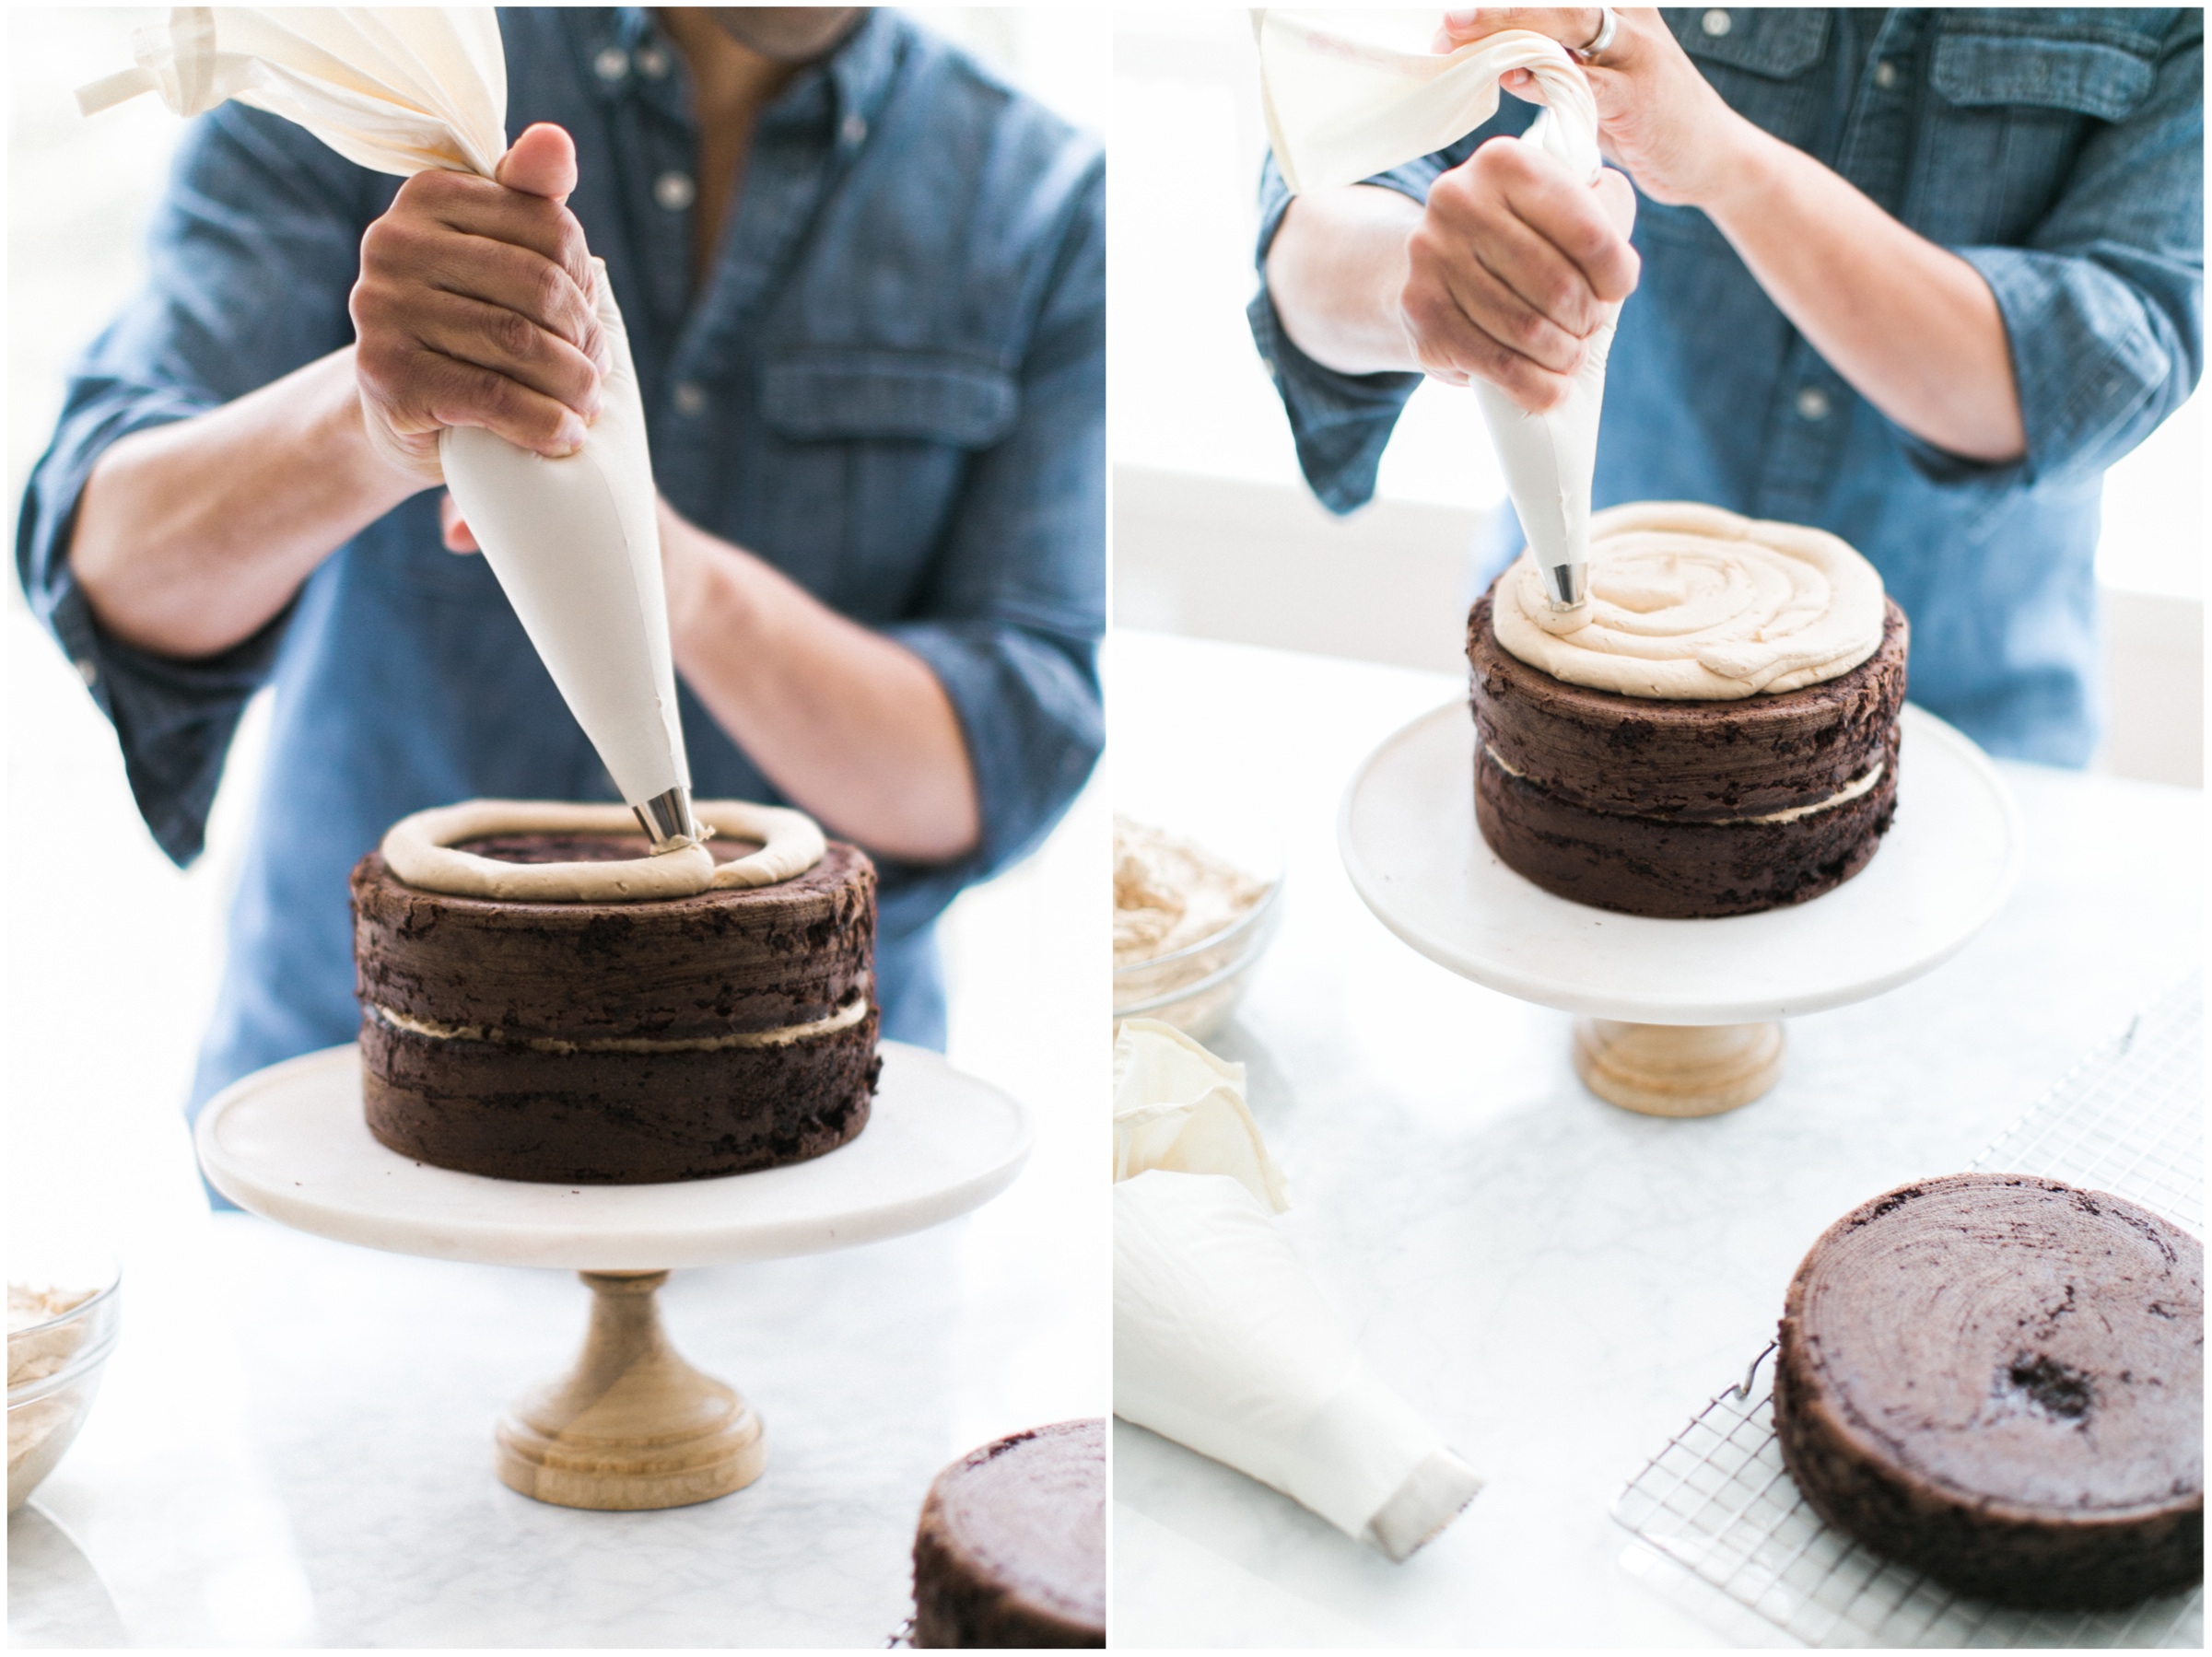
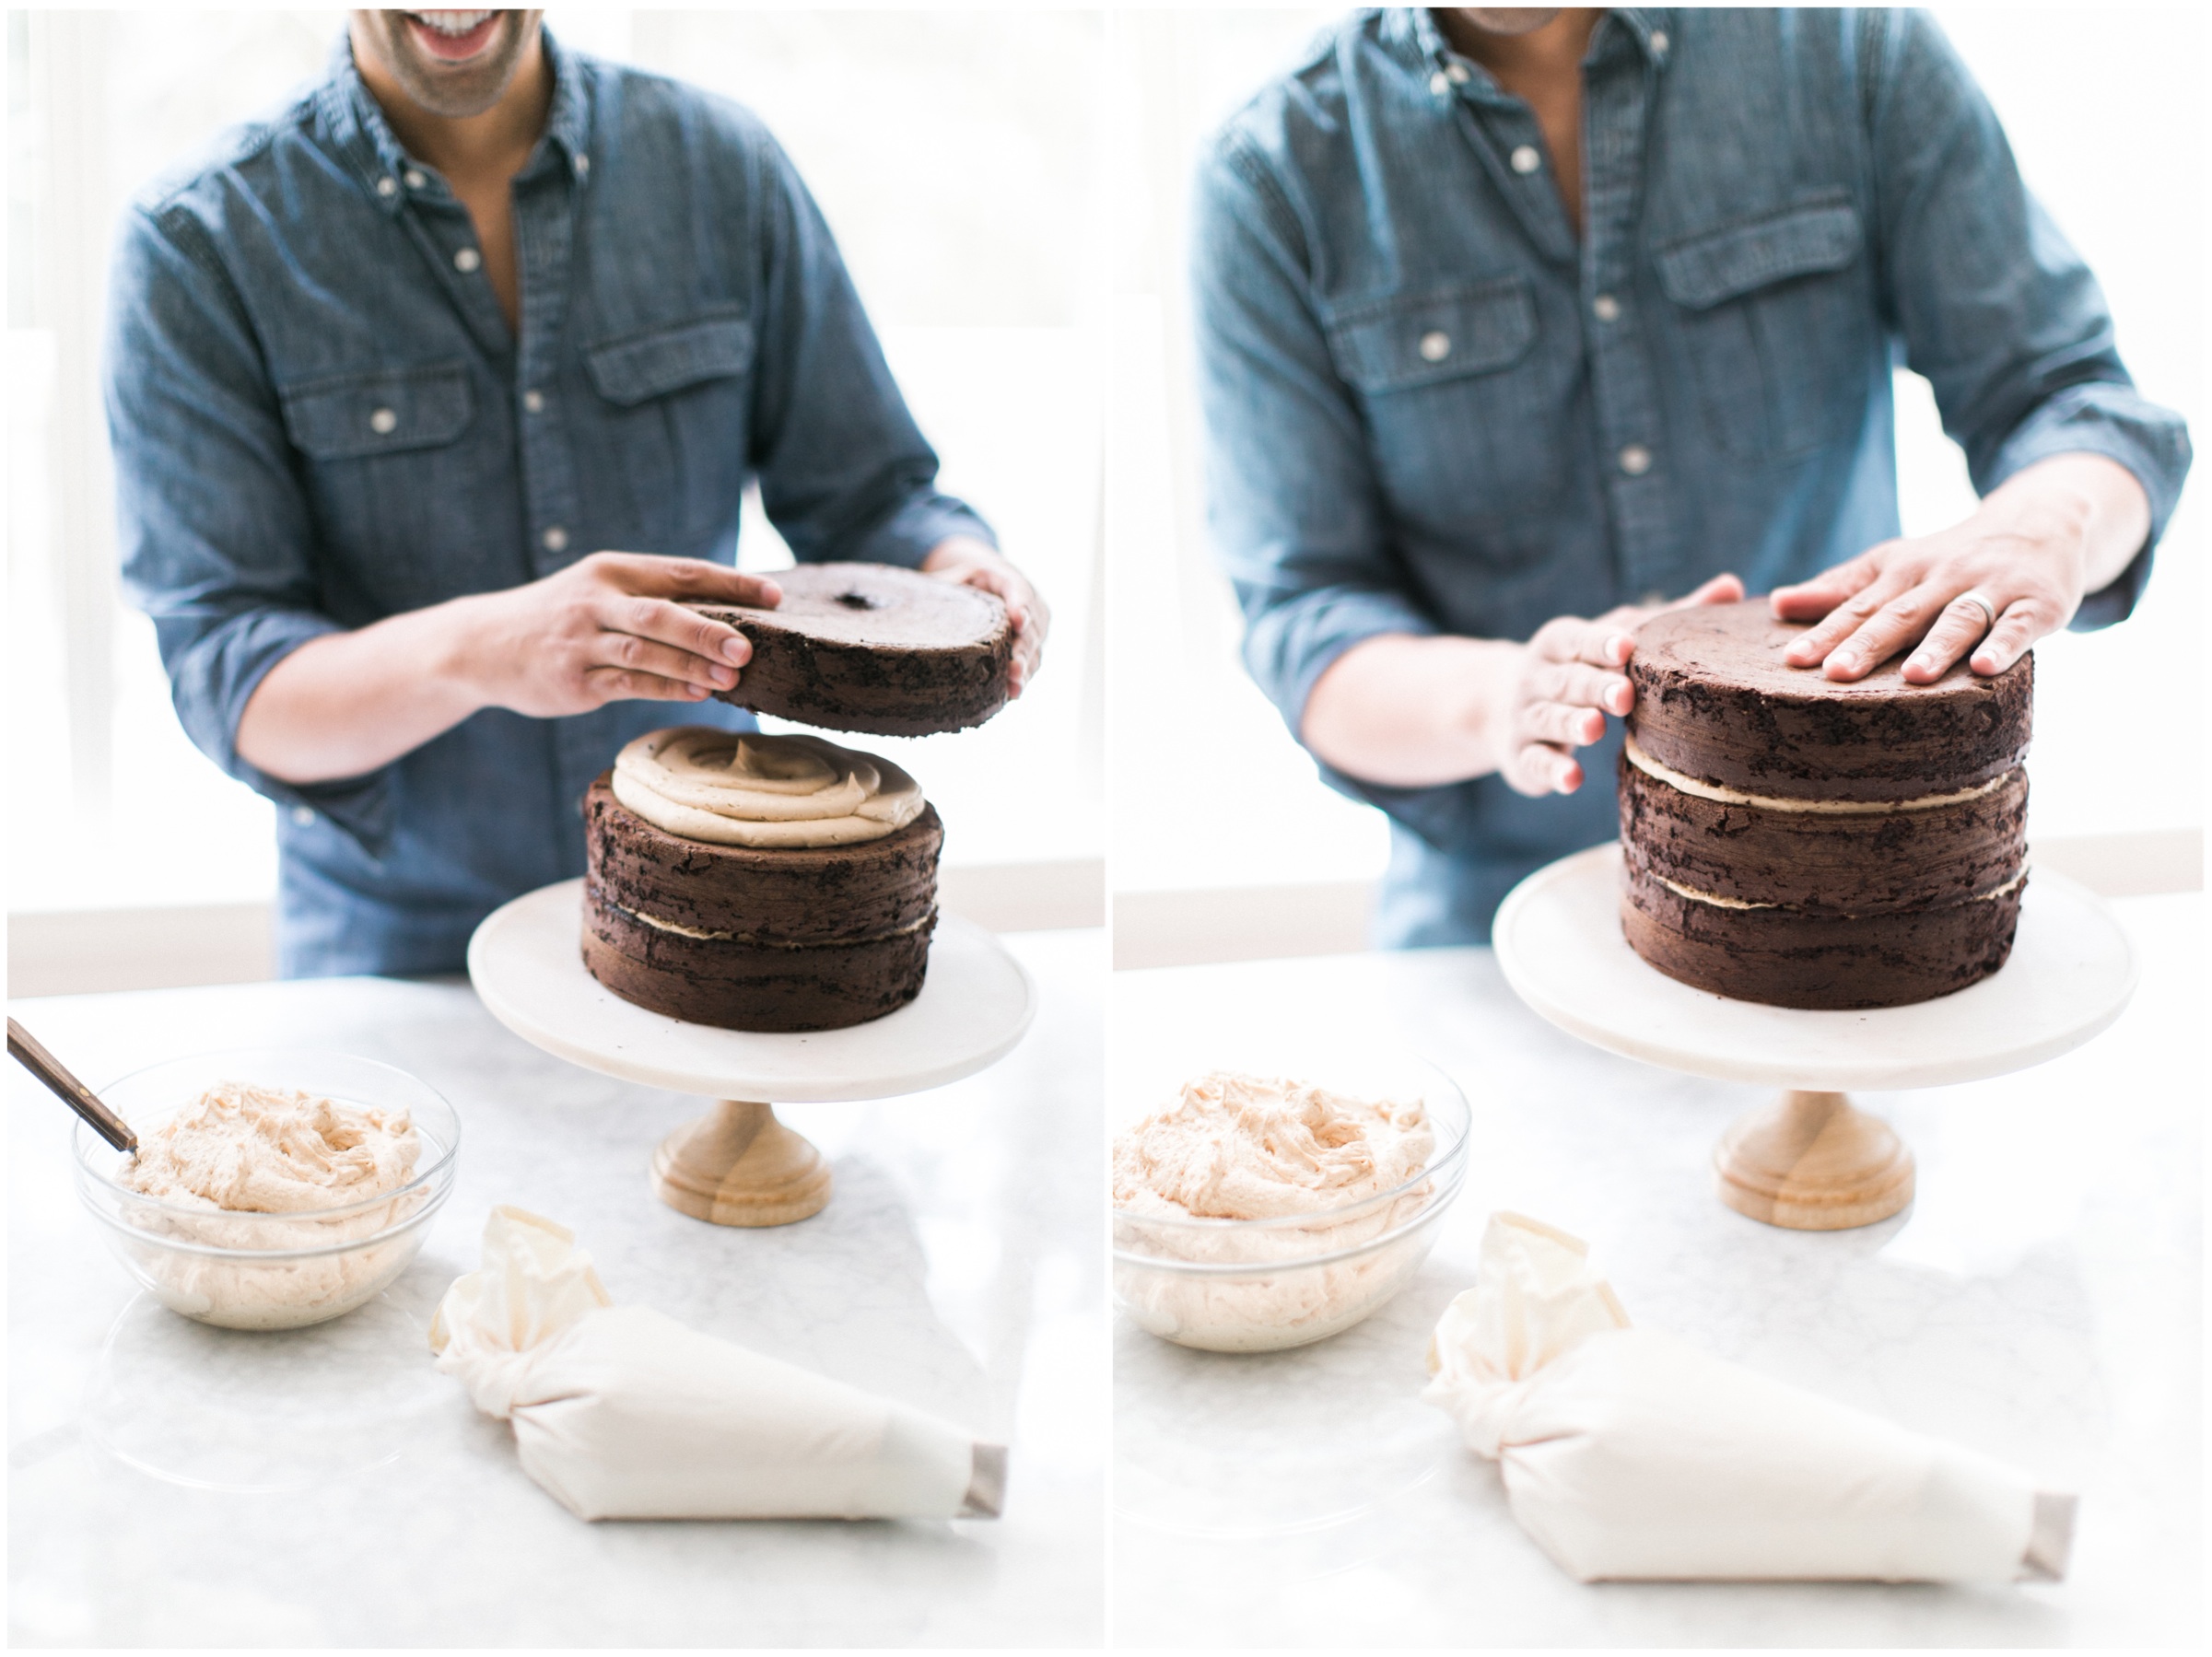

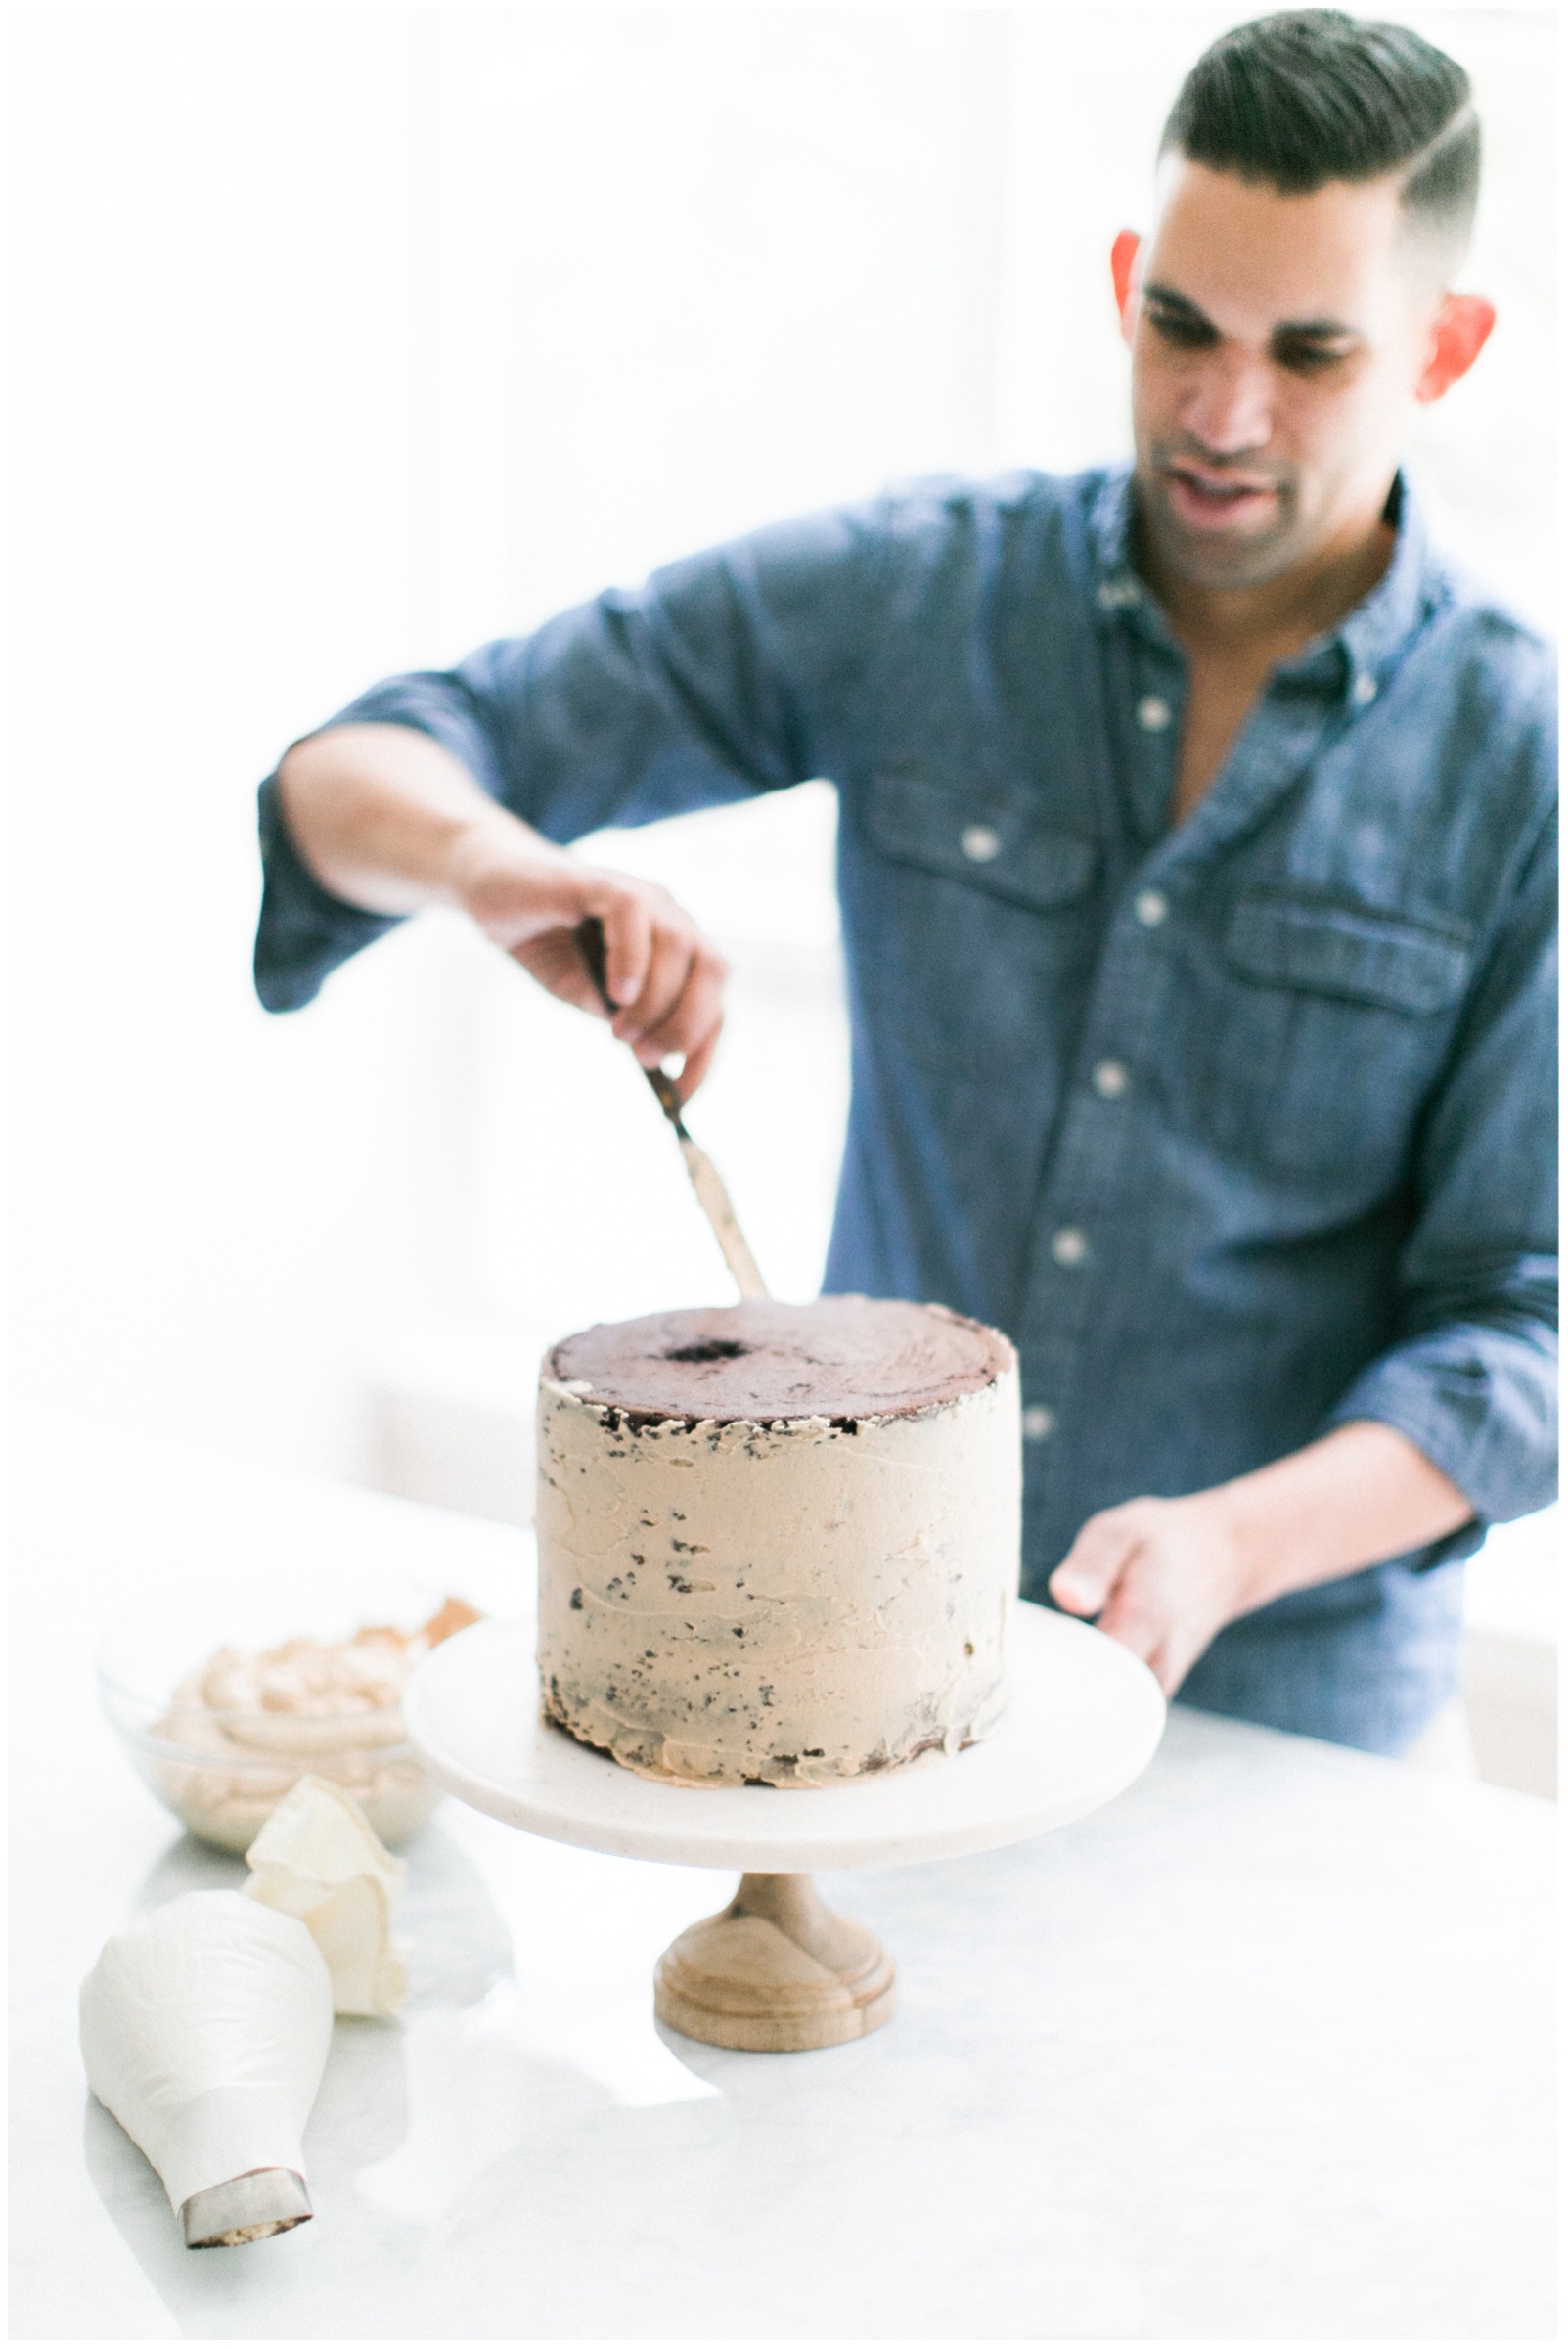
* Once your cakes are filled and stacked, take a small amount of your icing and a spatula and lightly frost the sides of the naked cake. This is called your “crumb coat” and helps to seal in all of your crumbs so that they do not make an appearance in the outer layer of icing.
* Let your crumb coat sit for a minute to crust over before using your large cake icer tip to get strips of icing onto the side of the cake.
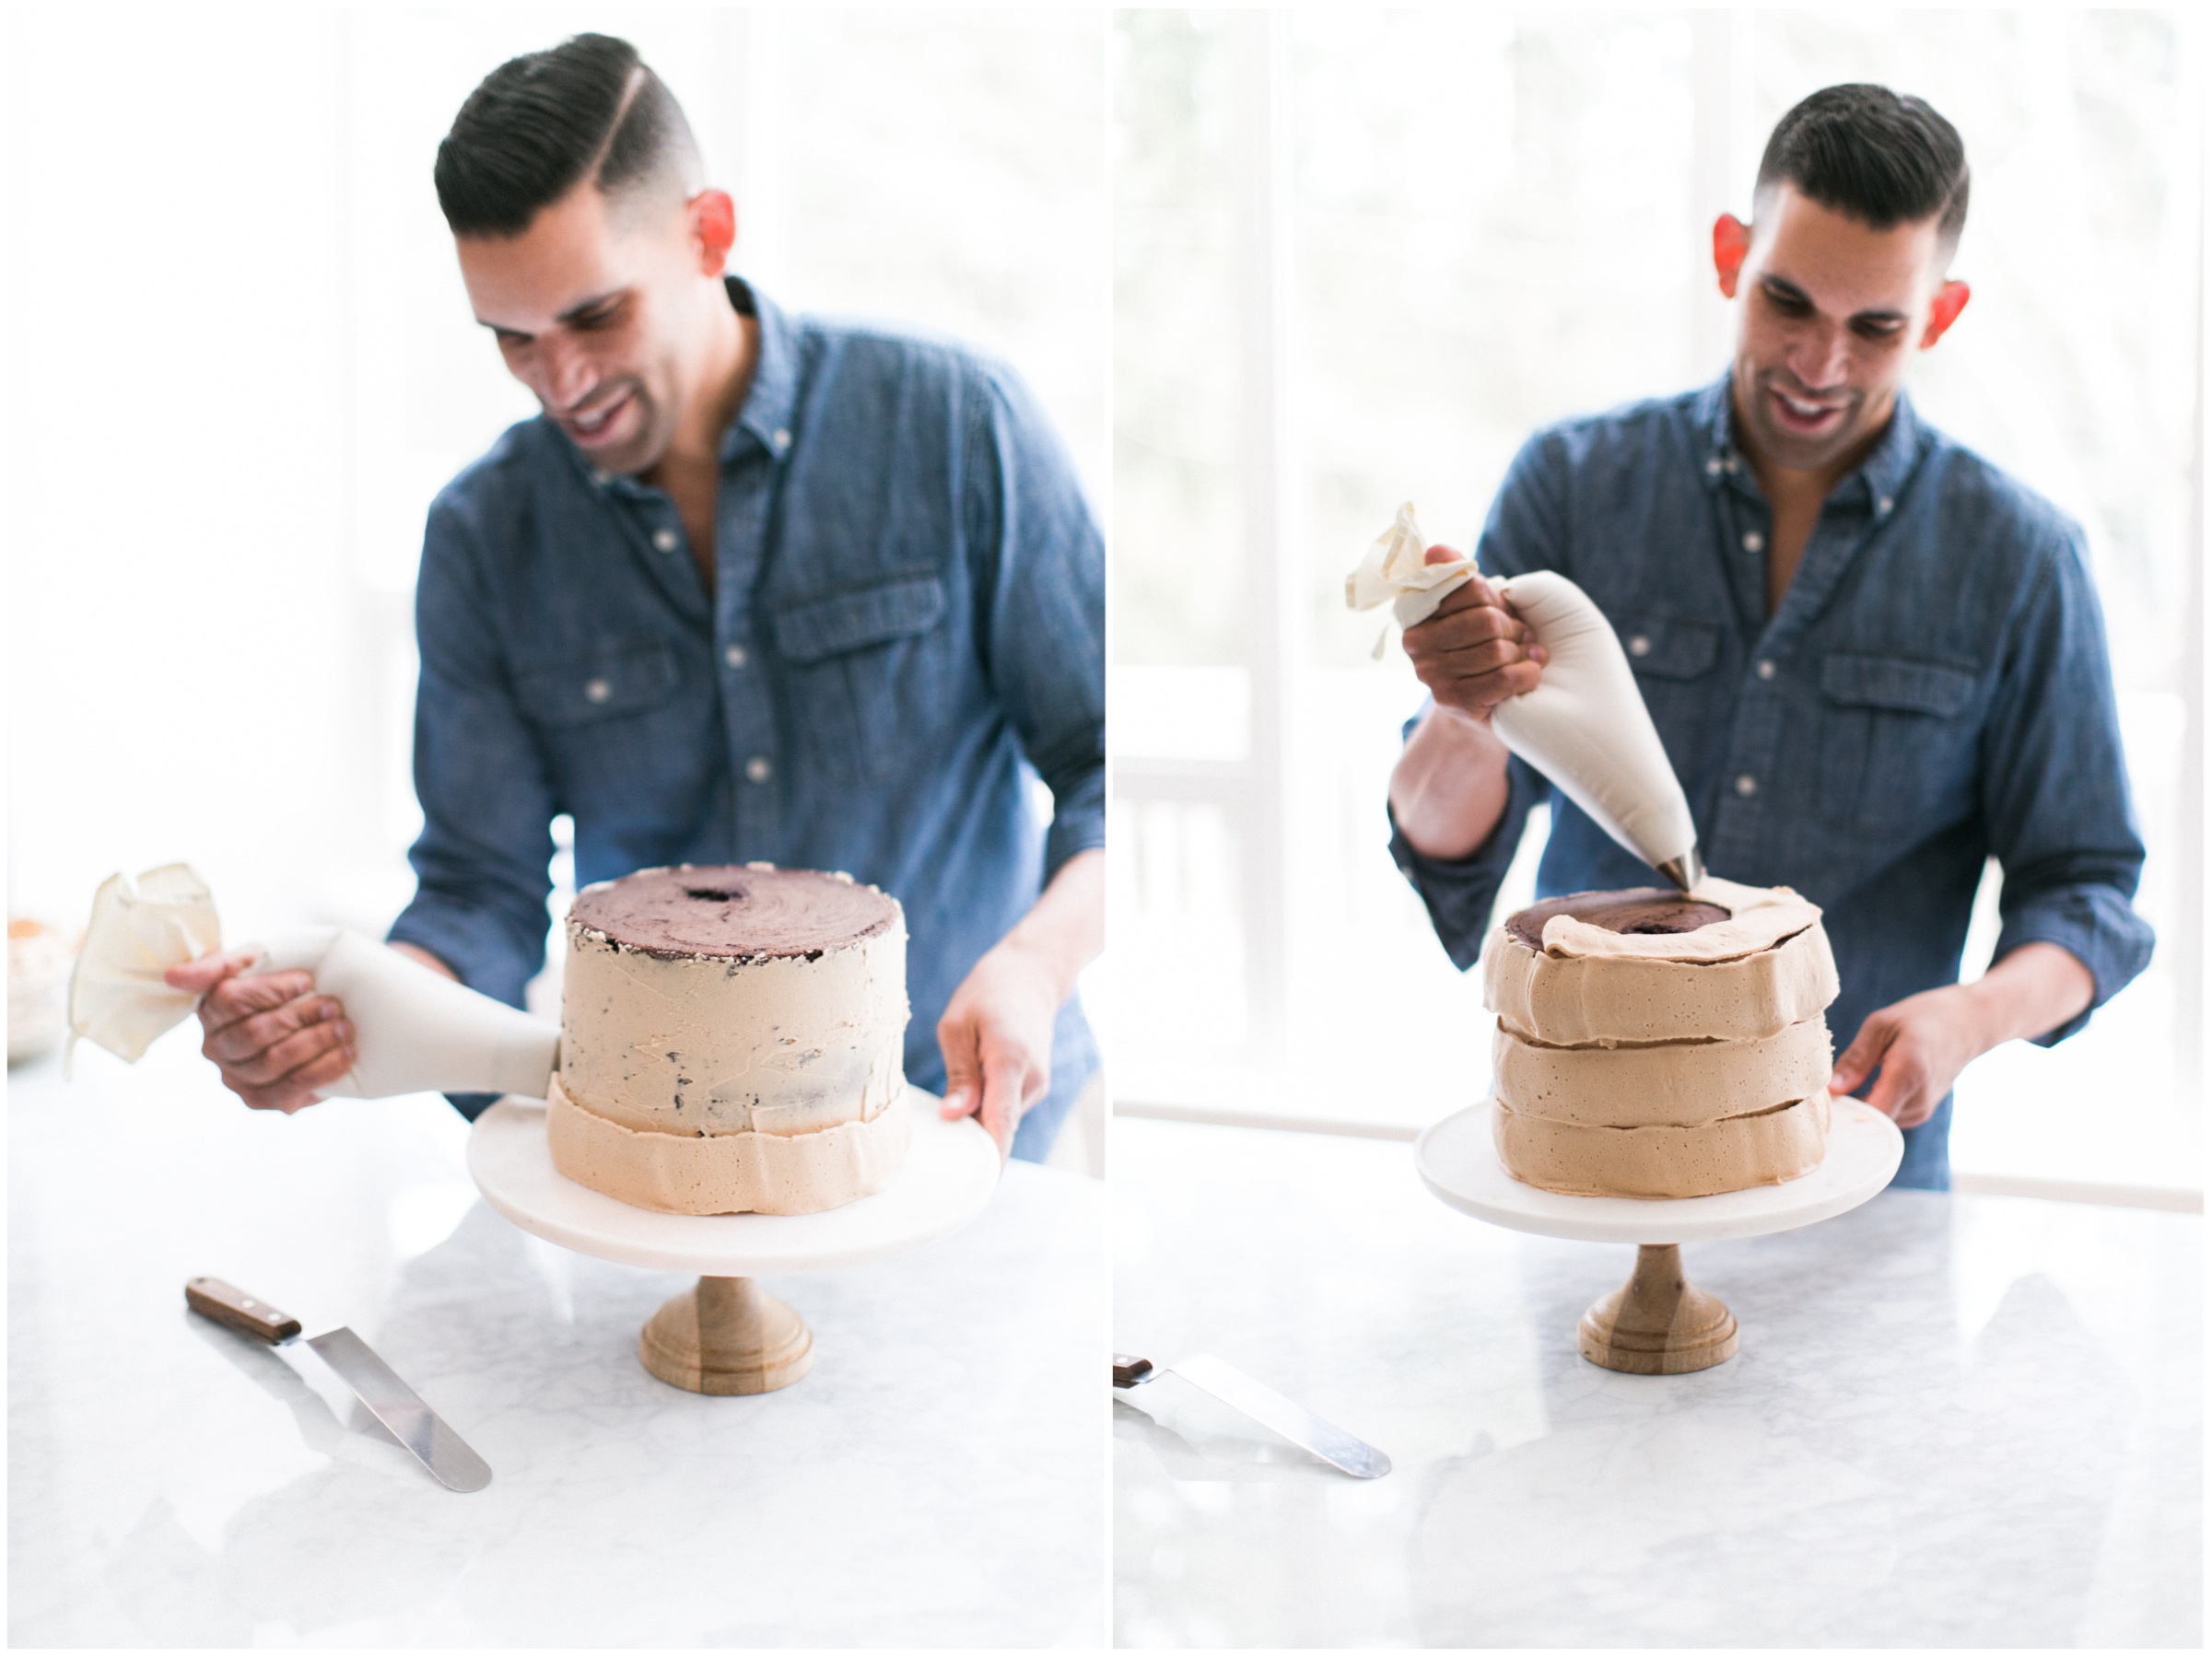
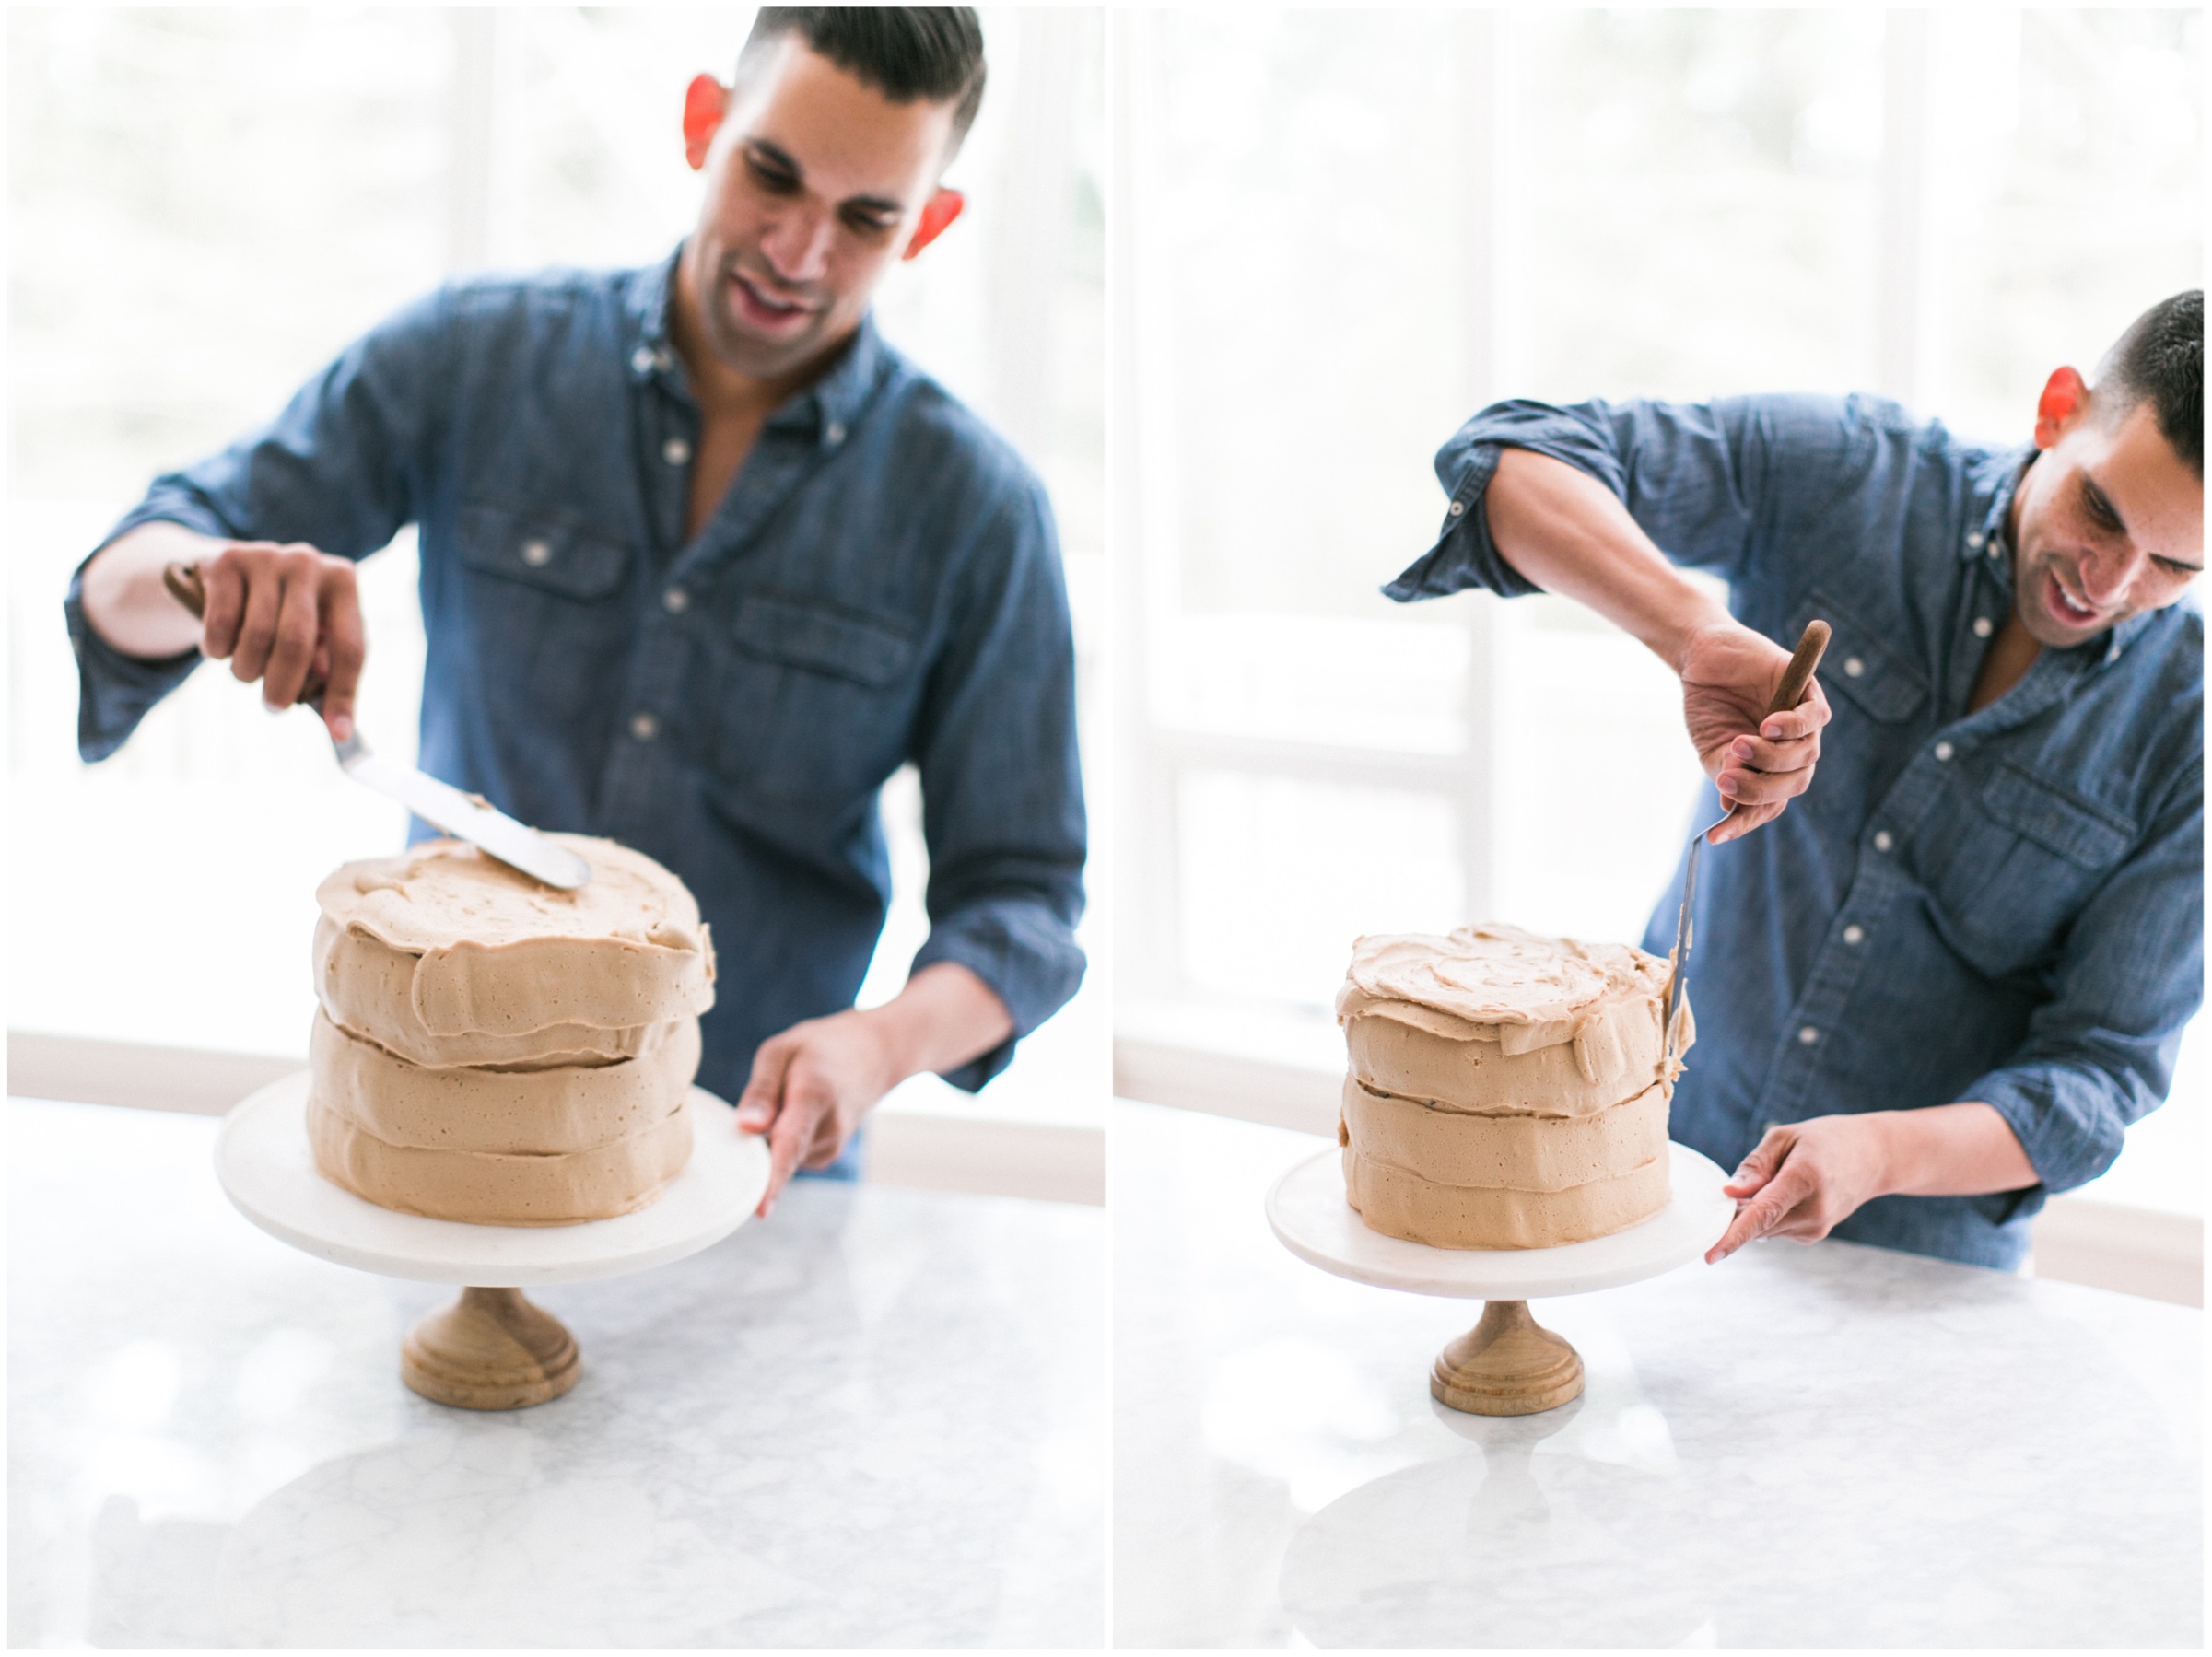
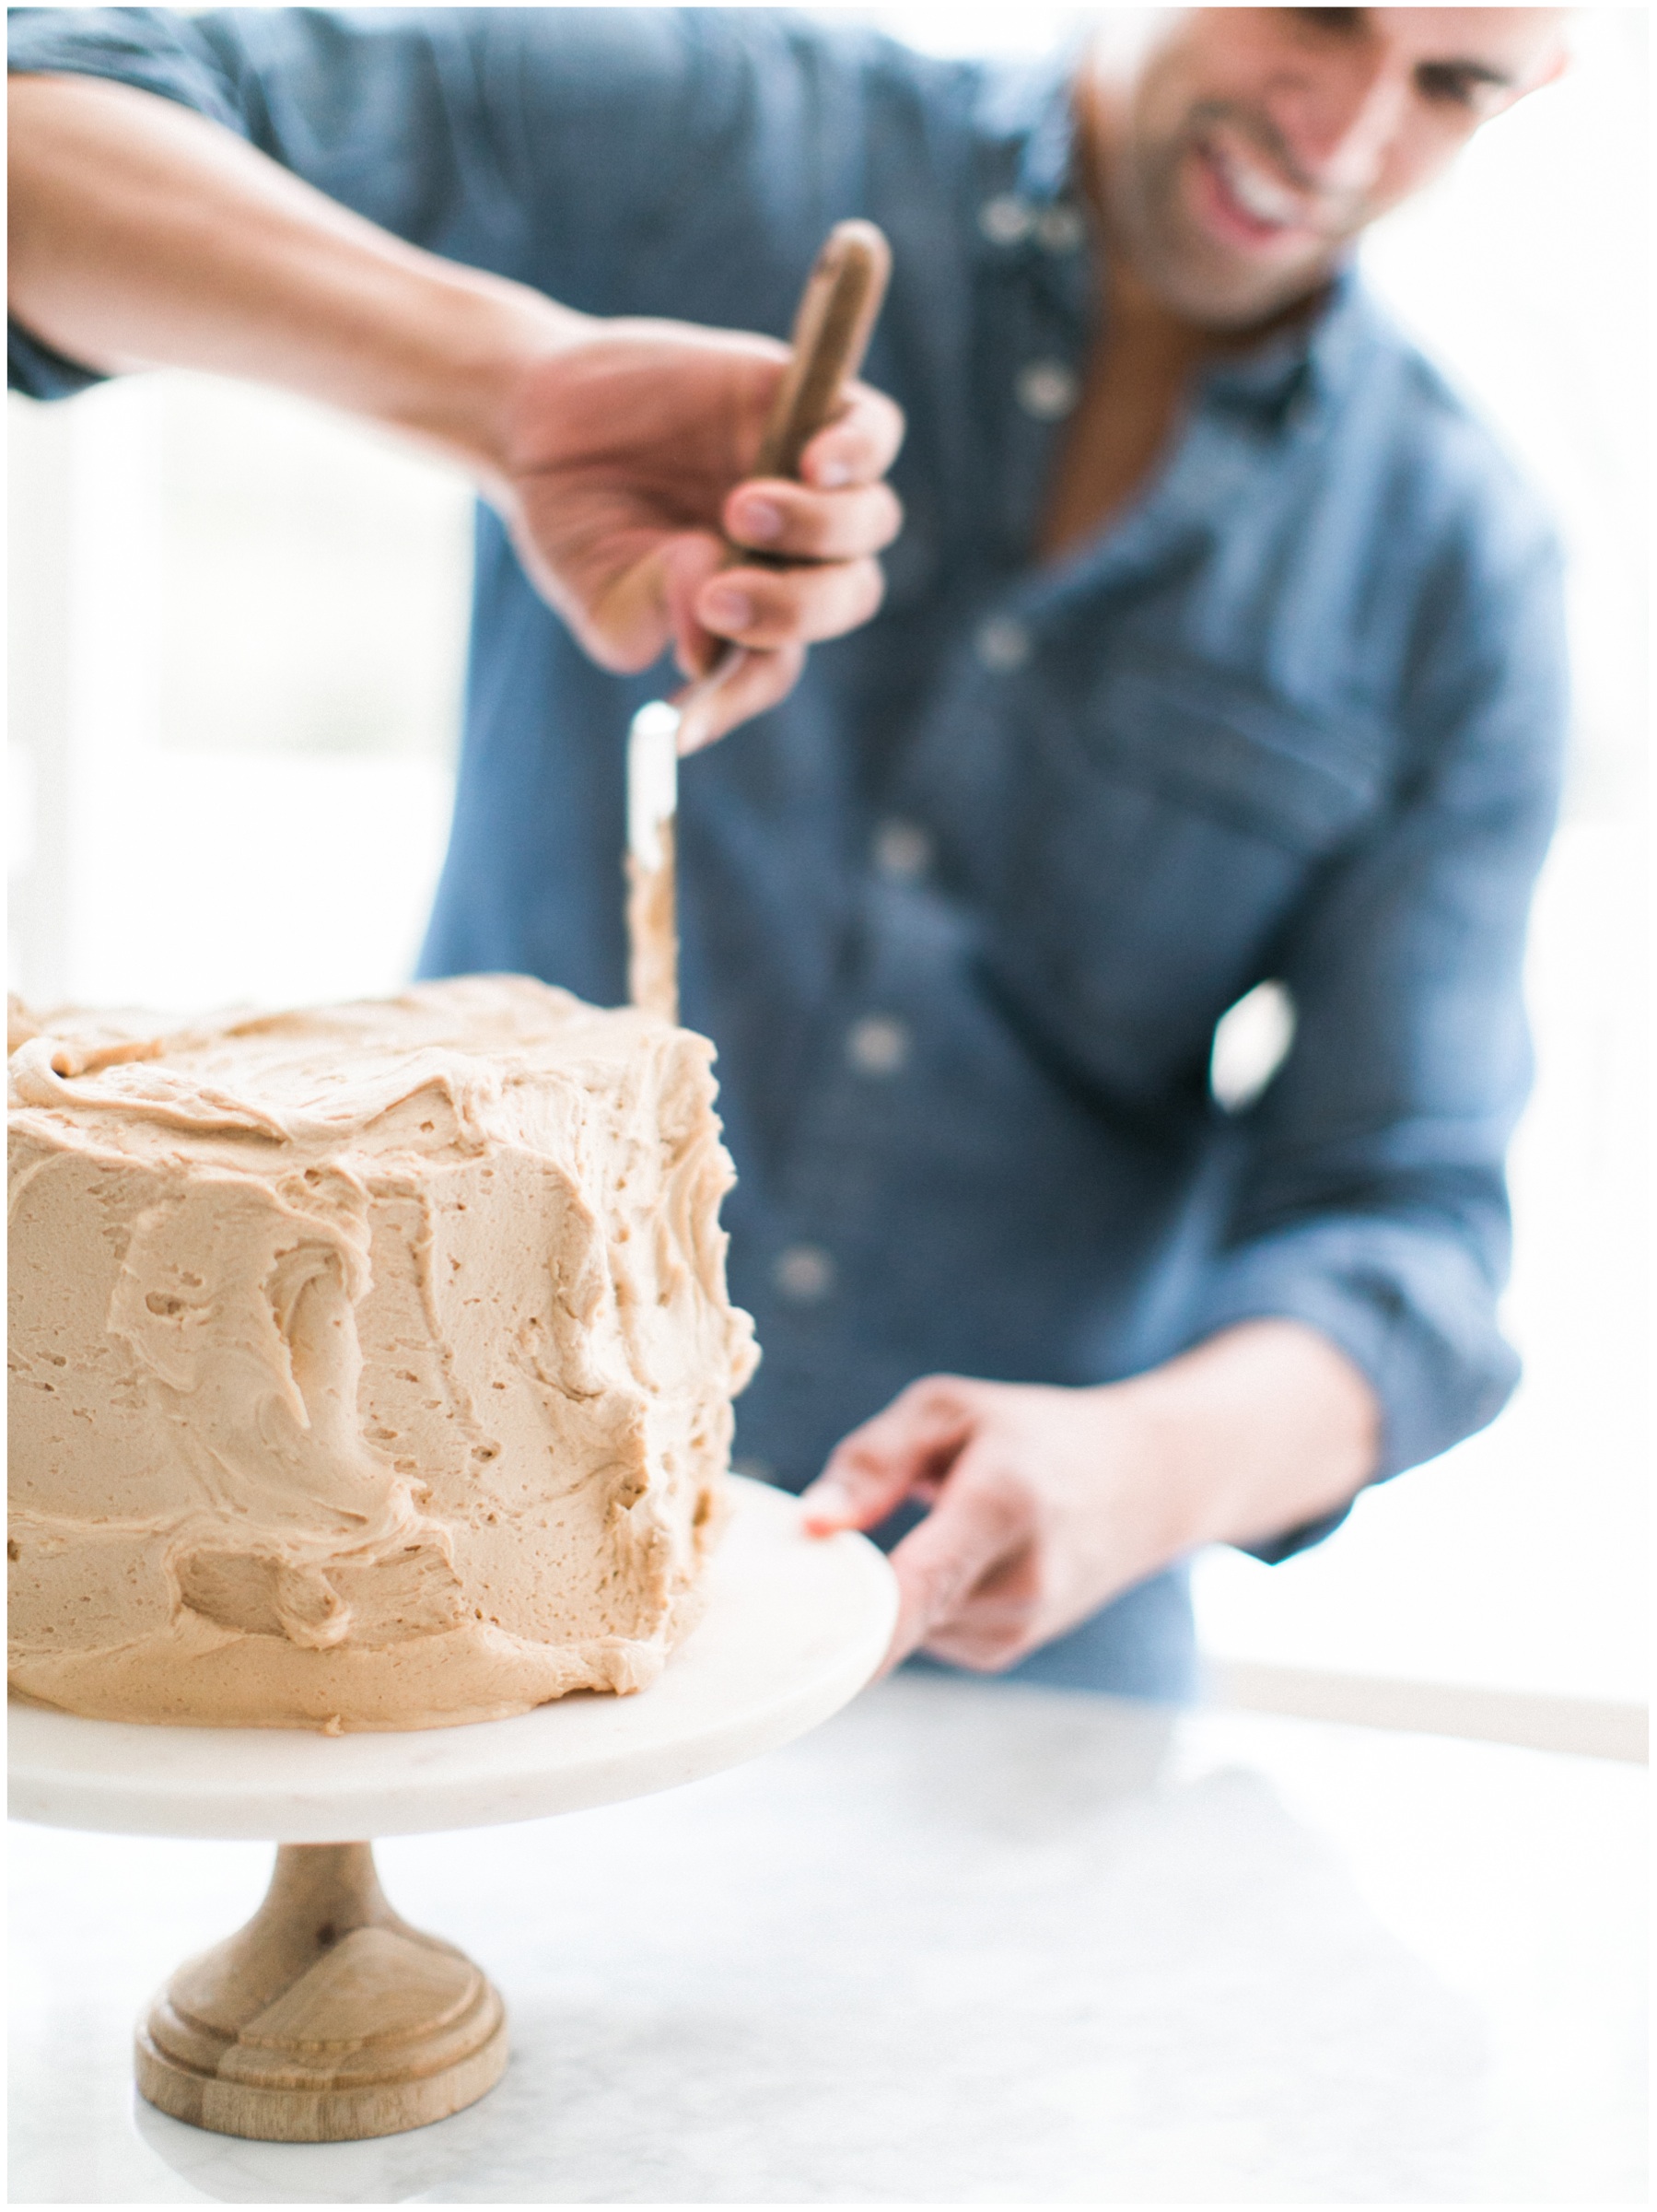
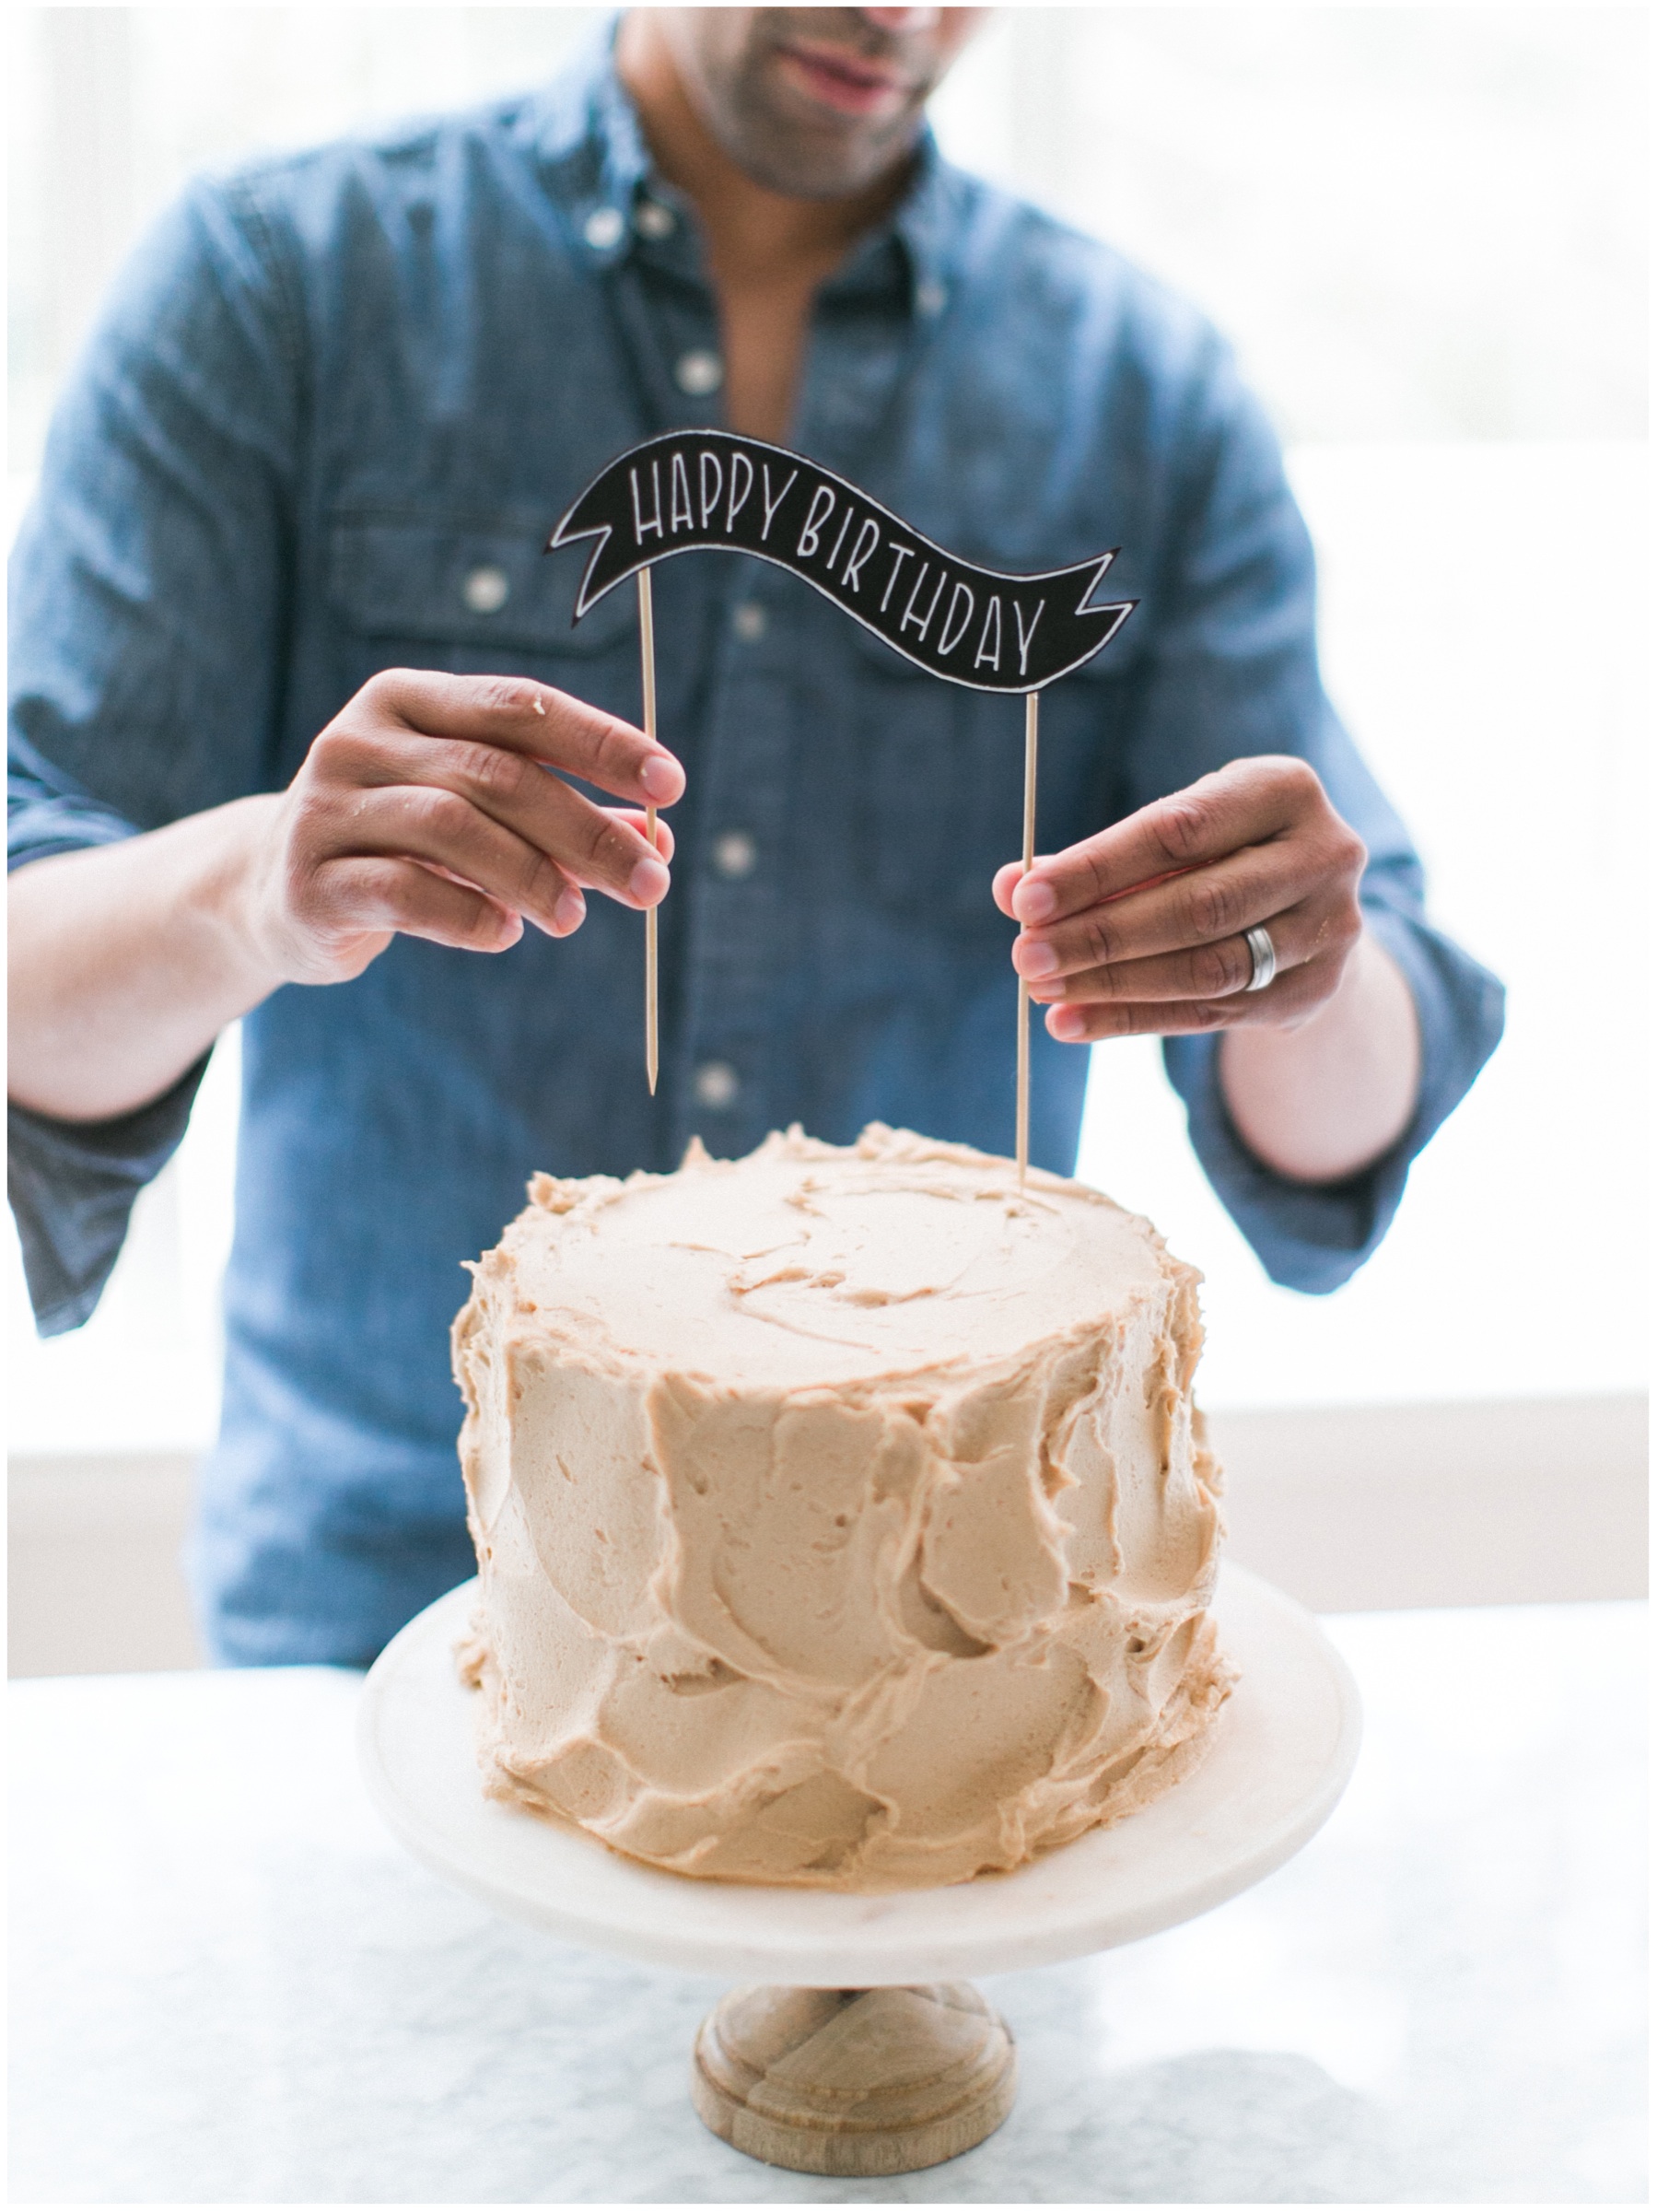
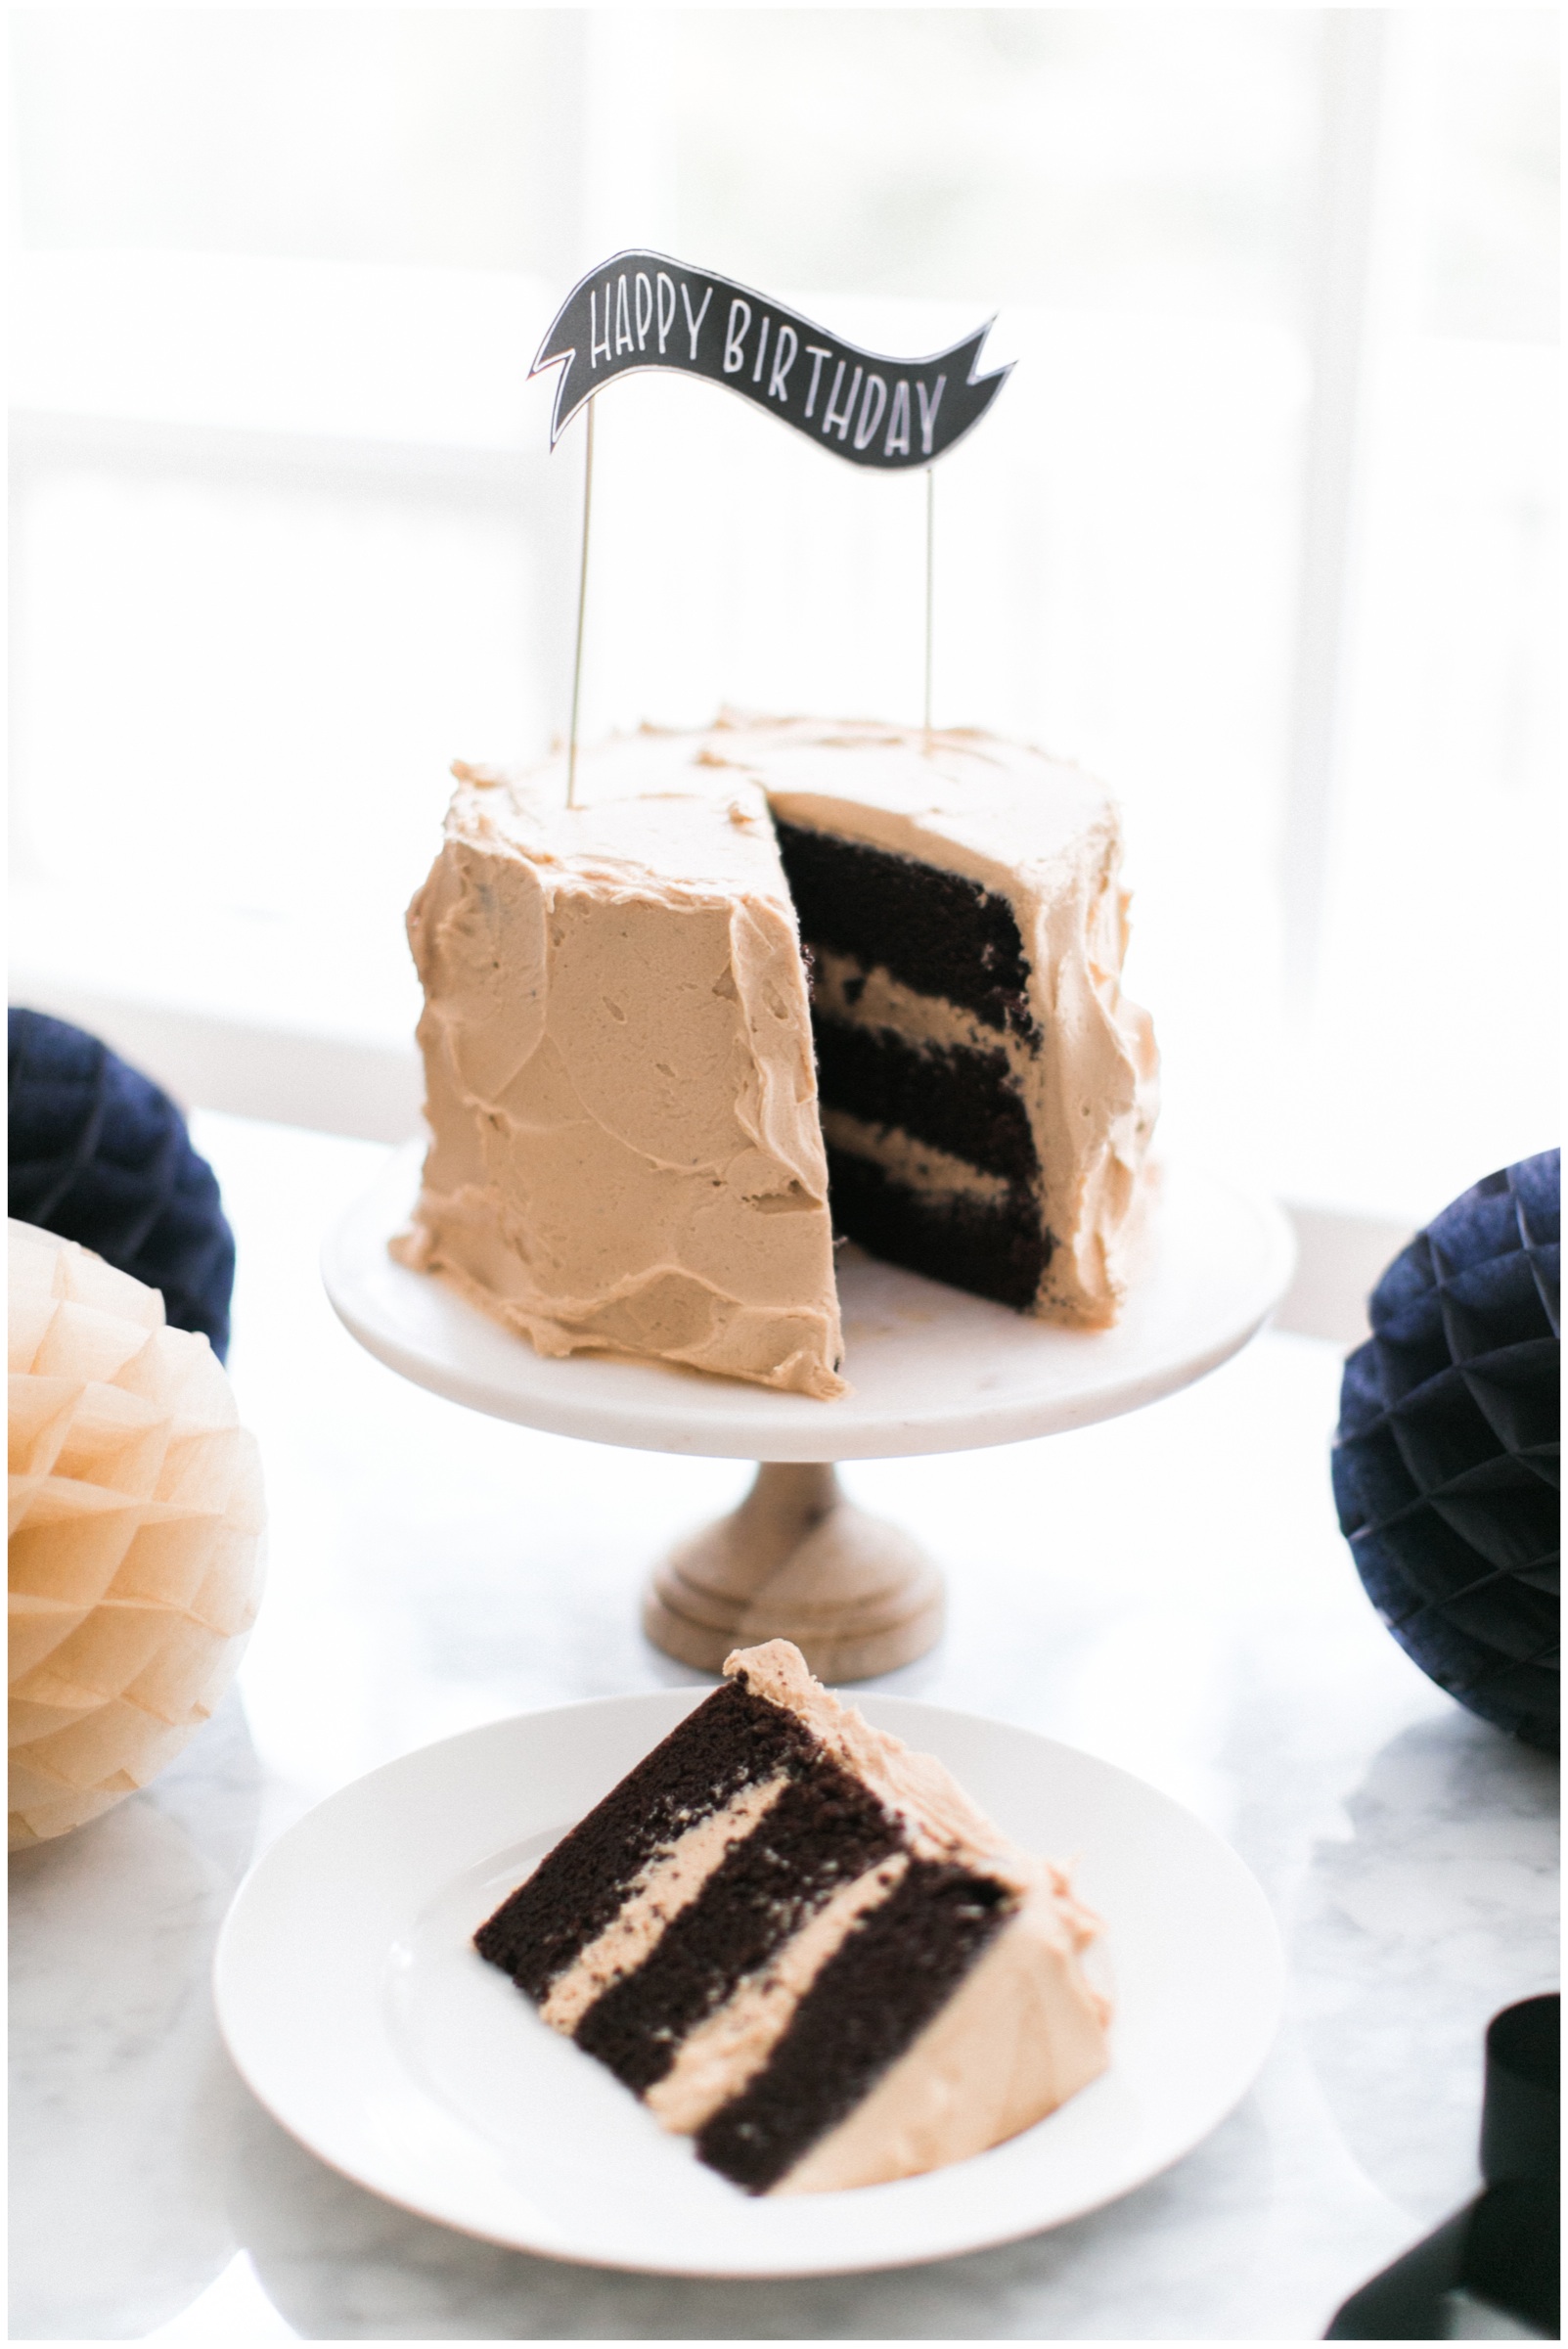
* After you pipe all of the icing onto the sides of the cake, have fun with a spatula and make waves in the icing until you achieve the level fluffy texture you are looking for. Your cake is complete and ready to be served!

photos: Matthew Land Studios
recipe calligraphy and design: La Happy
Download and print our recipe for Chocolate Cake with Peanut Butter Buttercream Frosting.

add a comment
+ COMMENTS